
Hello all and welcome back to the Excel Tip of the Week! This week we have a General User post in which we’re dipping our toes into Word-y waters, as we look at a classic Word/Excel double act – the mail merge.
What is a mail merge? What part does Excel have to play?
A mail merge is a way of generating a lot of similar Word documents for either printing as letters, or (more commonly these days) sending as emails. The idea is to automate the process of mass communication by using a bit of simple manipulation.
Whilst mail merges are mostly done in Word, Excel plays a vital part as the most common way of storing the variables that are going to be used in the merge. Creating an Excel Table is the simplest way, and allows Word to easily pull out the parts that are needed for the merge.
We’ll look at the mail merge itself shortly, but first let’s talk about the base data. Here’s the table we’ll be using for our example:
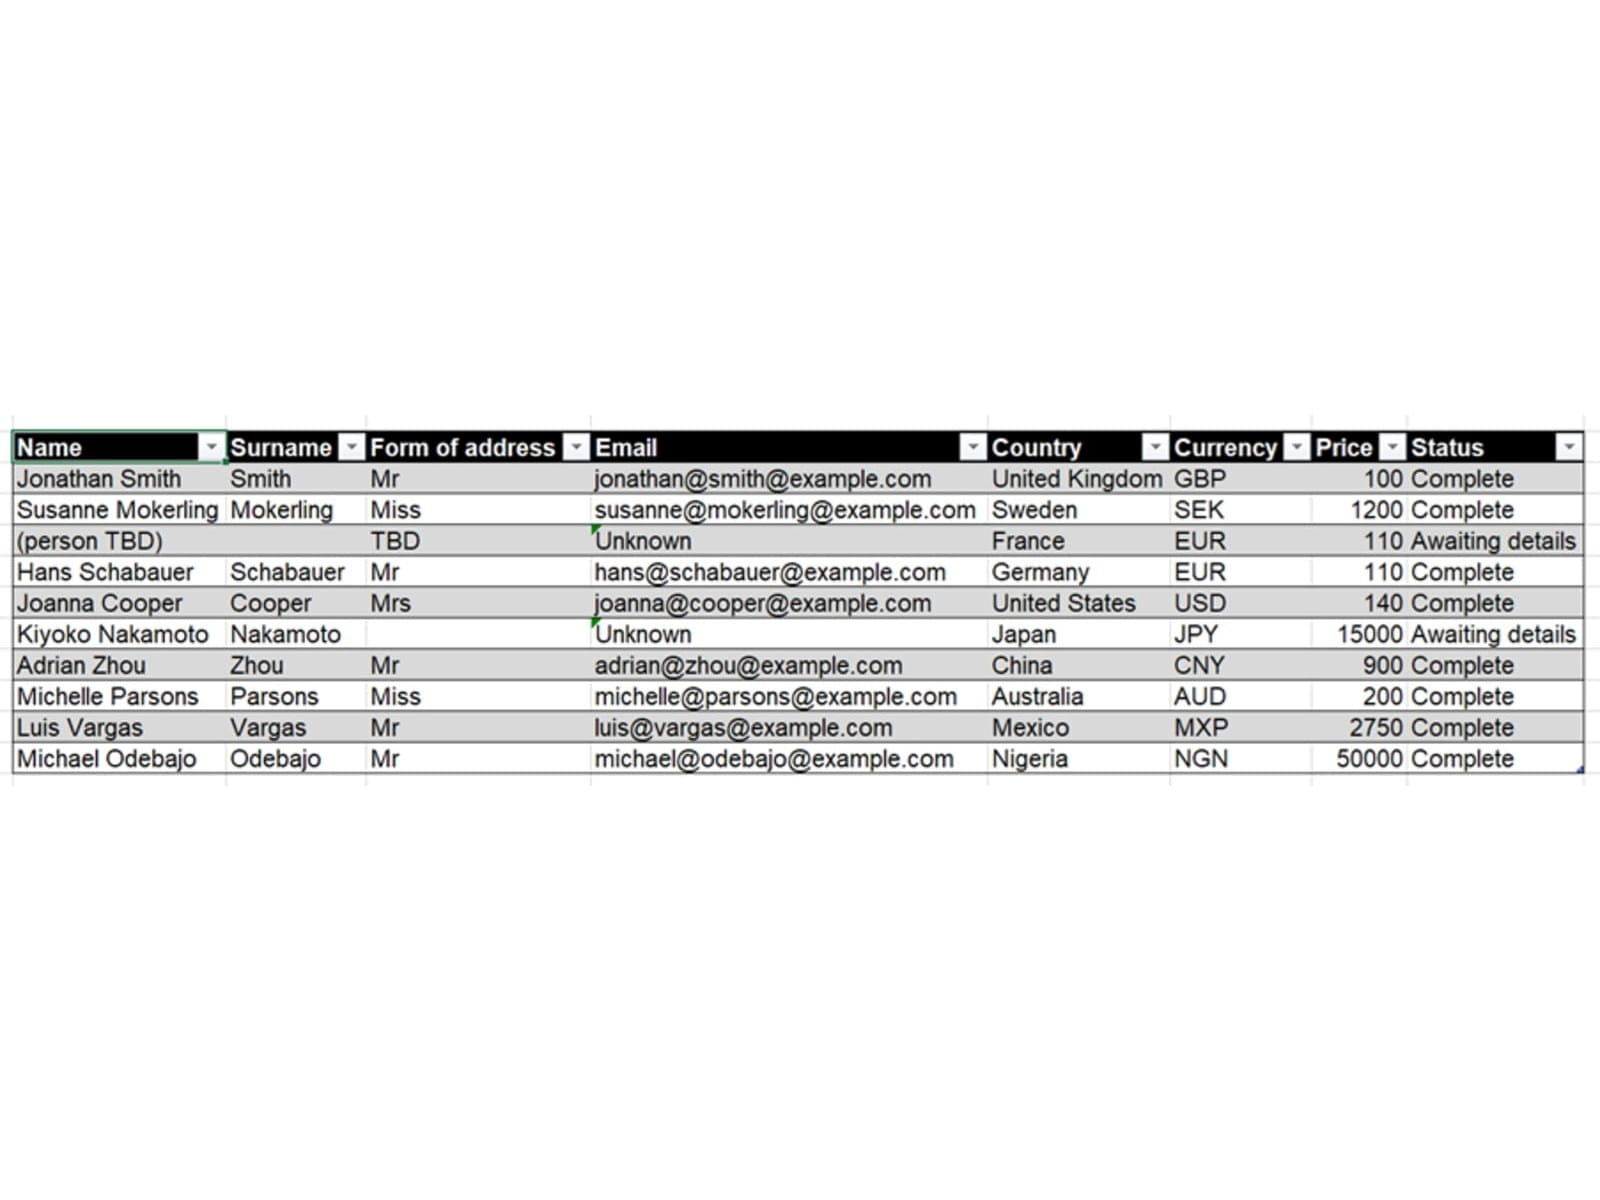
Some important good practice is to be clear and straightforward with our column titles – as we’ll see in a minute, these are how we are going to manipulate the data in the mail merge.
Turning to Word
Now we have our data saved, let’s get started in Word. We want to go from the Mailings tab:
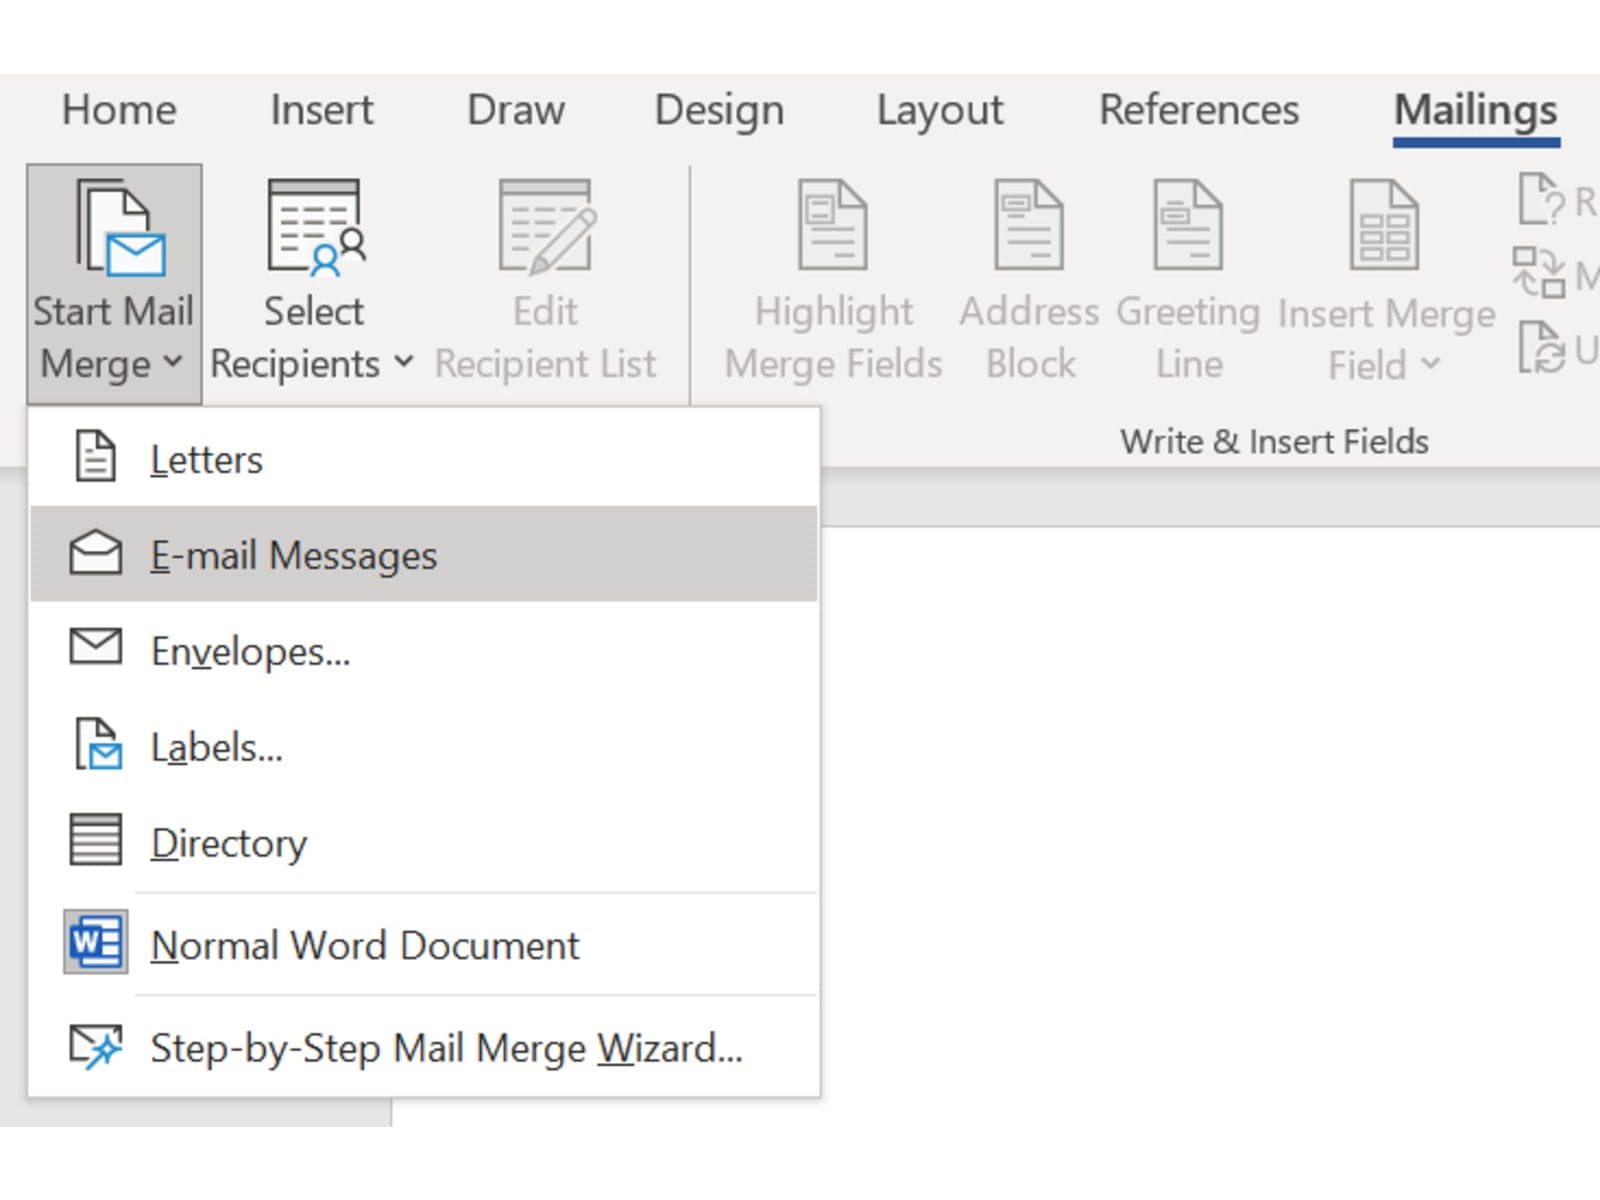
This will create a new mail merge document, from which we can start writing our copy. We can use ‘Select Recipients from the same menu, above, and from there import the table from our Excel file. When we’re typing our copy, we can then insert a merge field wherever it’s appropriate:
We are pleased to invite you to our latest premium online event. The price for <<Country>> is <<Currency>><<Price>>
These placeholders will be replaced by the values from the table once we complete the mail merge. For certain common elements of mailings, such as greetings or addresses, we can use the provided wizards to quickly and easily format these. For example, here’s the Greeting Line wizard:
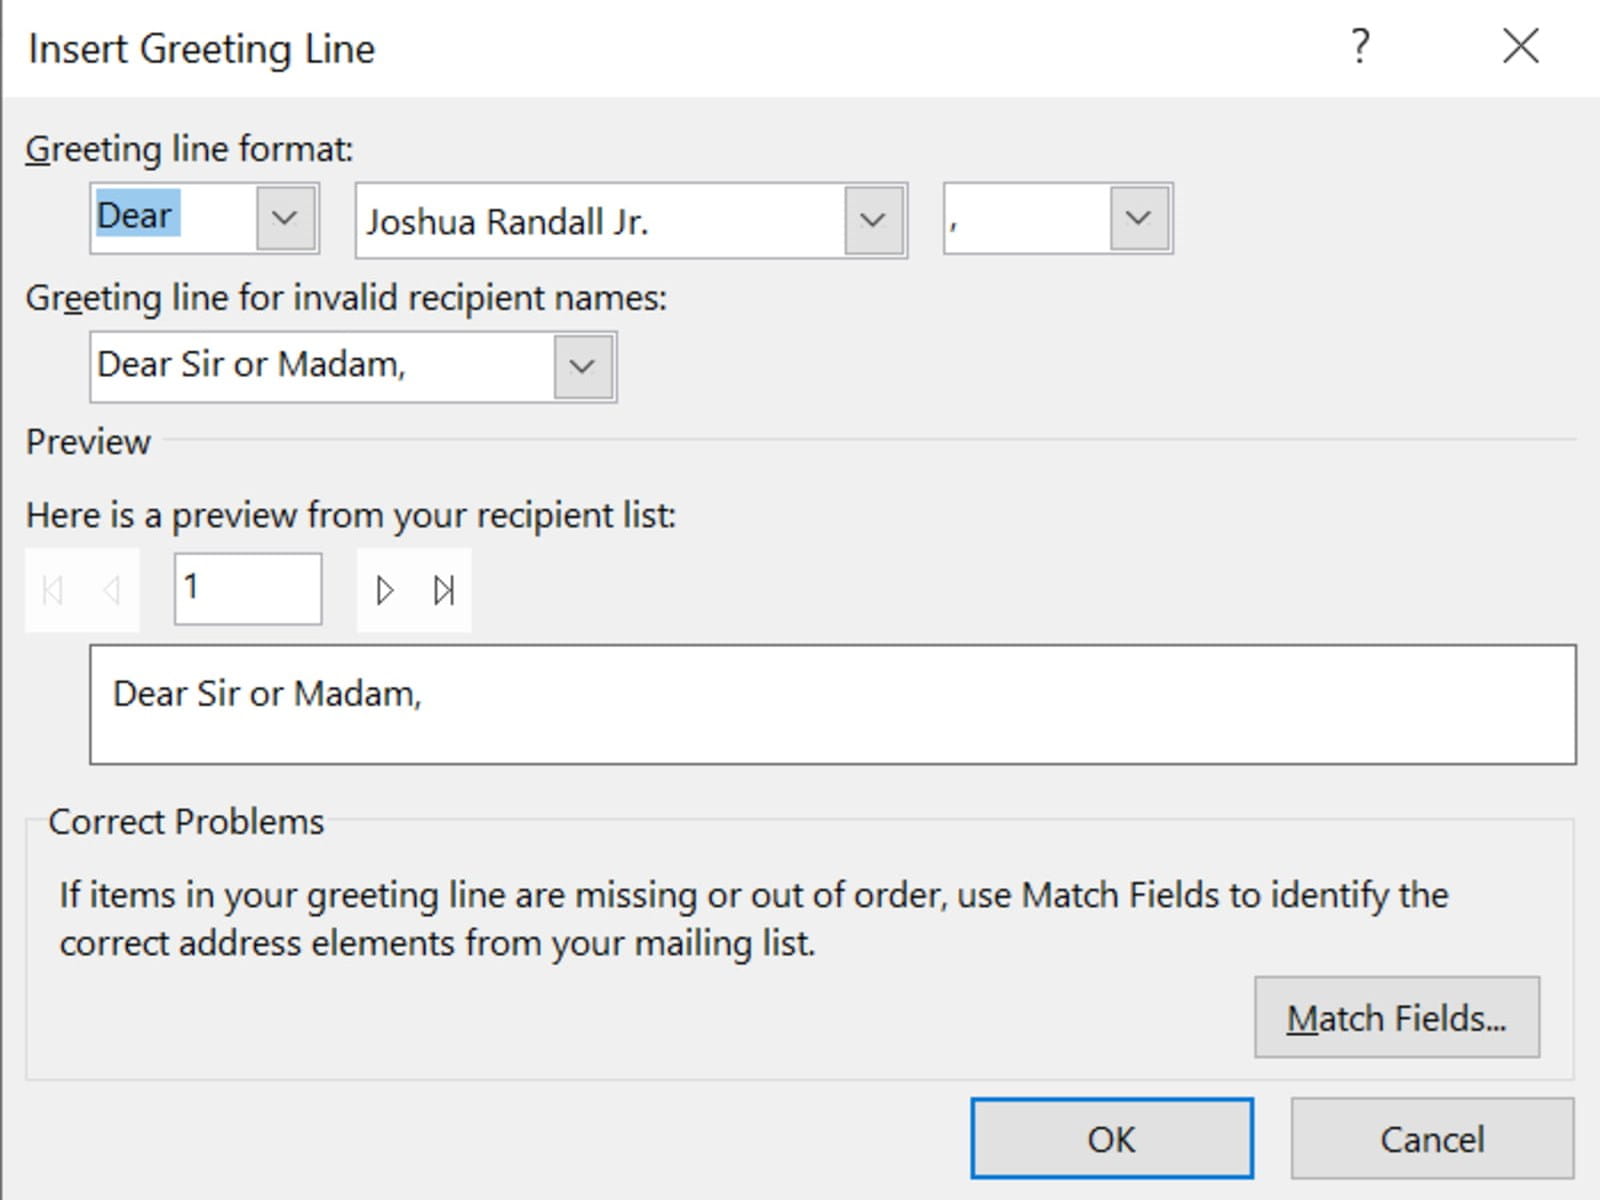
We can choose the style of address we want, and then use the Match Fields button to help Excel identify which columns of our table contain the appropriate data. Note the field for invalid names – we want to use this as some of our data (e.g. Kiyoko Nakamoto of Japan) is missing terms of address.
Adding in logic
Here’s the basic copy for our merge:

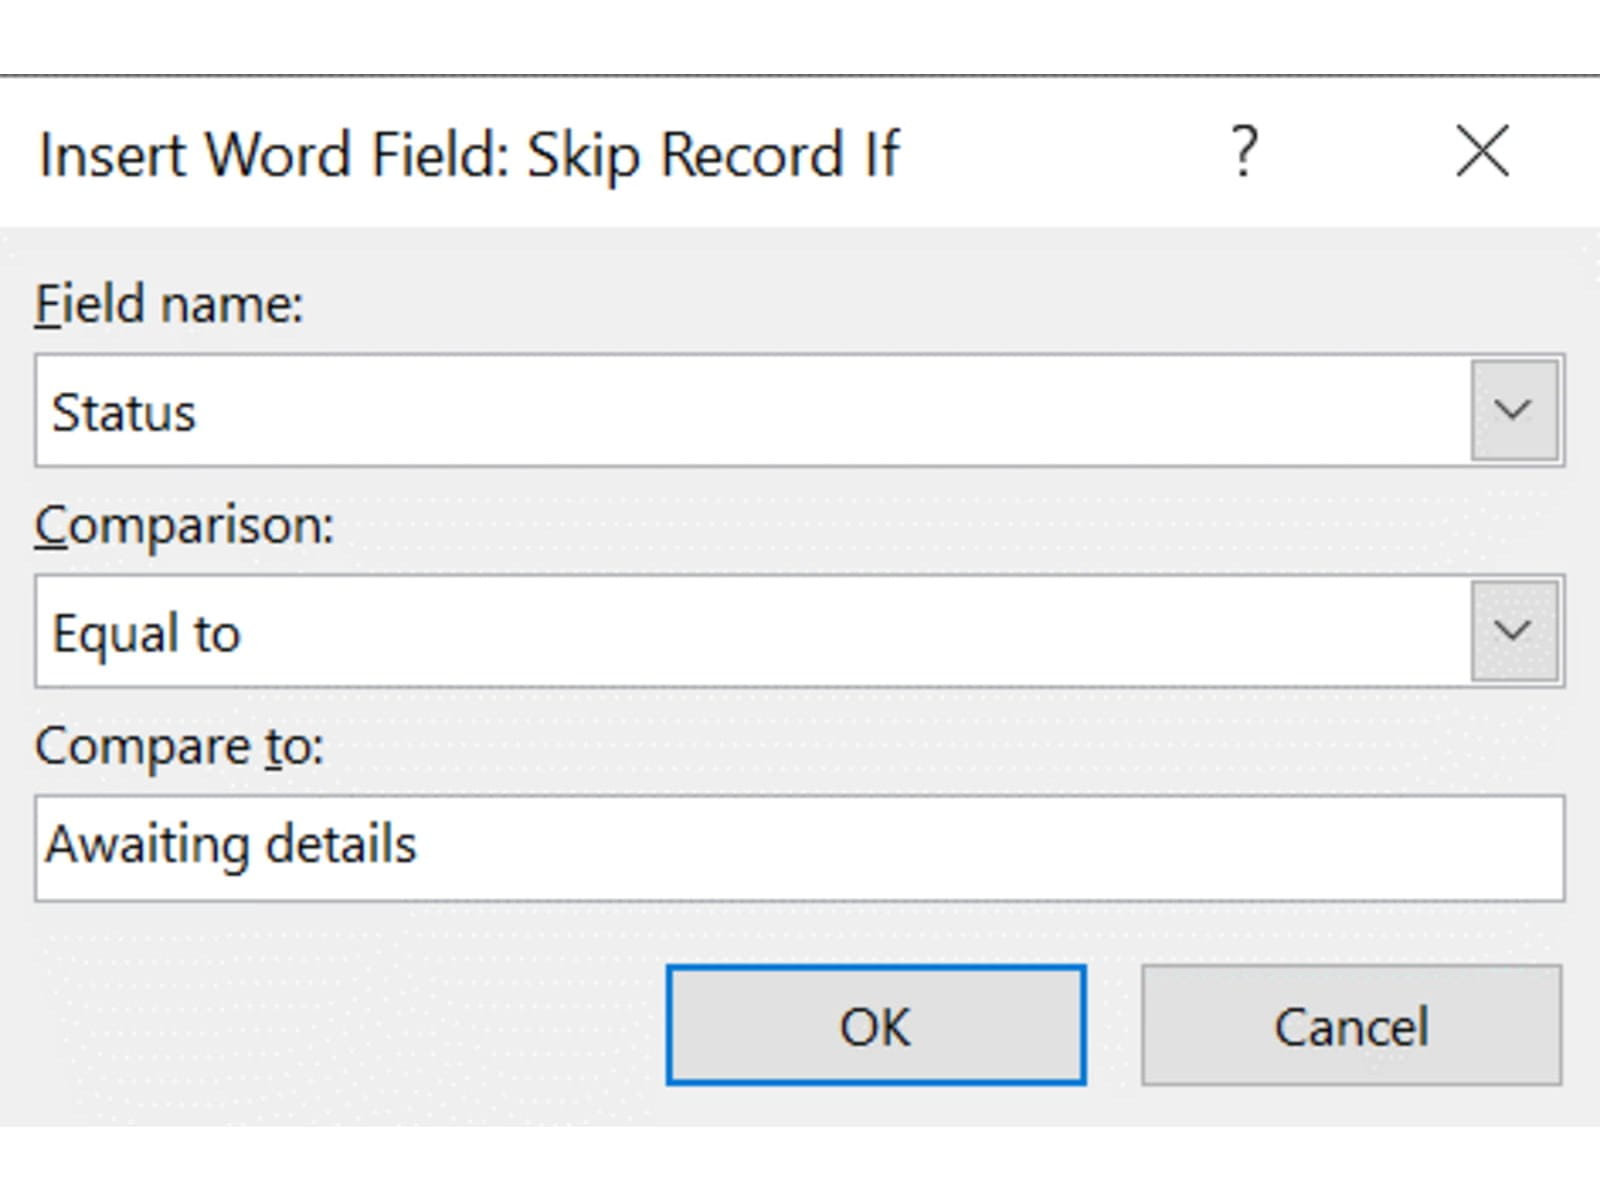
Putting this in the copy means that the incomplete rows in the table will just be skipped.
We can also use the “If…Then…Else” option to add some language that will appear conditionally in certain circumstances – so for example where we have included the country name, we will want to add a “the” for some:
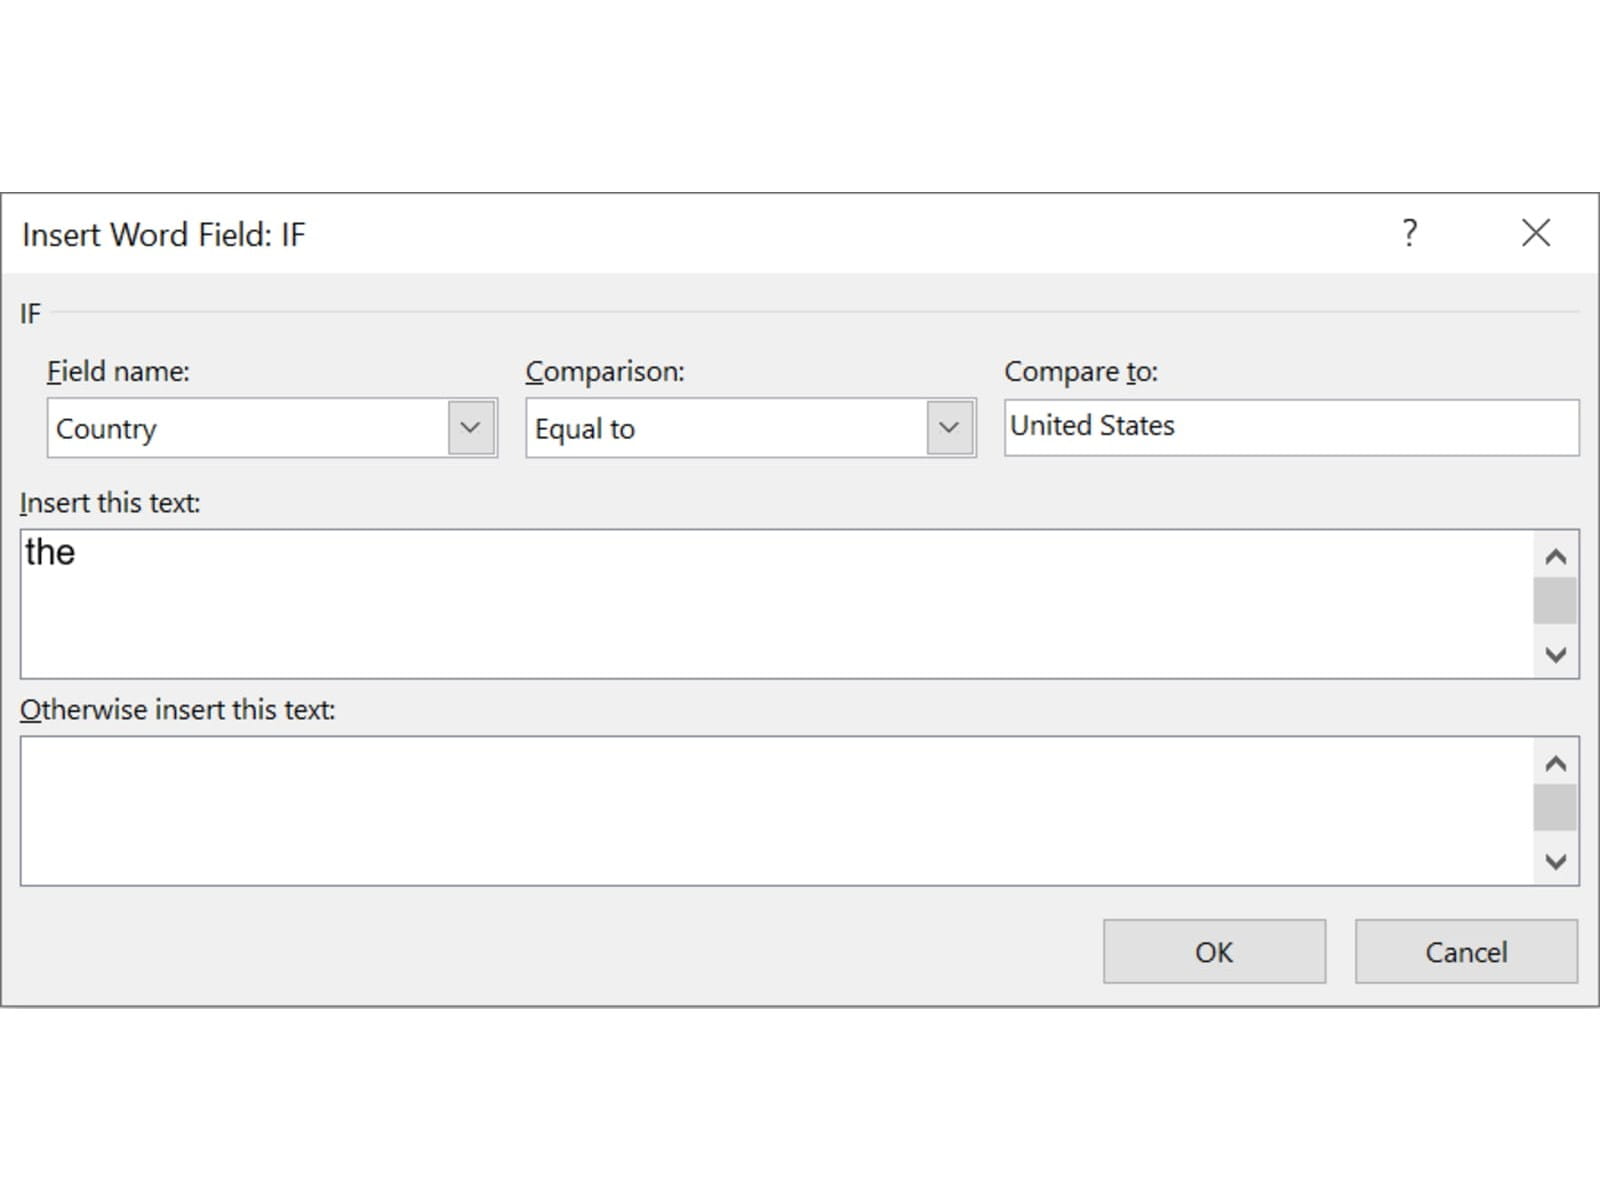
We can just repeat for both of United States and United Kingdom as only one of these will show at a time.
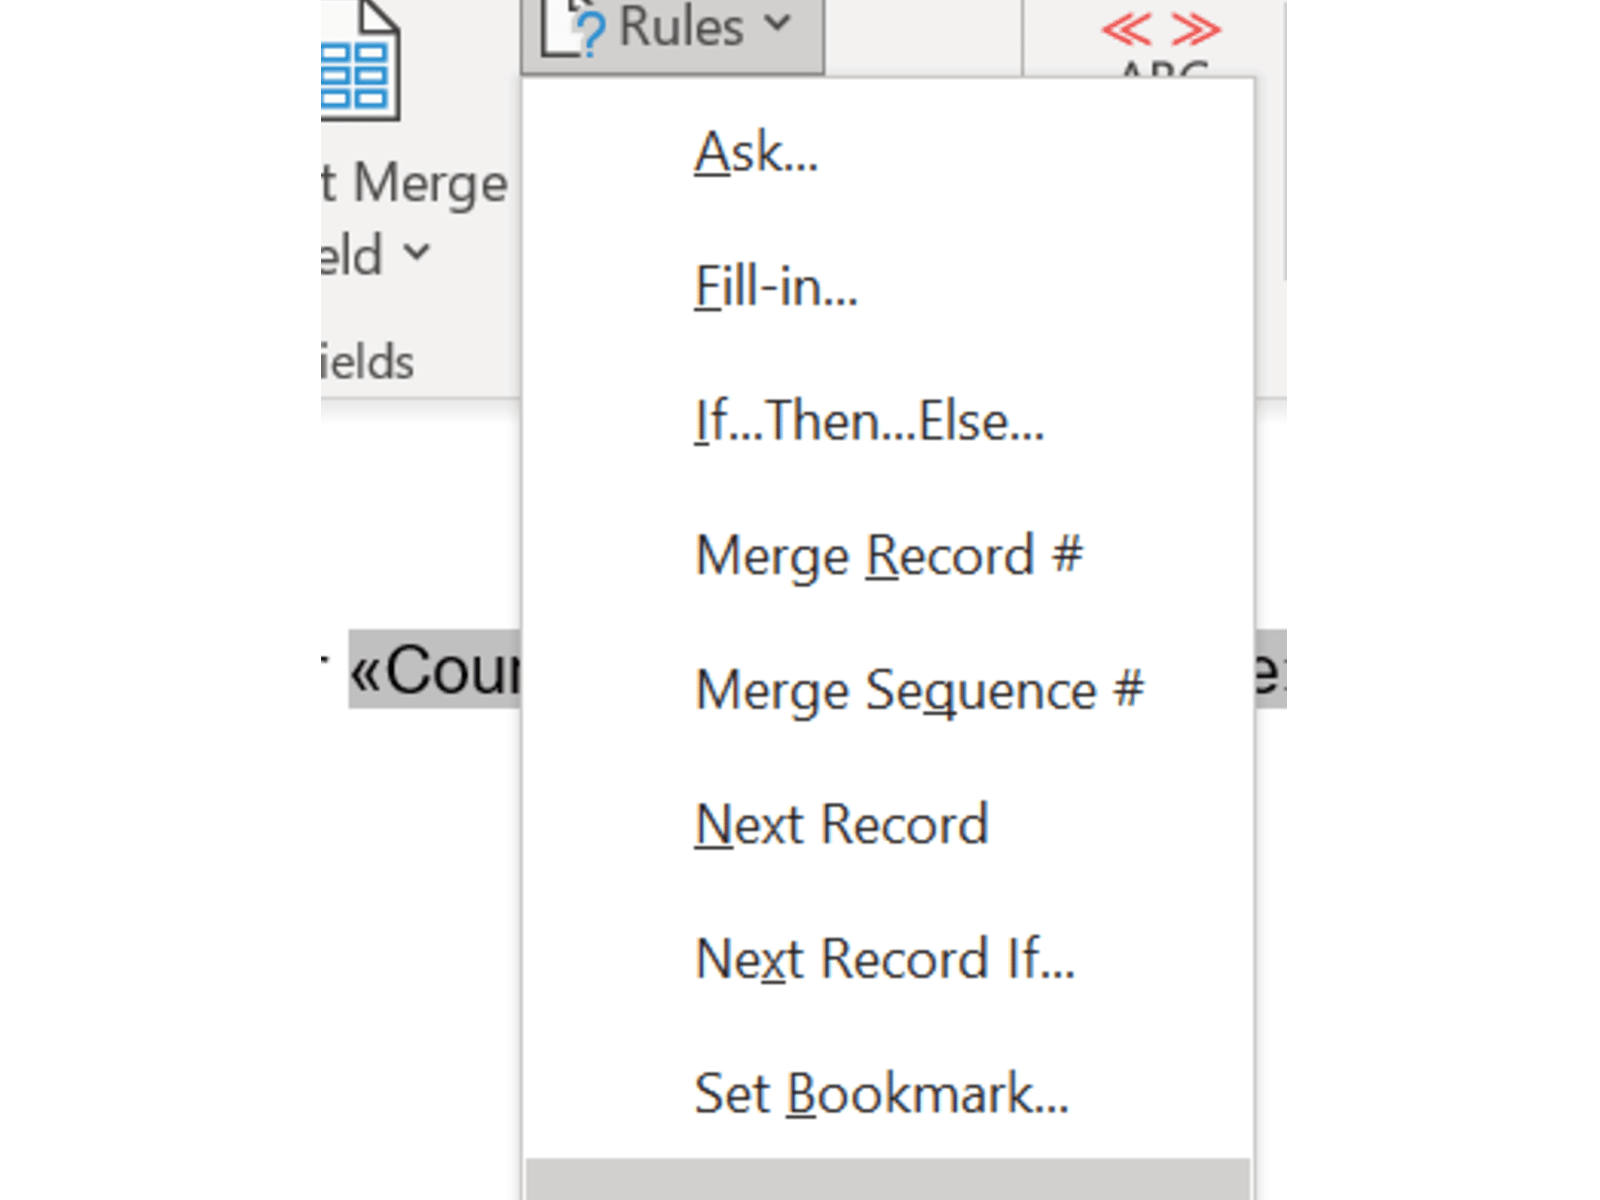
A quick run-down of the other Rules options:
- Ask – You can create a bookmark field with Ctrl F9 for something which isn’t in the data set – say for example the webinar event date has not yet been finalised – and then use Ask to create a prompt that will ask the user for the data when the mail merge is run
- Fill-In – This is a simpler version of Ask, but will only work for a single instance of the data
- Merge Record # - inputs which relative position in the merge this item is – so if for example your records were sorted by rank, you could show the relative rank here
- Merge Sequence # - inserts the total number of mail merge recipients, e.g. if you wanted to highlight that such-and-such number of people were invited
- Next Record – if you want to combine multiple records from the table together into one printing, you can do so here – everything after the Next Record label will be from the next row
- Next Record If – same as above, but allows for logical rules – so you can e.g. continue to the next record only under certain circumstances
- Set Bookmark – This is how you set bookmarks for use in the Ask rule, above
To you help out as you’re designing your merge, you can use the Mailings ribbon option ‘Preview Results’ to see what this looks like for your actual data as you go. And then once your merge is set up just right, use Finish & Merge and choose whether you want to output as a Word file for direct review, print, or send directly via email.
You can check out the example data file here and the resulting Word mail merge file here.
Join the Excel Community
Do you use Excel in your organisation? Are you using it to its maximum potential? Develop your skills and minimise spreadsheet risk with our Excel resources. Membership is open to everyone - non ICAEW members are also welcome to join.

Archive and Knowledge Base
This archive of Excel Community content from the ION platform will allow you to read the content of the articles but the functionality on the pages is limited. The ION search box, tags and navigation buttons on the archived pages will not work. Pages will load more slowly than a live website. You may be able to follow links to other articles but if this does not work, please return to the archive search. You can also search our Knowledge Base for access to all articles, new and archived, organised by topic.
