
Hello all and welcome back to the Excel Tip of the Week! This week, we have a Basic User post in which we’re talking about part of the Excel window-dressing that often gets overlooked: the Status Bar.
What is the Status Bar, and how can you use it?
The Status Bar is the thin strip below the list of worksheets, at the very bottom of the Excel window.
This is a pretty large chunk of screen real estate, so let’s look at how to make the most of it.
Let’s start on the right, with these interface options:
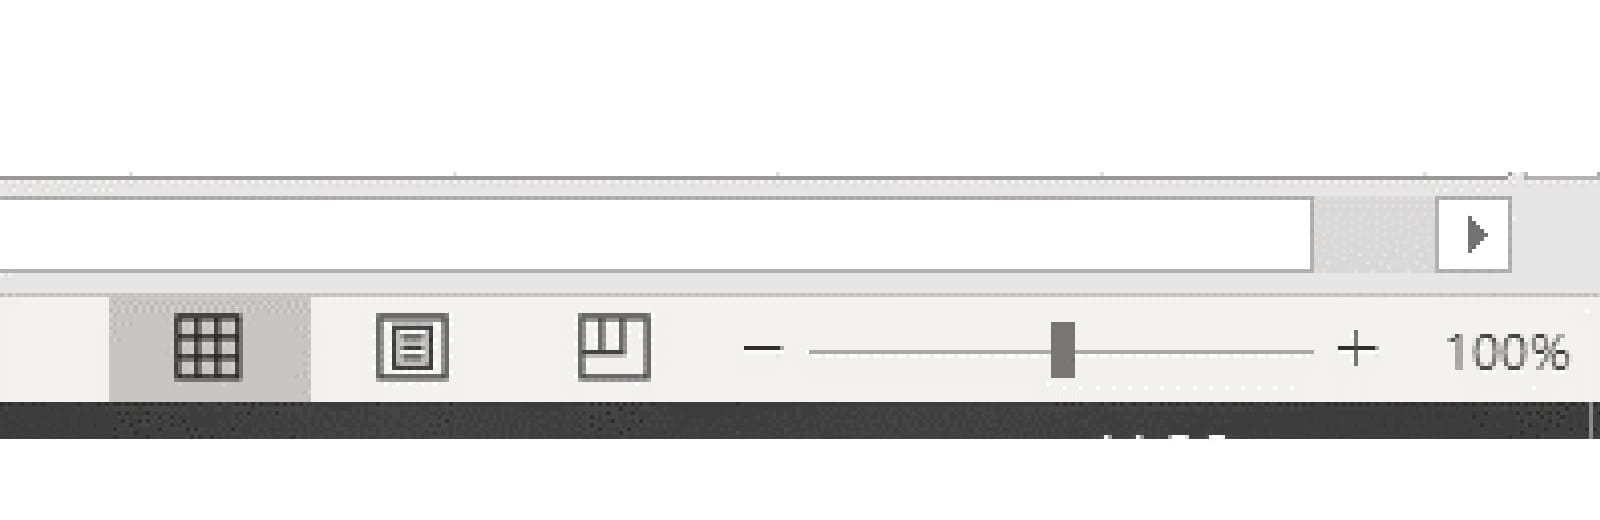
At the left we have options for how the current workbook is displayed – Normal (the default appearance), Page Layout (which shows what a single printed page would look like), and Page Break Preview (which superimposes page break lines on the workbook which you can then move and/or work around).
On the right is a slider to adjust the workbook zoom level. You can also click the current zoom level in the bottom right to either select from one of the preset zoom options, or to enter a manual zoom level.
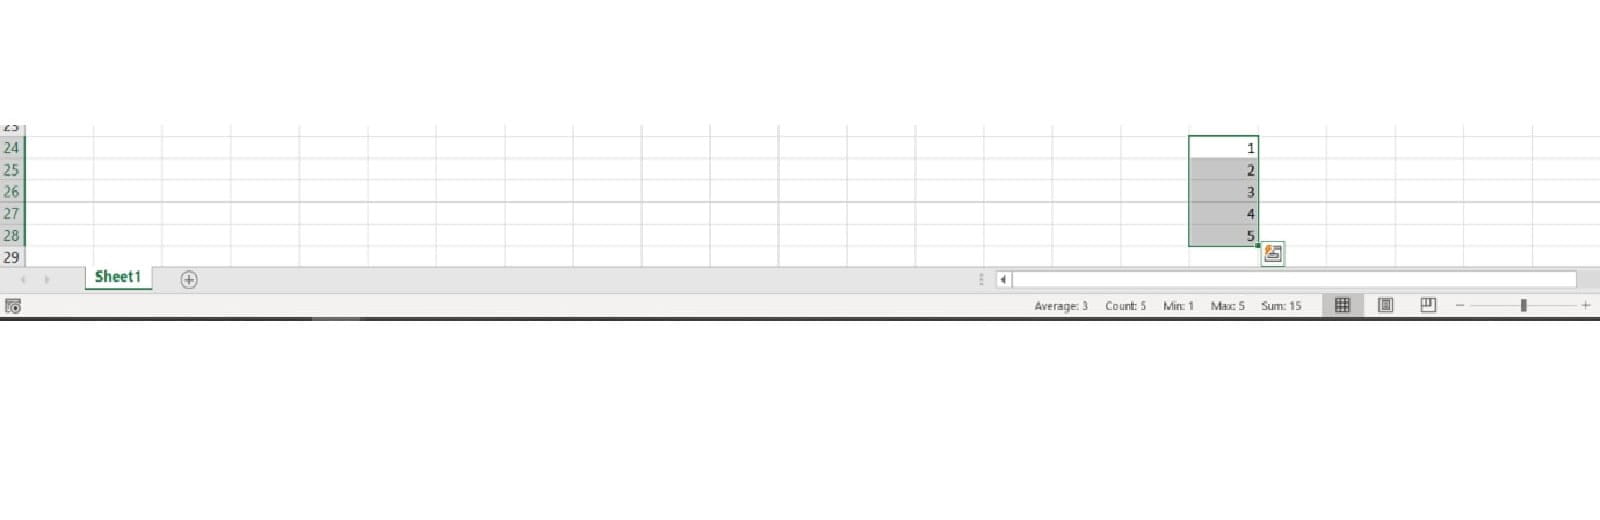
Just to the left of this area is where Excel will display a quick summary of any data you select:
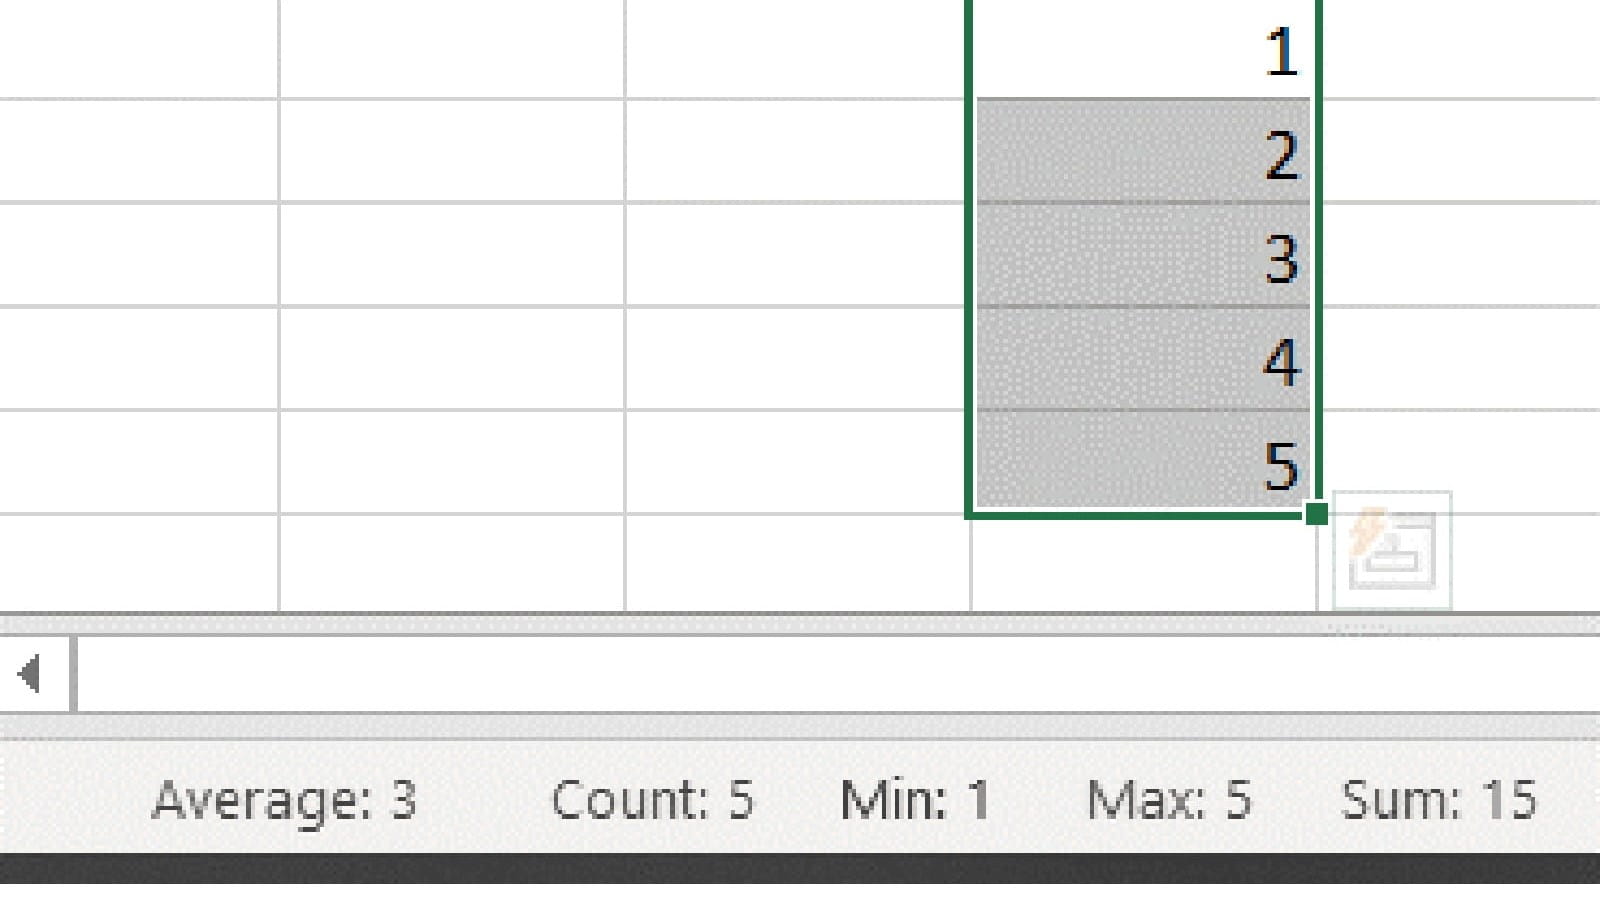
By default only the sum of selected data is shown, but in a moment we’ll look at how to customise which summaries are used.
Going further with the Status Bar
Right click on the Status Bar and you get this bewildering list of options:
Let’s break down all the options!
Cell Mode
This displays Excel’s current operational state at the bottom left:
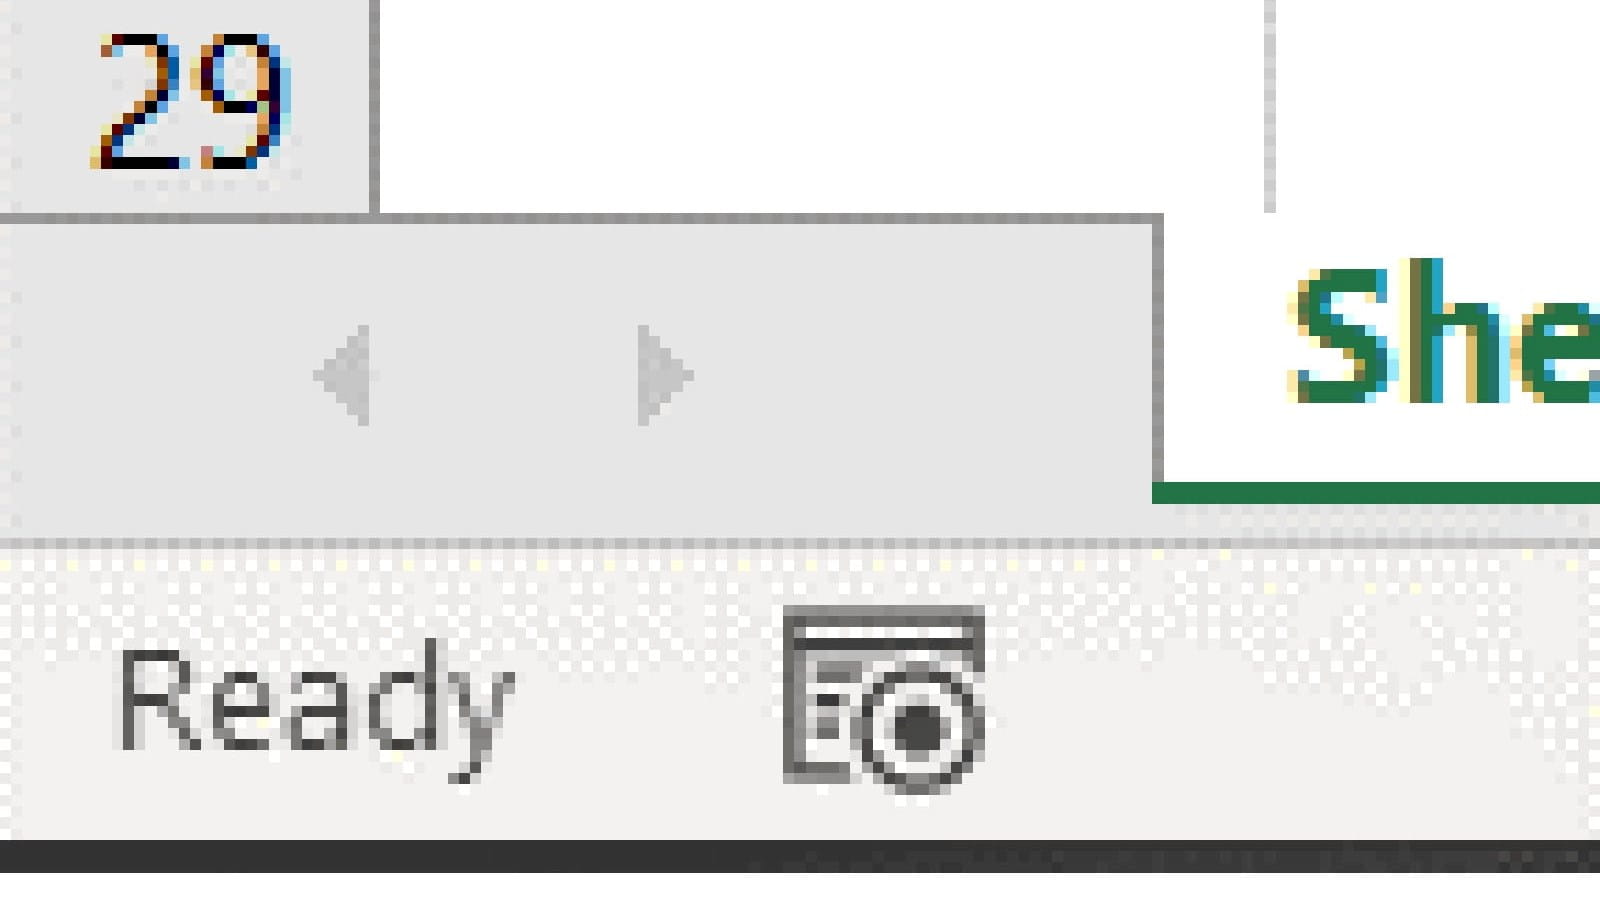
Ready is the default state; Enter mode is when you are typing text or a formula; Edit is when you are amending a previously-written cell; and Point is the mode for selecting a cell outside the current formula to use in the formula.
Flash Fill options
These show you how many cells were affected or left blank by Flash Fill (see TOTW #124 for more on that).
Workbook Statistics
Added in Excel for Microsoft 365, this option allows you to pop up a short summary of your workbook’s key stats – such as the number of populated cells, formula, number of worksheets, and so on.
Sensitivity
Another newer feature, this will display if the workbook has been set with a custom sensitive level such as “secret” or “internal use only”.
Signatures
Notes if the active workbook has been digitally signed.
Information Management Policy
Similarly to the Sensitivity setting, this shows if the workbook is subject to Information Rights Management protection.
Permissions
Indicates whether the workbook is e.g. read-only.
Caps Lock, Num Lock, Scroll Lock
Shows an indicator if one or more of these keyboard settings has been enabled.
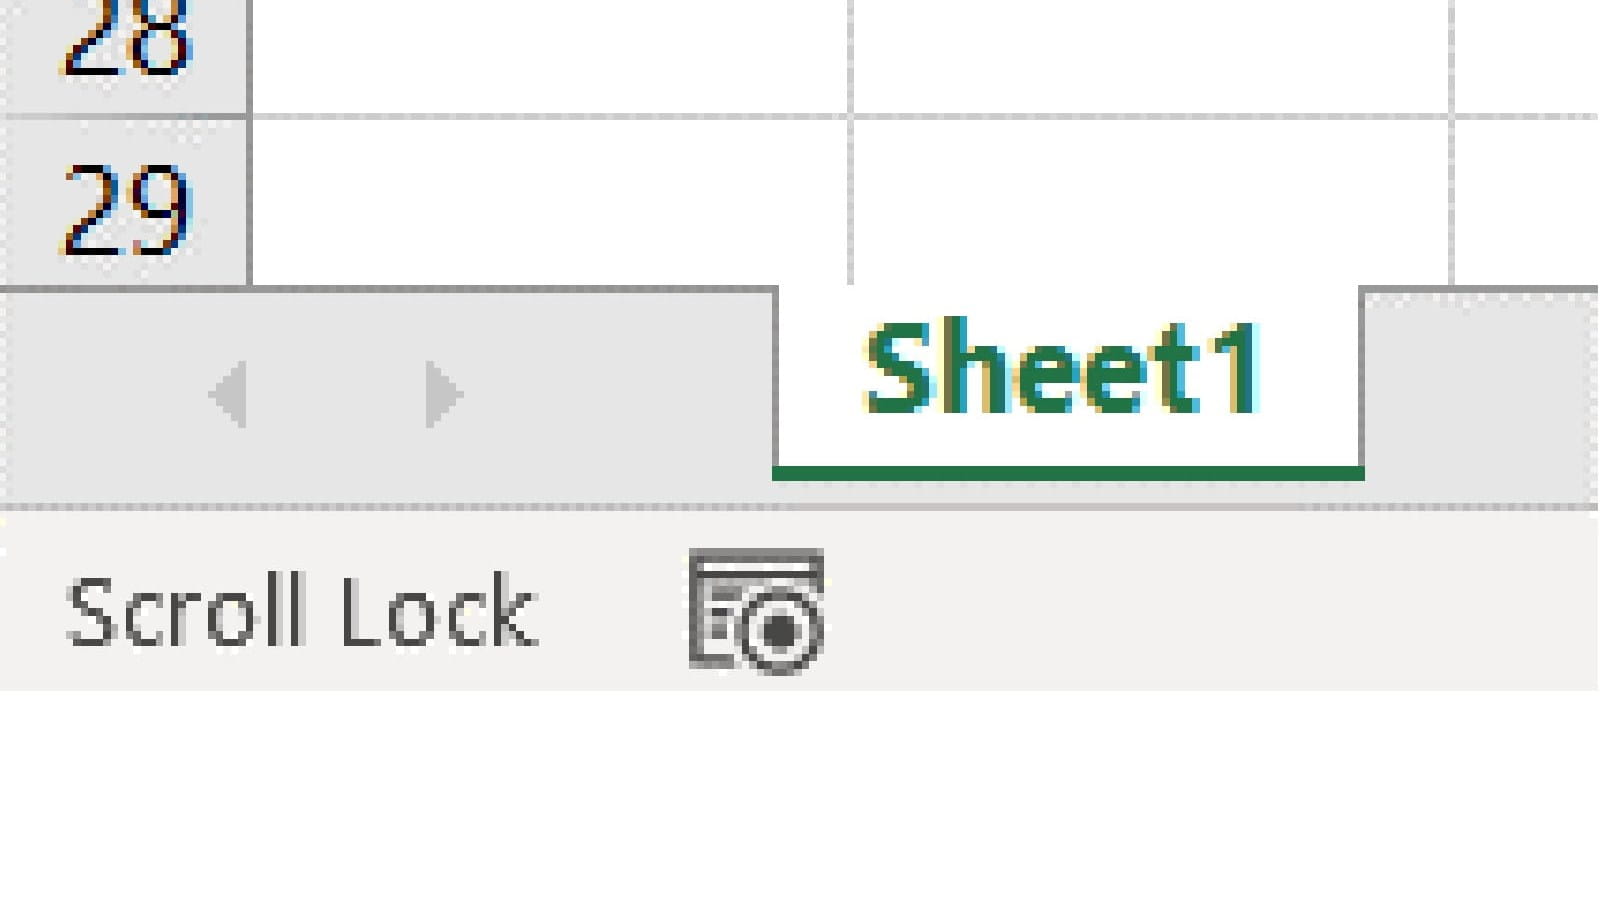
Accidentally enabling Scroll Lock in particular can make your Excel act very oddly – it will make arrow keys scroll the screen instead of changing the active cell – so watch out for that one!
Fixed Decimal
This is a setting that you can enable that will make any numbers you type forcibly include a given number of decimal places – e.g. you can set it to 2 and then if you type 12345, the value entered will be 123.45. This is sometimes used for data entry of monetary amounts.
Note that the option on the Status Bar right-click menu just controls whether an indicator of this setting is shown – to actually enabled Fixed Decimal entry, use File => Excel Options => Advanced => Automatically insert a decimal place.
Overtype Mode
This will show if the Insert / Overtype keyboard setting is used when editing a cell – which makes your typing replace current text rather than inserting it.
End Mode
This will note if you have pressed the End key; if you have done so then the next arrow key you press will send the selected cell in that direction until it reaches the next filled/empty cell (depending on what you started with).
Macro Recording
Displays the icon (visible in the screenshots above) indicating whether a macro is currently being recorded; you can also click the icon to start/stop macro recording.
Accessibility Checker
Another 365 feature, this will show your workbook’s status according to Microsoft’s Accessibility Checker (also available on the Review tab), which will review for things like hard-to-read fonts, images with no alternative text for screen readers, and so on.
Selection Mode
This shows your selection mode when using the keyboard to select a range. If you press F8 when selecting cells, the Status Bar will show Extend Selection and allow you to use the arrow keys to change the current selection. Or, press Shift F8 to show Add to Selection in the Status Bar: This will allow you to navigate to another, non-connected cell, then press F8 to draw a box to add to the selection.
Page Number
This is pretty self-explanatory – if you are in Page Break Preview or Page Layout mode, it will show you which page you are currently on and the total page count
Average, Count, Numerical Count, Minimum, Maximum, Sum
These summary values will show whenever you select more than one cell. Sum is the only one on by default.
Note that the Count summary here counts how many filled cells there are – similar to the Excel function COUNTA, not the number of cells with numeric data in like COUNT. Numerical Count does what the COUNT function does.
Upload Status
If you are working with a file from OneDrive or Sharepoint, will show you a status bar when you save changes to the server.
View Shortcuts
These are the Normal / Page Break Preview / Page Layout shortcut buttons we showed earlier.
And there’s a little more of the menu that didn’t fit on the above screenshot too – with the Zoom Slider and Zoom options, which again we showed above.
Phew! As you can see, there’s a lot that can pop up in the Status Bar. Note that almost all of these are contextual, meaning that they will only appear when needed – which will help stop your Status Bar from becoming overwhelmed.
Archive and Knowledge Base
This archive of Excel Community content from the ION platform will allow you to read the content of the articles but the functionality on the pages is limited. The ION search box, tags and navigation buttons on the archived pages will not work. Pages will load more slowly than a live website. You may be able to follow links to other articles but if this does not work, please return to the archive search. You can also search our Knowledge Base for access to all articles, new and archived, organised by topic.
