
Hello all and welcome back to the Excel Tip of the Week! This week, we are returning to our occasional series exploring the possibilities of VBA. This time we are looking at some tools for working with worksheets – how to list them, and how to rearrange them. This is a particularly handy set of tools whenever working with a larger workbook, as the in-built Excel options for reordering your worksheets are quite limited.
Listing the worksheets
The approach we’re going to take is this: We’re going to make one sub which will make a list of the worksheets in our current workbook, to help the user define the ordering they want (whether alphabetical or something else). Then, we’ll make a second sub which will sort the worksheets into an order according to a currently selected range in the workbook.
The first one is relatively simple:
Sub SheetNames()
Dim ws As Worksheet
For Each ws In ActiveWorkbook.Sheets
ActiveCell = ws.Name
ActiveCell.Offset(1, 0).Activate
Next ws
End Sub
We have a very simple For loop that iterates through the Sheets of the current workbook, and writes their names into a list, starting at the active cell and moving on downward.
It’s worth noting that VBA has separate objects called Sheets and Worksheets. For most Excel books these are interchangeable – but if you make use of Chart Sheets, then those are only included in the wider-definition Sheets object.
Here’s a screenshot of our example workbook and the output of our first subroutine:
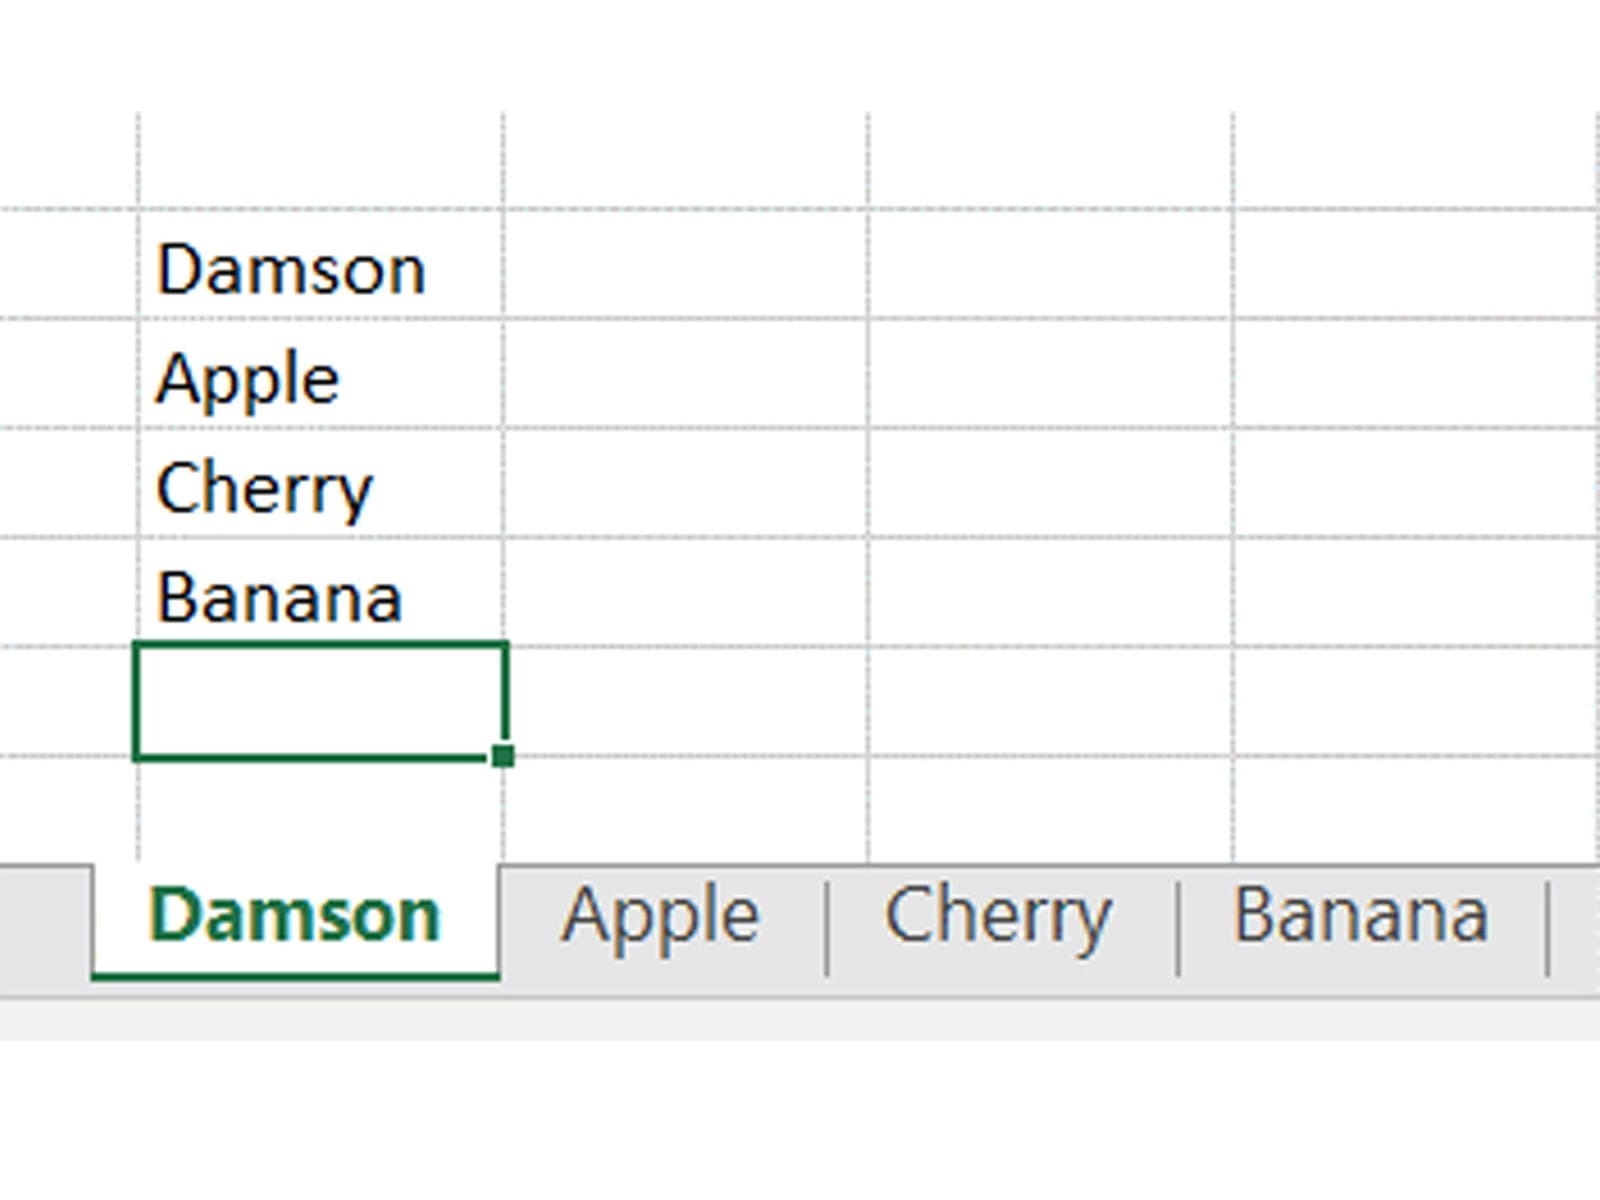
The user can then manually or automatically sort the sheet names into the order they desire. We’re going to aim for a simple alphabetical order.
Rearranging the sheets
The user will need to select the range of cells with the desired sheet name order in it. Our sub will then comprise two loops: One which will read the desired order from the selected cells, and then another that will reorder everything.
Here’s the first loop, which reads the current selection into a VBA collection object:
Dim SheetOrdering As New Collection
For i = 1 To Selection.Count
SheetOrdering.Add Selection(i)
Next i
We are using the Selection object, which refers simply to the currently selected region.
For our next step, we are going to use the Sheets.Move method. This lets you move a sheet (identified either by its name or by an index number) to a new location, by identifying another sheet you want to move it before or after. The syntax is:
Sheets(identifier).Move Before:=identifier
Sheets(identifier).Move After:=identifier
For our loop we will use some variables to store which sheet we’re moving and where it’s going. The full code is:
Dim CurrentSheetName As String
Dim PreviousSheetName As String
For i = 2 To SheetOrdering.Count
CurrentSheetName = SheetOrdering(i)
PreviousSheetName = SheetOrdering(i - 1)
Sheets(CurrentSheetName).Move after:=Sheets(PreviousSheetName)
Next i
Note that our loops counts from 2 upward; we start by moving the 2nd item from the list after the 1st item, then the 3rd after the 2nd, and so on.
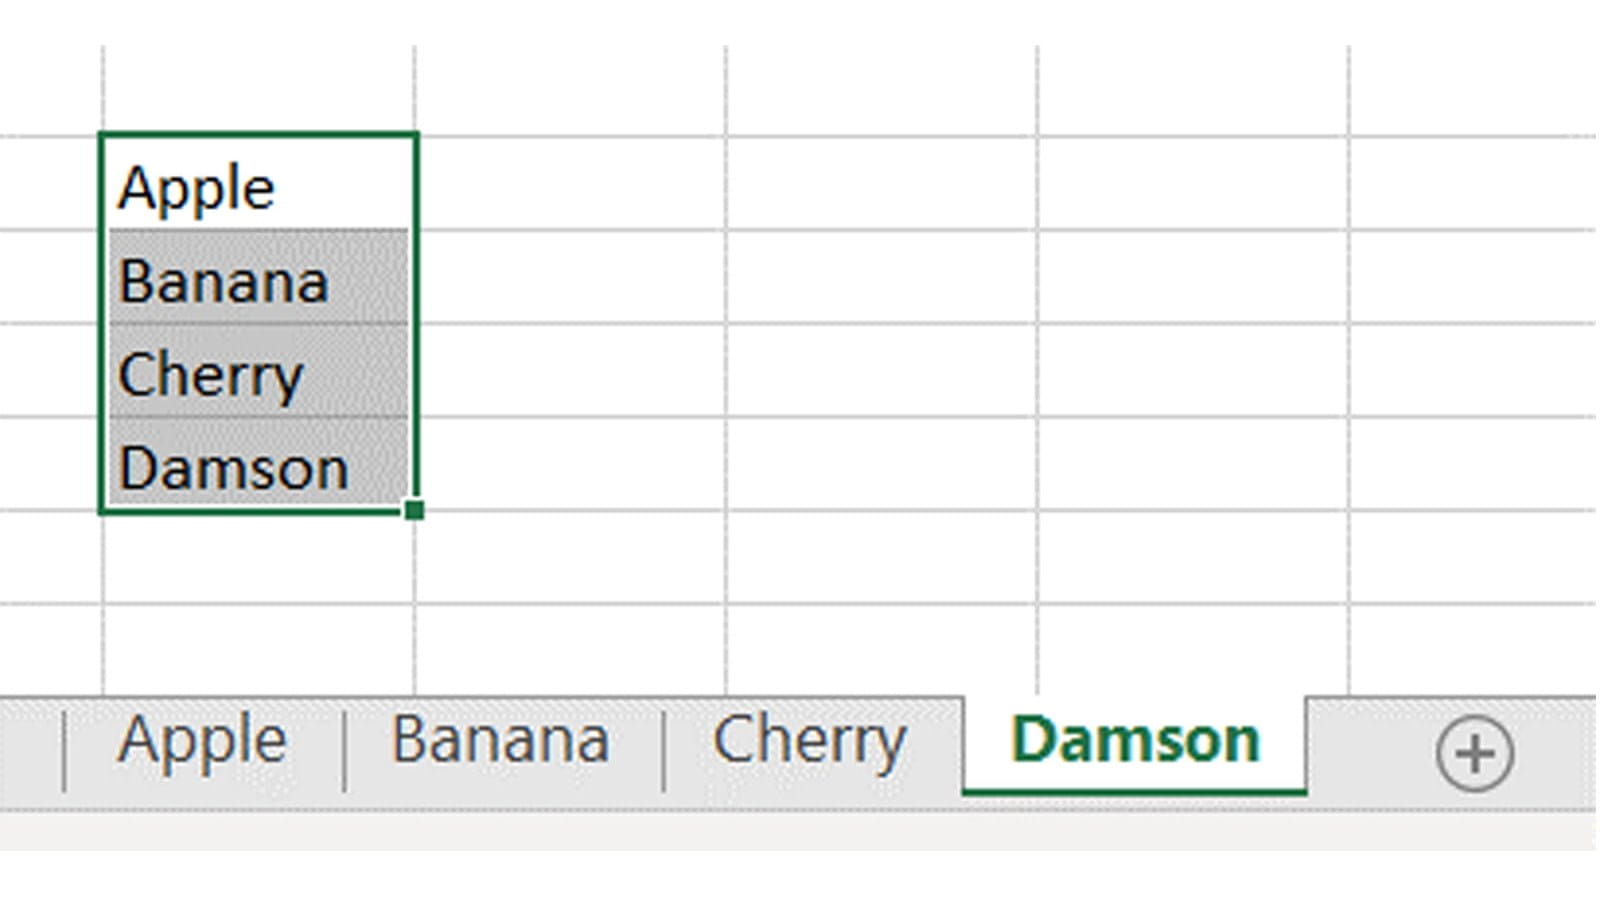
Once we run our code, here’s our finished result:
You can check out the full code of both modules, plus have a play with it, in the attached file!
Archive and Knowledge Base
This archive of Excel Community content from the ION platform will allow you to read the content of the articles but the functionality on the pages is limited. The ION search box, tags and navigation buttons on the archived pages will not work. Pages will load more slowly than a live website. You may be able to follow links to other articles but if this does not work, please return to the archive search. You can also search our Knowledge Base for access to all articles, new and archived, organised by topic.
