
Although the imminent new Excel IMAGE() function provides additional options for displaying pictures that change dynamically based on values in cells, there is already a way to do this using the Excel Camera. The examples in this article show you how to display product pictures and real traffic lights.
Introduction
I was at a meeting earlier this week in which the new IMAGE() function was discussed. This new function (currently in preview) allows an image to be displayed within a single cell by entering the URL of the image file. Someone at the meeting spotted the possibility of using this to create images that could change dynamically depending on values in cells. They mused wistfully on the possibility of creating ‘real’ traffic lights.
I have been guilty in the past of writing off useful Excel functionality before I fully understood all of its capabilities. The CONCAT() function and the Flash Fill feature spring to mind. I fear I might be about to commit the same error with regard to the IMAGE() function. At the moment, I can’t summon up much enthusiasm for IMAGE(). Although it will definitely have its uses, having to refer to the image as a separate file using a URL seems at best cumbersome, and there is already a way to create conditional pictures in Excel.
Pictures in cells
First of all, IMAGE() is far from being the only way to include a picture in a cell. If you set the cell width and height to the size you want, you can then paste in any picture from the clipboard and resize it to fit wholly within the cell boundaries. Unfortunately, you can’t just put a reference to that cell in another cell to display the picture. The picture is just sitting on top of the cell rather than being the cell value, so the reference will just return 0 if the cell is otherwise empty. However, there is a way to create an Excel object that references the cell including the picture displayed therein.
The Excel Camera/Paste Picture Link
Were you to search through the list of available commands to add to the Quick Access Toolbar or the Ribbon, you would find the Camera. As its name suggests, the Camera takes pictures. If you select a cell or a block of cells, then click on the Camera command, the Camera will take a picture that can be pasted wherever you click. This picture is linked back to the source cells so, when they change, the Camera picture also changes. One very practical use of the Excel Camera is to assemble pictures of ranges from different worksheets on a single worksheet to allow them to be printed on a single sheet of paper.
As much fun as the camera is, there is another way to create linked pictures in Excel without the need to add commands within the interface. If you simply copy a cell or block of cells and then select the destination cell, you can use the Home Ribbon tab, Clipboard group, Paste dropdown to select Paste Picture Link.
Either way, we have a picture that is linked to a cell or range reference. This reference is displayed in the formula bar when the linked picture is selected and can be edited there too. The source reference for the picture can be derived from a formula, which means that we can create a conditional formula that will return a different reference depending on the value in a cell or range of cells. There is one complication that we have come across before, the source formula cannot include an Excel function directly. This means that, to include a function, we need to allocate our formula to an Excel Range Name and use this Range Name as the source of our linked picture.
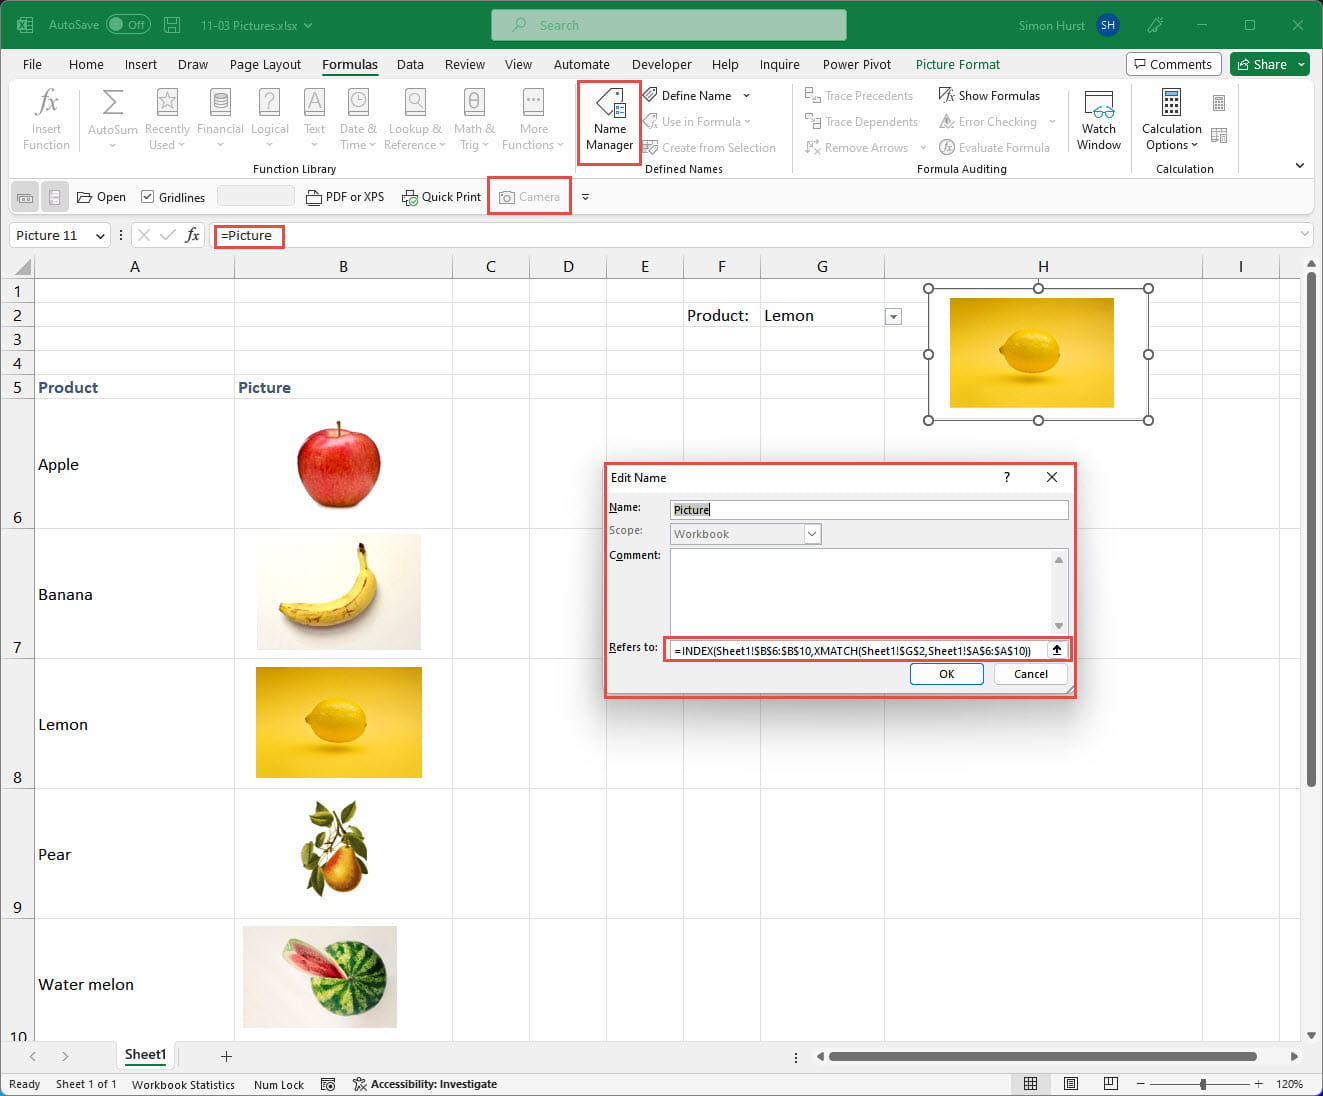
In this example, we want to display the picture of the product chosen from a dropdown list of products. We have used the Excel camera to take a picture of one of the cells in the range B6:B11 and then pasted that picture next to our dropdown cell. We have used the Name Manager to allocate a formula directly to a new Range Name that we have called ‘Picture’. This formula uses INDEX() and XMATCH() to find which cell in column A contains our chosen picture name using XMATCH() and then used this as the argument of INDEX() to pick the relevant picture cell:
=INDEX(Sheet1!$B$6:$B$10,XMATCH(Sheet1!$G$2,Sheet1!$A$6:$A$10))
The final step is to select our linked picture and enter =Picture in the formula bar:
We should now find that choosing one of our products from the dropdown list displays the relevant picture.
In the introduction, we promised real traffic lights, so here we have inserted one of Excel’s Stock Image illustrations, copied it, and, using the Picture Format Ribbon tab, Adjust group, Colour dropdown, recoloured the pictures to give us green, amber and red traffic light pictures. Each of the pictures is sized to fit wholly within a single cell. We have used Range Names for each of these cells: Good, Average and Bad.
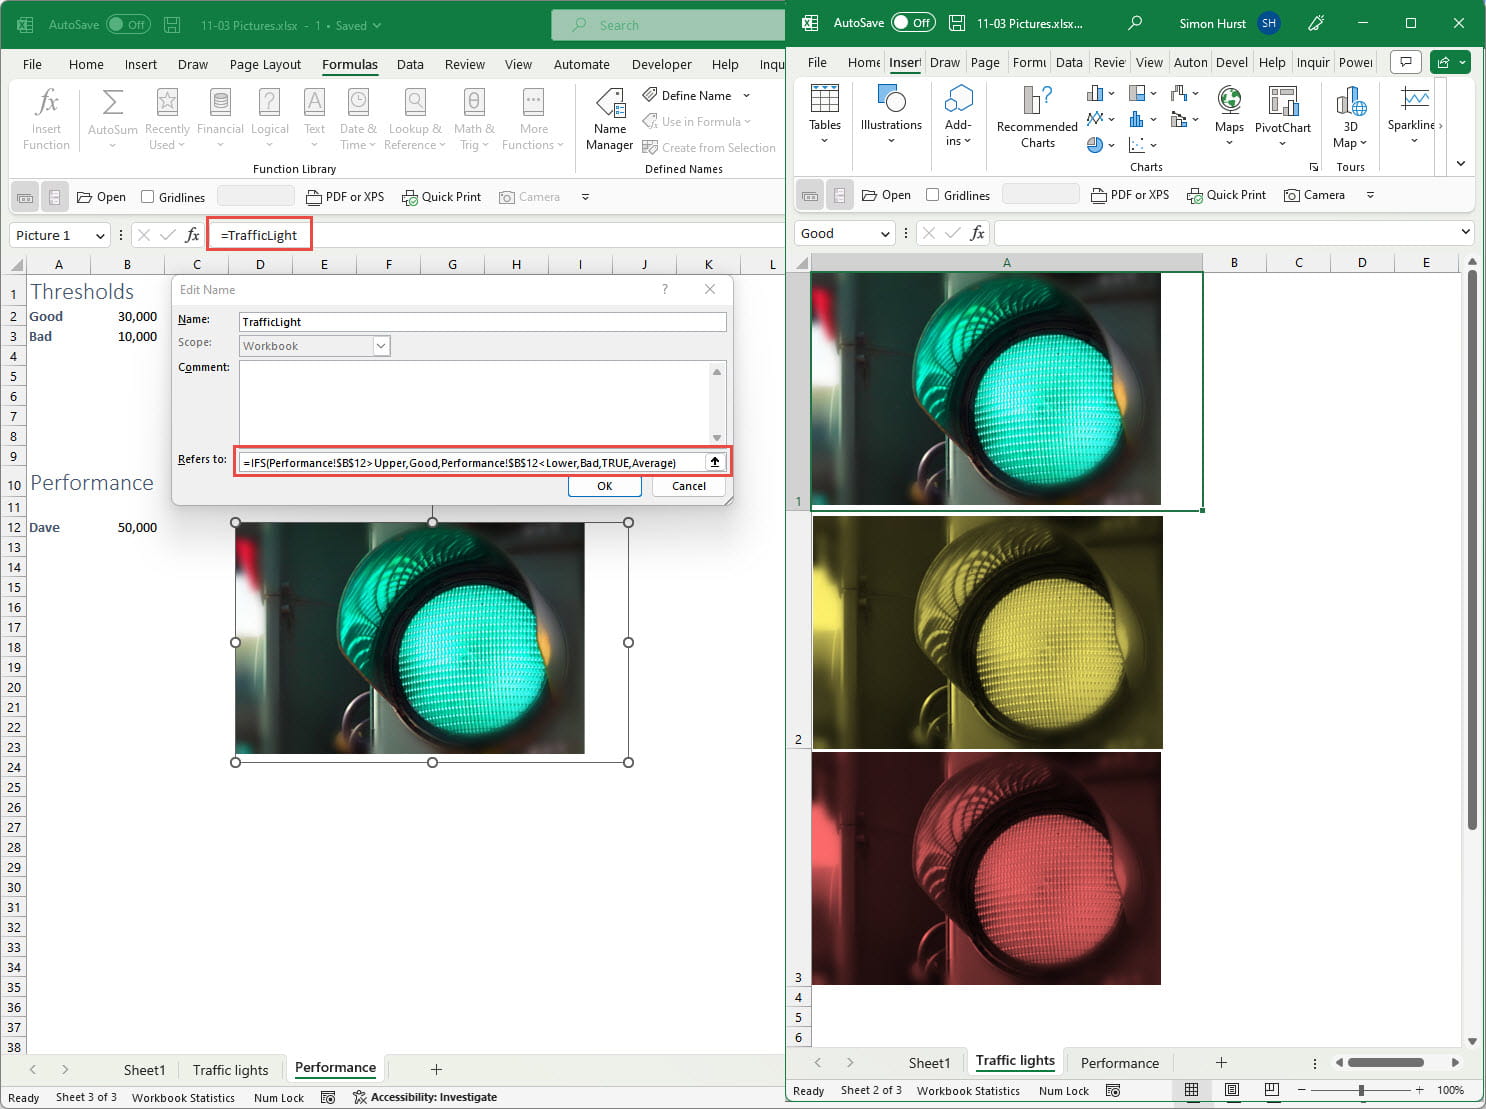
For our TrafficLight Range Name formula, this time we have used the IFS() function to check our value in B12 against our threshold totals which we have named Upper and Lower:
=IFS(Performance!$B$12>Upper,Good,Performance!$B$12<Lower,Bad,TRUE,Average)
In this formula, we are comparing the value in cell B12 of our Performance worksheet first against our Upper threshold value, then against our Lower threshold value. If our B12 value isn’t higher than the upper threshold or lower than the lower threshold, we want to use the Average cell, accordingly, we have entered the logical test part of the third argument pair of IFS() as TRUE, to make sure that all results apart from those that are intercepted by our first two tests end up as amber.
Archive and Knowledge Base
This archive of Excel Community content from the ION platform will allow you to read the content of the articles but the functionality on the pages is limited. The ION search box, tags and navigation buttons on the archived pages will not work. Pages will load more slowly than a live website. You may be able to follow links to other articles but if this does not work, please return to the archive search. You can also search our Knowledge Base for access to all articles, new and archived, organised by topic.
