
Having covered the basics of the Excel Data Validation feature in the first part of this series and the use of the Custom option to construct more complex data validation rules in part 2, this part looks at using Data Validation to allow users to select from lists.
Introduction
Excel’s Data Validation feature can be very useful in helping to ensure that users enter the correct information into input cells. In this series we will look at some of the less obvious capabilities of the feature. Part 1 covered the basics of Data Validation before moving on to the use of formulas, functions and cell references to calculate the criteria values used as part of the standard ‘Allow’ options. Part 2 looked at the use of the Custom option to create criteria based solely on an Excel formula including using the COUNTIFS() function to create a Data Validation setting to reject duplicate items.Having looked briefly at the standard Data Validation Allow: options and then at the Custom option. This time we will move on to the use of lists. Lists restrict what users can enter to the contents of a range of cells or to a list of items entered directly into the Data Validation dialog, separated by commas. It’s generally preferable to use a range of cells as this makes it much easier to change items or add to the list.
Restricting what users can enter is only one of the benefits of using Data Validation lists, it also means that users can enter data just by selecting from a list rather than having to type it in in full. As we will see, recent enhancements to Data Validation now make this even easier.
Allow: List
To restrict allowed entries to a list, we just need to select List from the Allow: dropdown. This will then display a Source: text box. Here, we have just typed our list of two items, Yes and No, into the Source: text box, separated by a comma: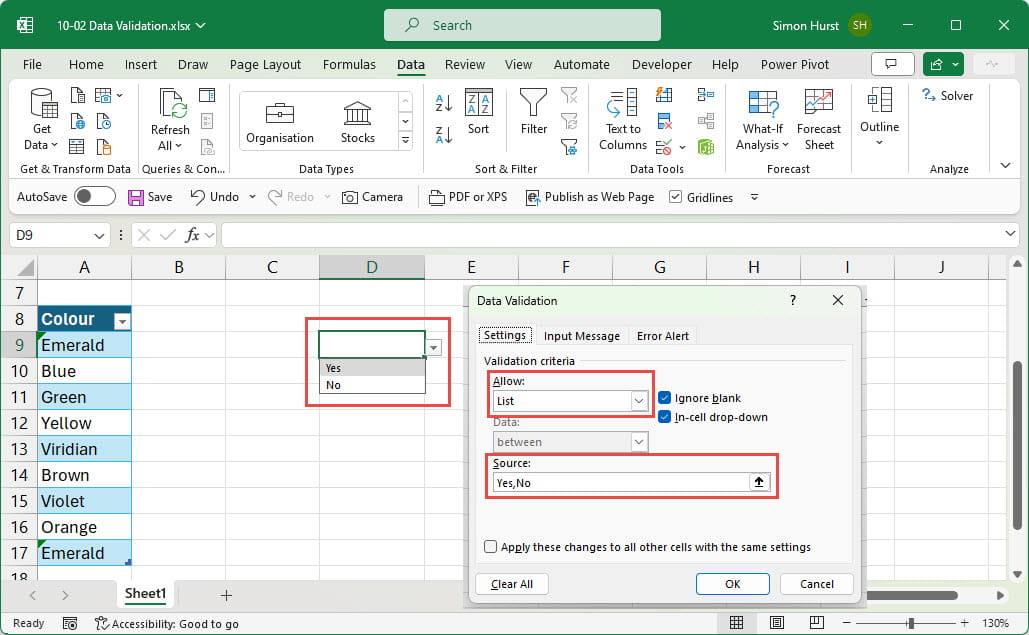
Expanding lists
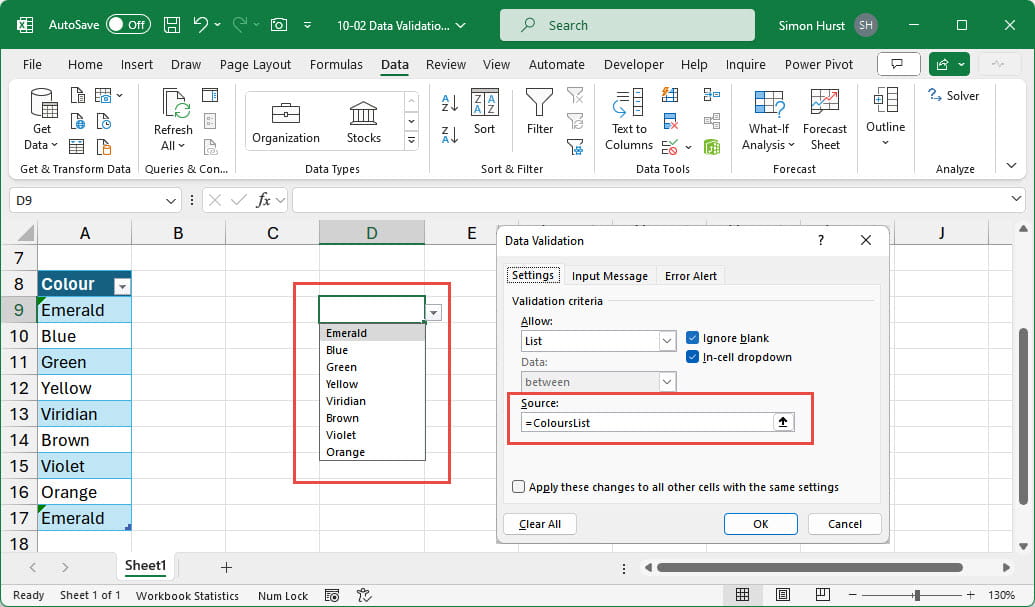
Although you can type your list in directly as shown above, where the list might be subject to change, it’s usually much easier to enter the items into a block of cells and then refer to that block from the Source: box. The easiest way to ensure that the Source: range expands when items are added to the block, is to base it on a Table column. However, the range that the Source: box can refer to has changed over the history of Data Validation. Originally, the source cells and the Data Validation cell had to be on the same sheet. Even in the current version of Excel, where the source can refer to any worksheet, if it refers directly to a Table column on a different worksheet, it won’t adapt to include added rows.The solution is to allocate a range name to the column and then use that range name as the Data Validation list source. The range of cells referred to by the range name will change as the number of rows in the Table changes, whichever worksheet it is on. As we have seen previously, we need to enter the range name preceded by = in the Source: text box:
Data Validation list dropdown AutoComplete
A recent enhancement to Data Validation makes the use of the list dropdown much easier. Prior to the enhancement, the dropdown would display all the items in the source list, in the same order that they are in the source list, and including any duplications. The only way to enter an item was either to type it in in full, or to scroll through to find it in the list and then click on it, or select it using the keyboard and press Enter. This makes using long, unsorted lists very cumbersome. The Data Validation enhancement that was recently released to the Current Channel, automatically removes duplicate entries, but more importantly, allows the user to start typing the beginning of any word in the list and the list will be filtered to only matching items. The top match is selected so that just pressing Enter accepts the item, meaning that Data Validation dropdown list items can be entered without using the mouse: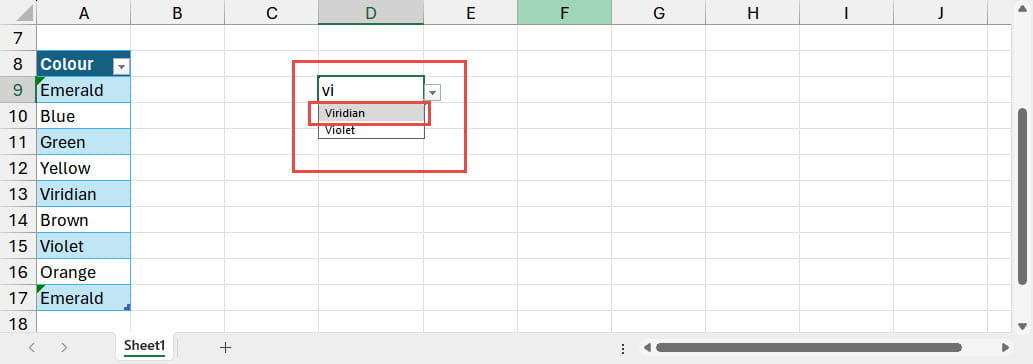
Lists and Dynamic Arrays
We have just seen how, for some Excel users, Data Validation can help with removing duplicates and choosing items from long lists. However, it is also possible to use Dynamic Arrays with Data Validation lists to remove duplicates, sort items and make the content of lists dependent on the selections made in other cells, including cells that themselves use Data Validation lists. This is what we are going to look at in the next episode.Conclusion
For more articles on Data Validation, search the ICAEW Excel Community archive.Archive and Knowledge Base
This archive of Excel Community content from the ION platform will allow you to read the content of the articles but the functionality on the pages is limited. The ION search box, tags and navigation buttons on the archived pages will not work. Pages will load more slowly than a live website. You may be able to follow links to other articles but if this does not work, please return to the archive search. You can also search our Knowledge Base for access to all articles, new and archived, organised by topic.