
Hello all and welcome back to the Excel Tip of the Week! This week we have a Basic User post in which we’re returning to the humble AutoSum feature. This was last discussed back in TOTW #261.
What does AutoSum do? Is it a good feature?
AutoSum automatically writes one or more formulas for you. In its simplest form, it can be used to automatically add a total to a column of figures:
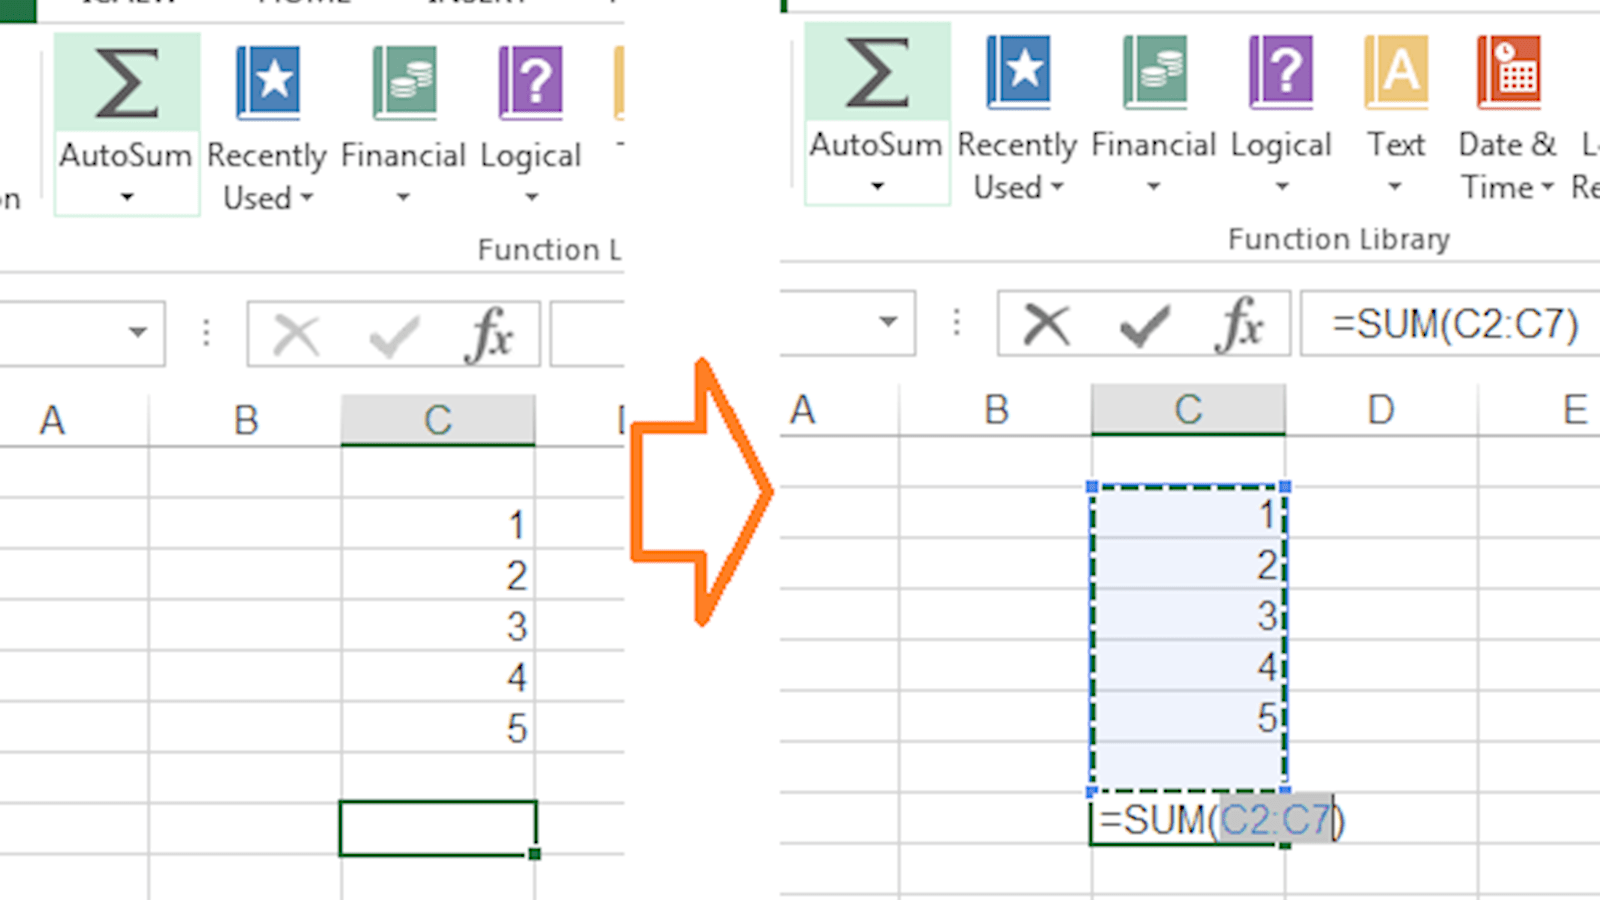
It can be invoked easily by either pressing the AutoSum button on the Formulas bar, or with the keyboard shortcut Alt =. If you select data first, then AutoSum will apply to that data; if you just press the button with nothing in particular selected, Excel will do its best to figure out what is intended.
AutoSum is certainly the fastest way to write a simple function, and so it’s widely used by many – as evidenced by the fact that it’s the second button on the Formulas tab. It skirts around the need to understand Excel’s formula syntax, so it’s also popular with less experienced users. And it also simplifies the process of writing a formula because it selects the cells for you.
But AutoSum also has its pitfalls. Because it’s automated, Excel can occasionally go wrong in the cells it selects. Here are a few examples:
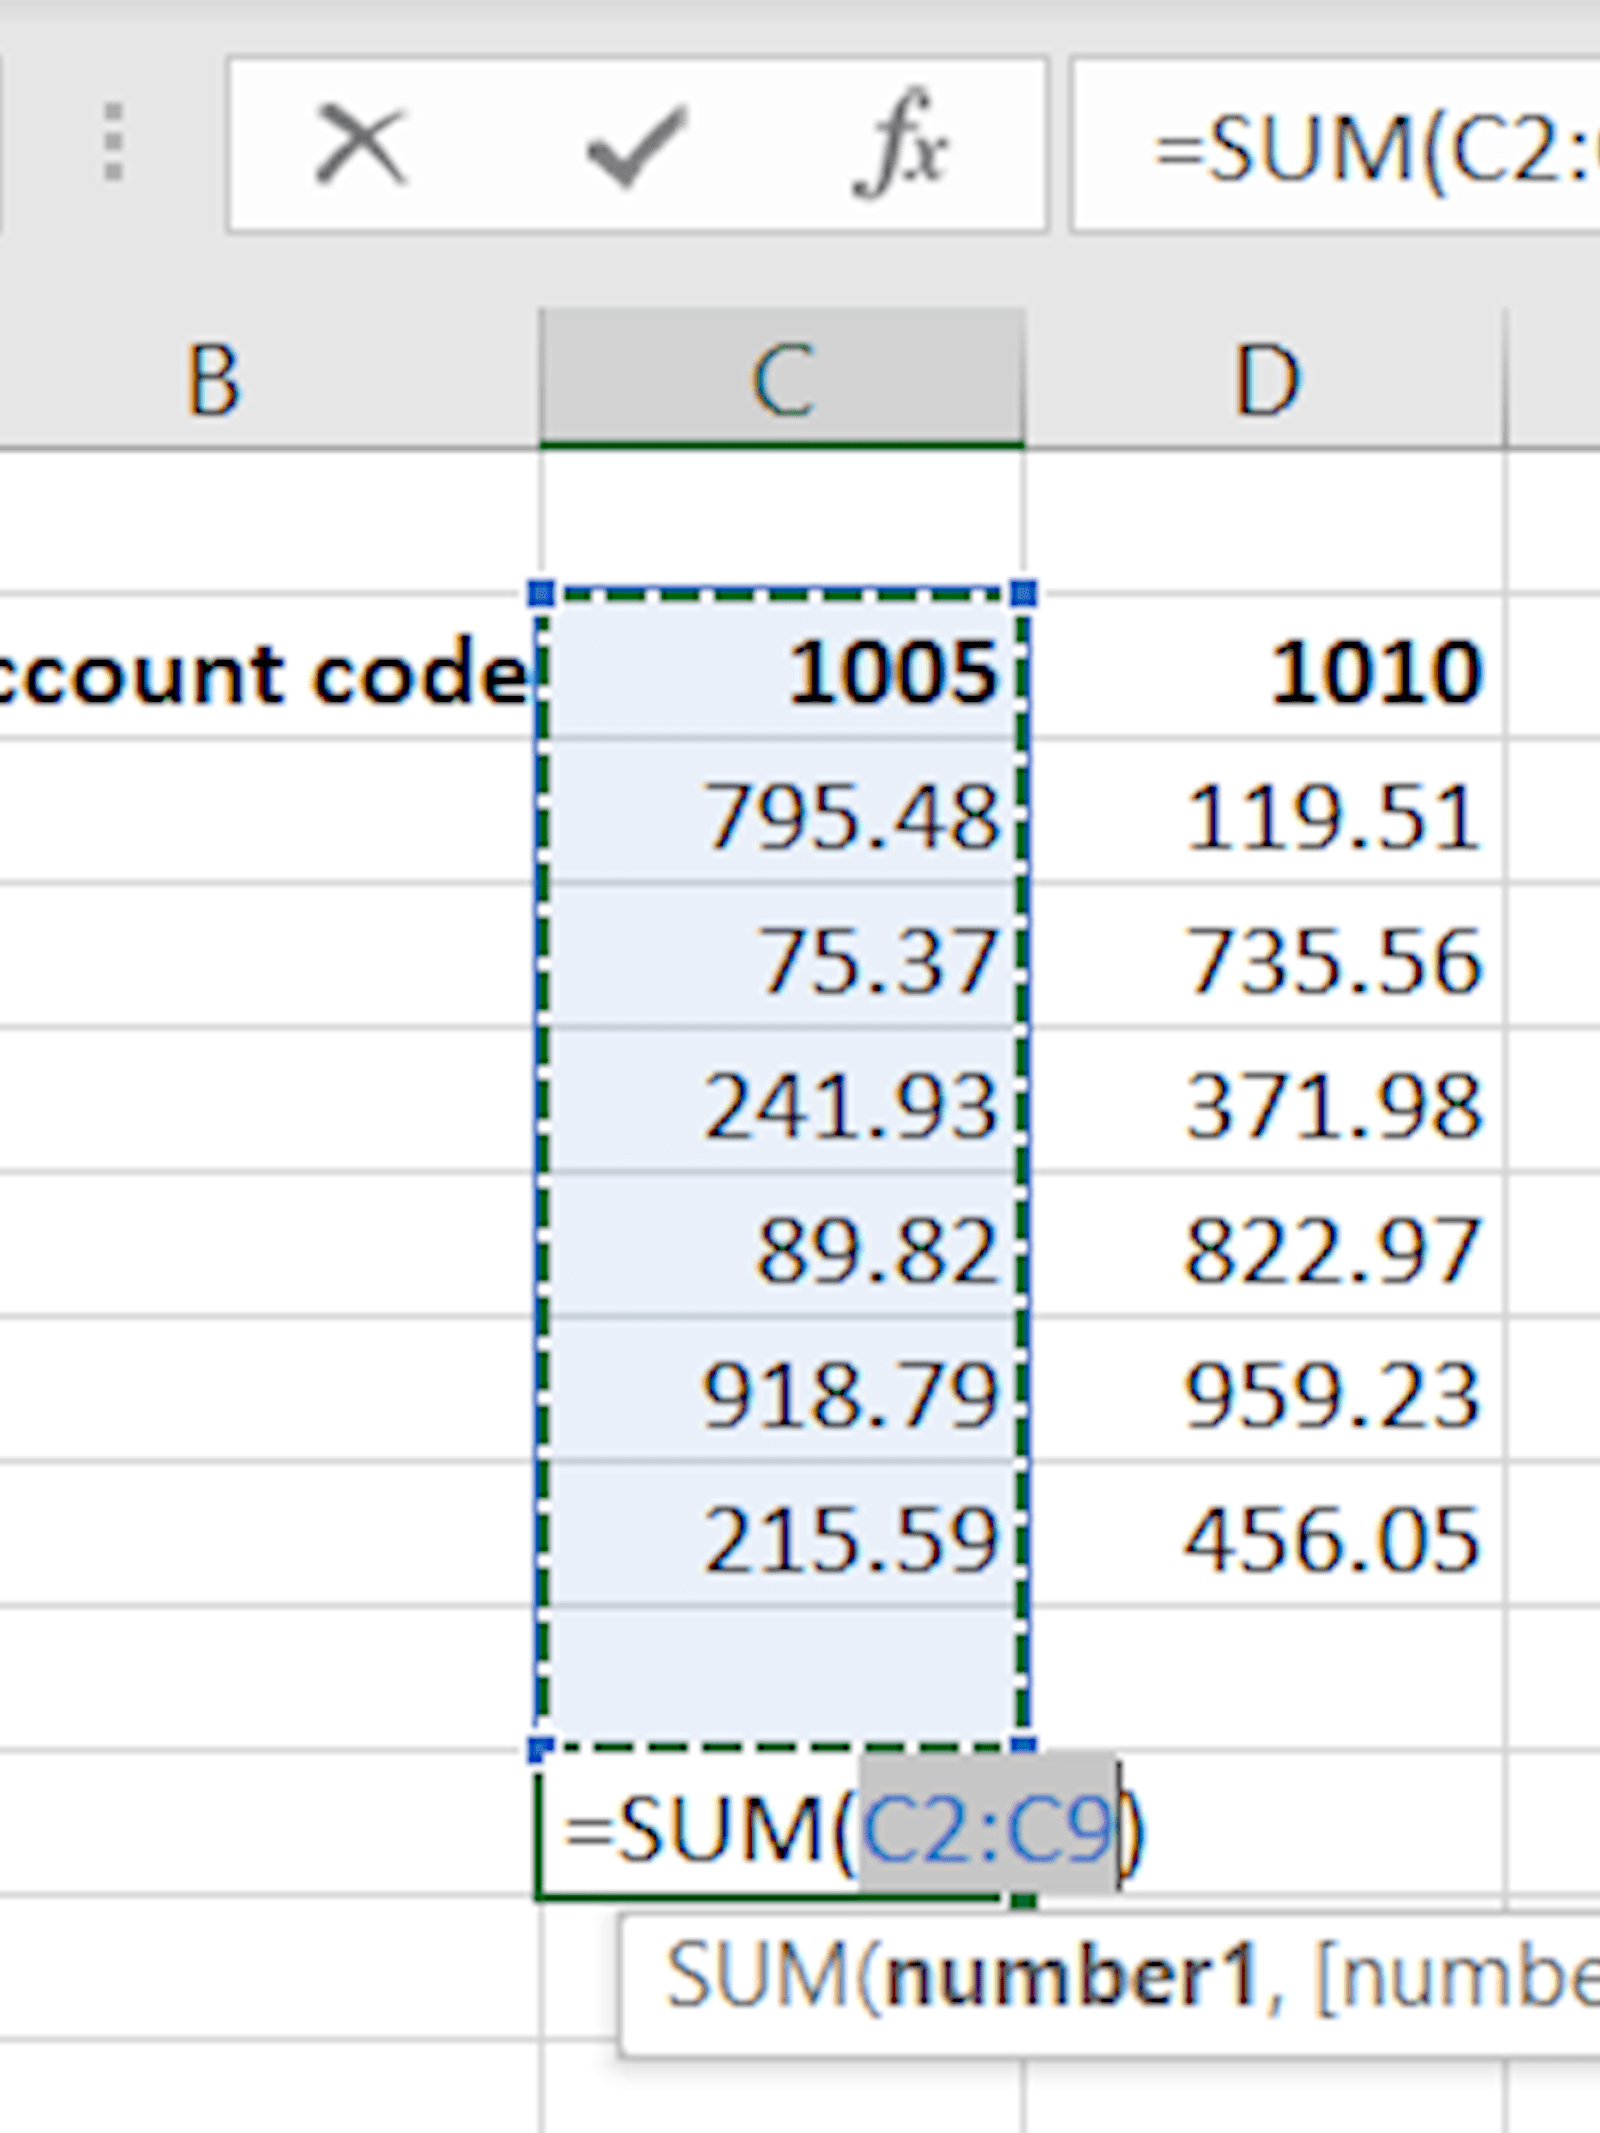
Here, an account code that is in numeric format has been picked up by the AutoSum. If not noticed this will throw out the totals.
Note that AutoSum is smart enough to exclude headers if they are dates, even though in other respects Excel treats dates like numbers.
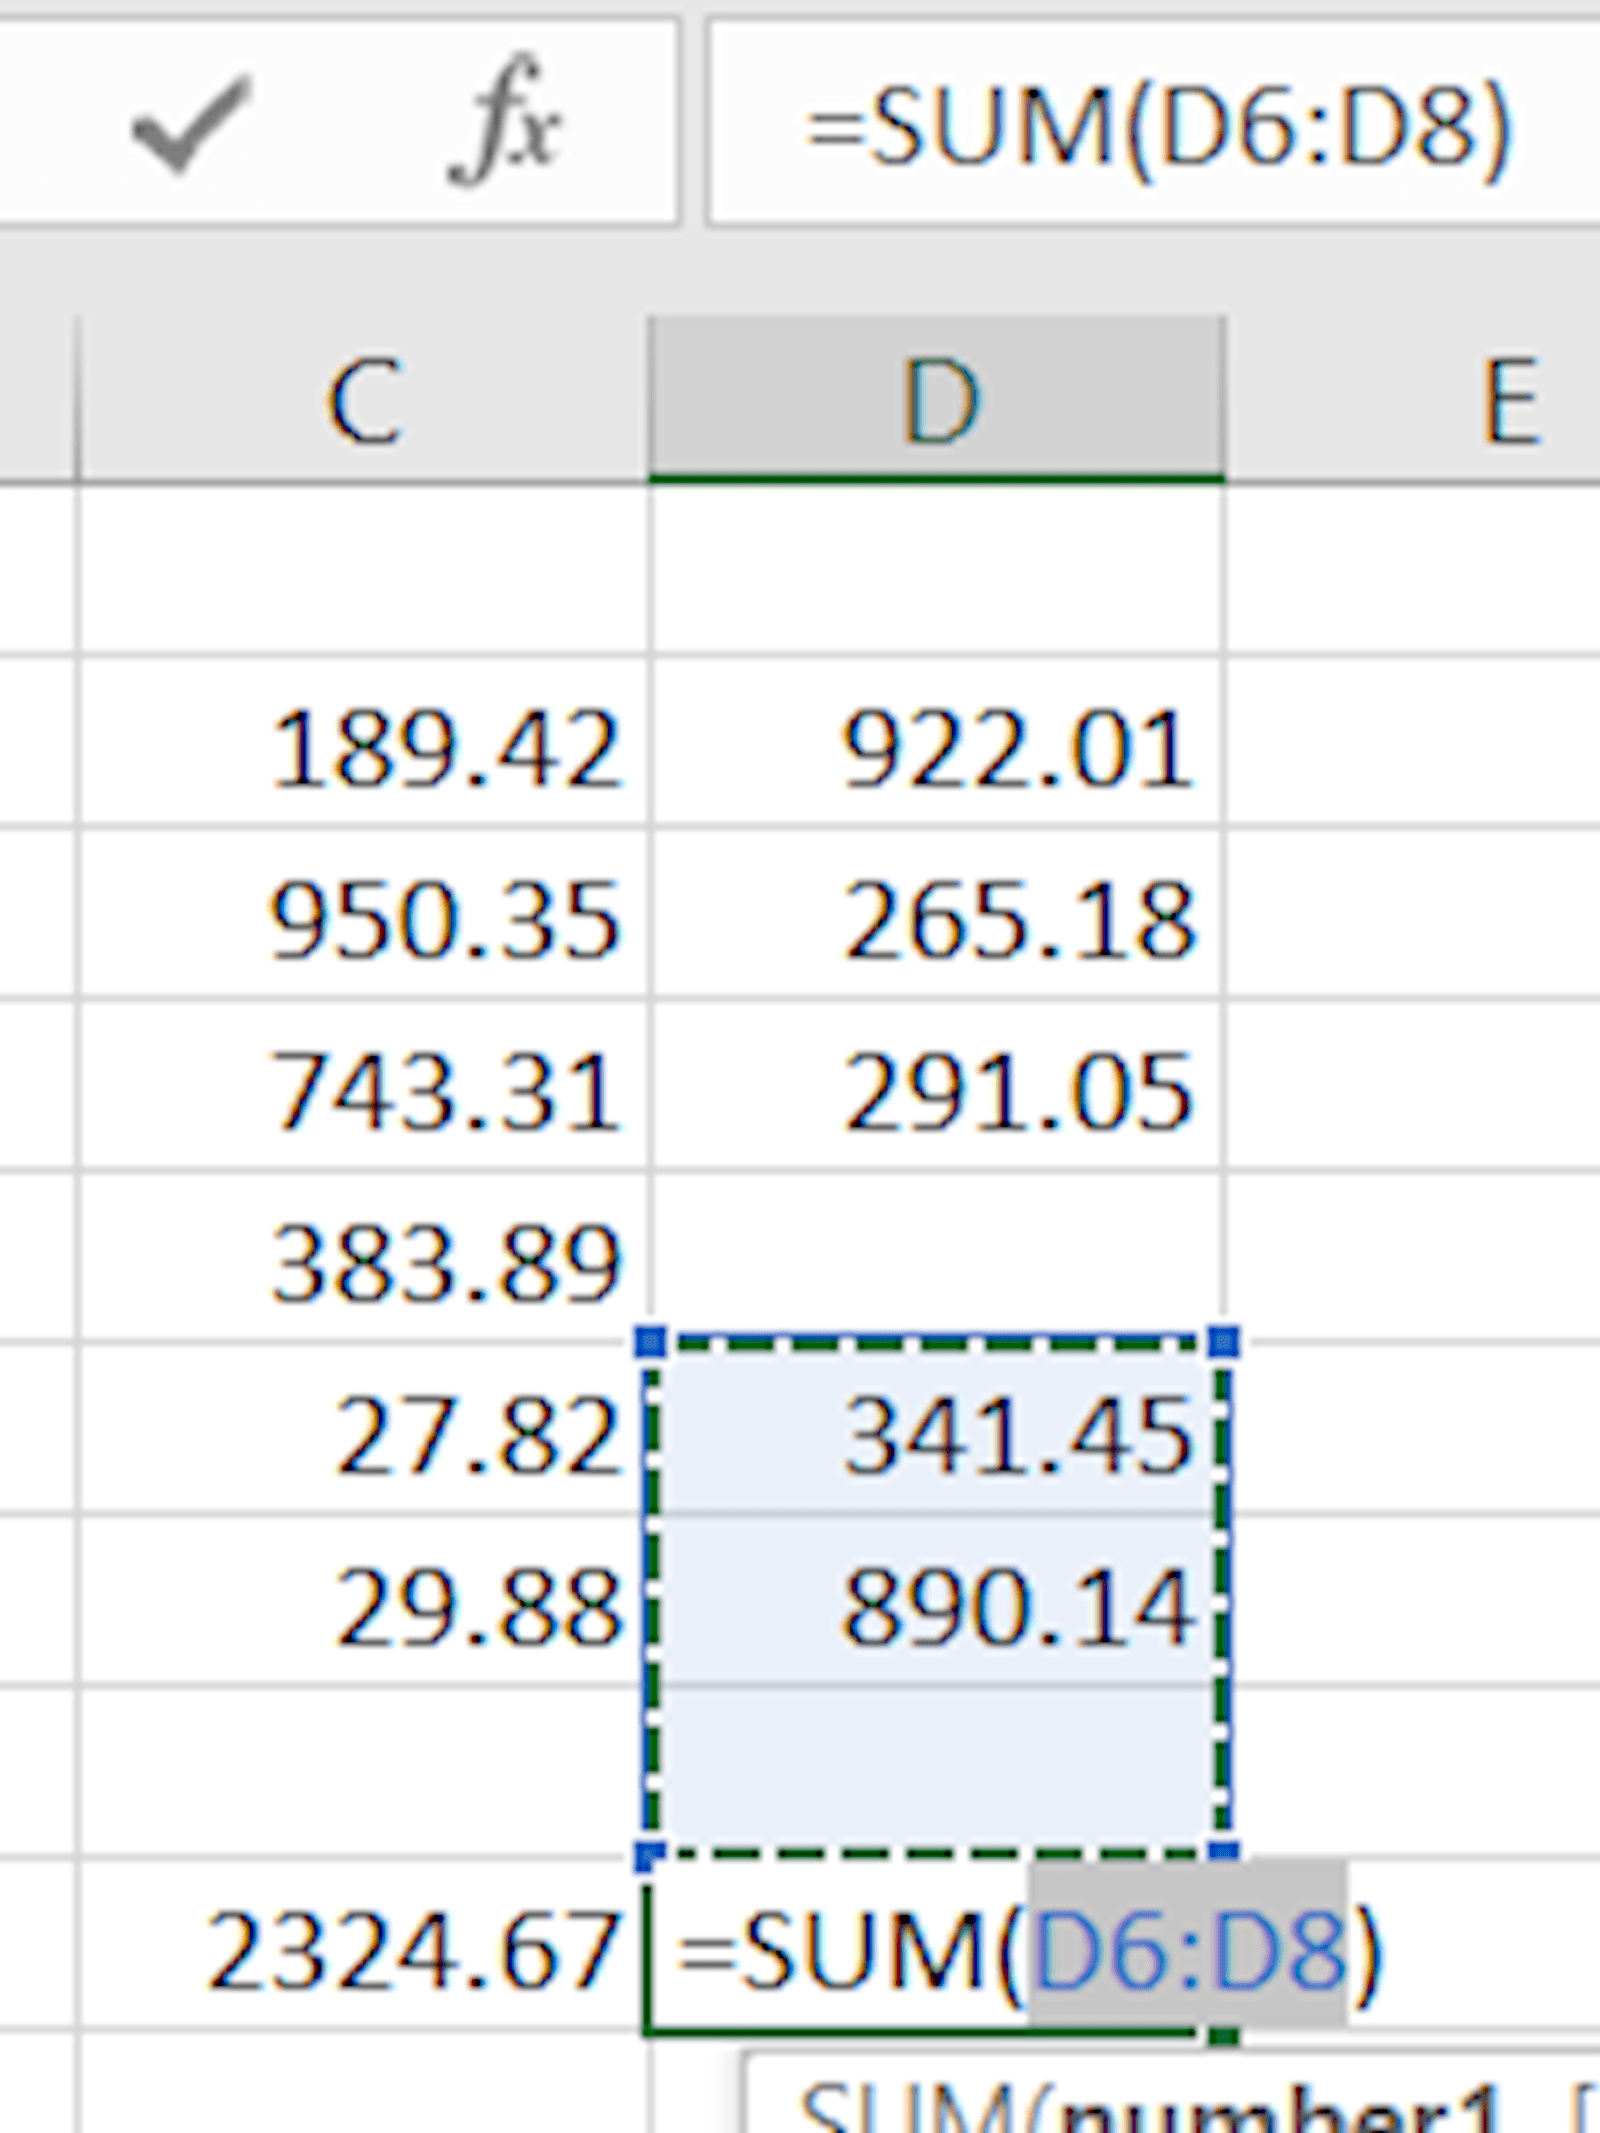
Here an error has occurred due to a gap in the underlying data. Note that this happens even though the neighbouring column has no gaps. This is particularly tricky in a very tall dataset, where gaps may not be obvious.
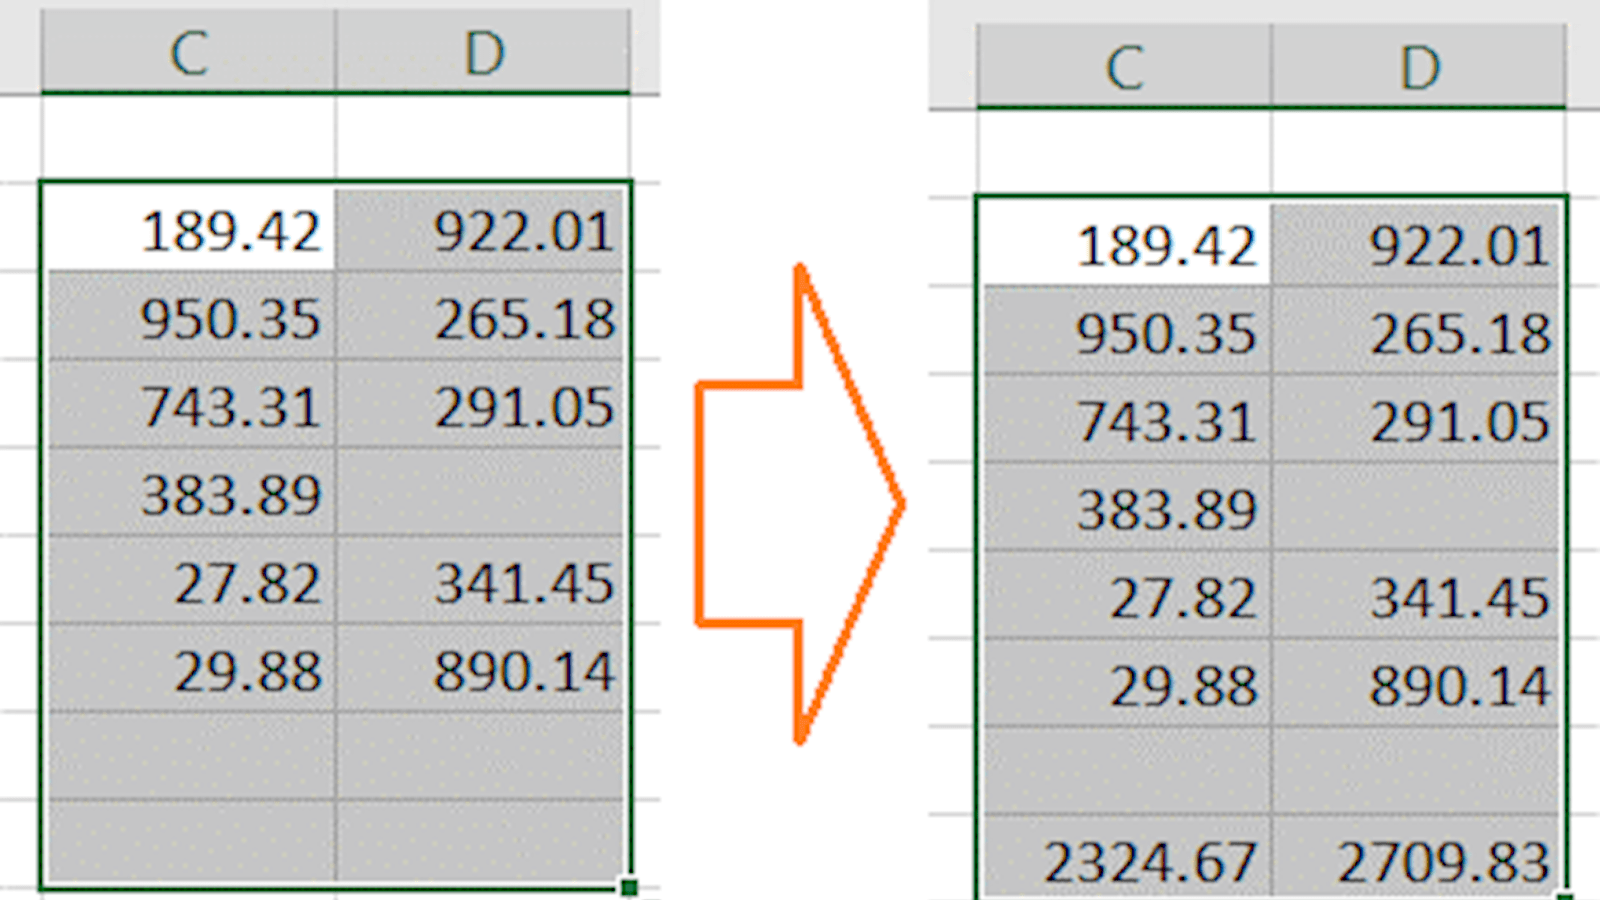
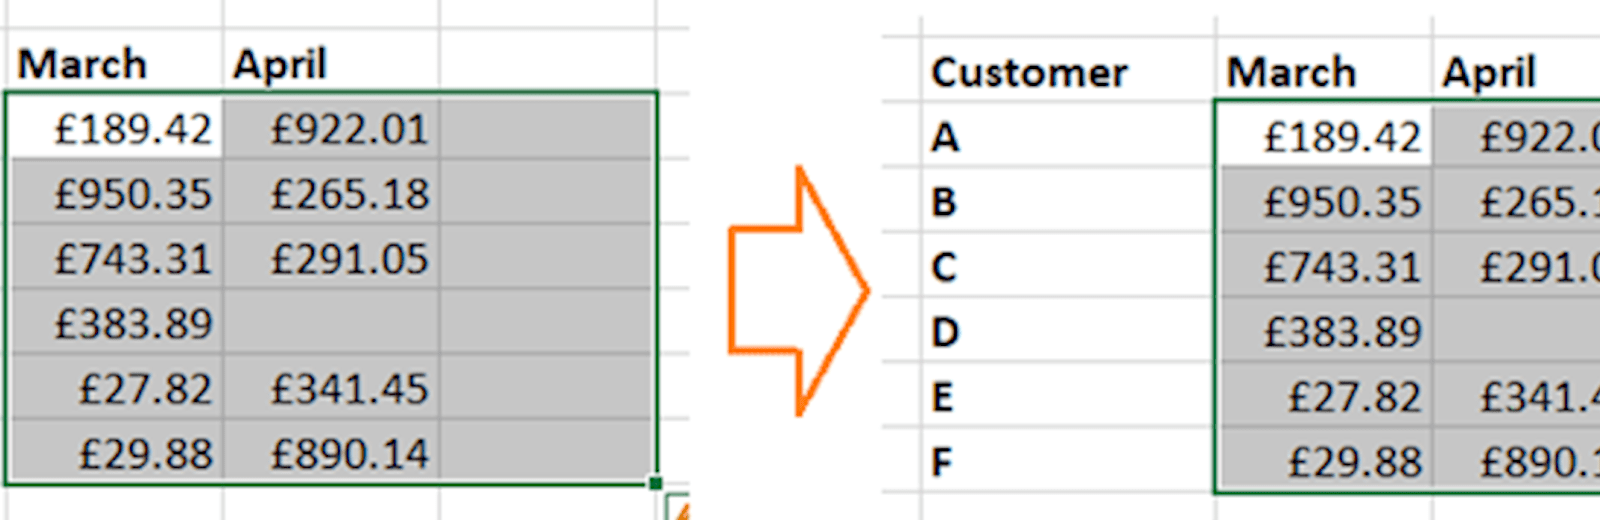
However, careful use can avoid these issues. For example, if you select the data you want to sum before activating AutoSum, it will carry out the job automatically:

Going further with AutoSum
There are actually a few other little tricks you can do with the AutoSum feature.
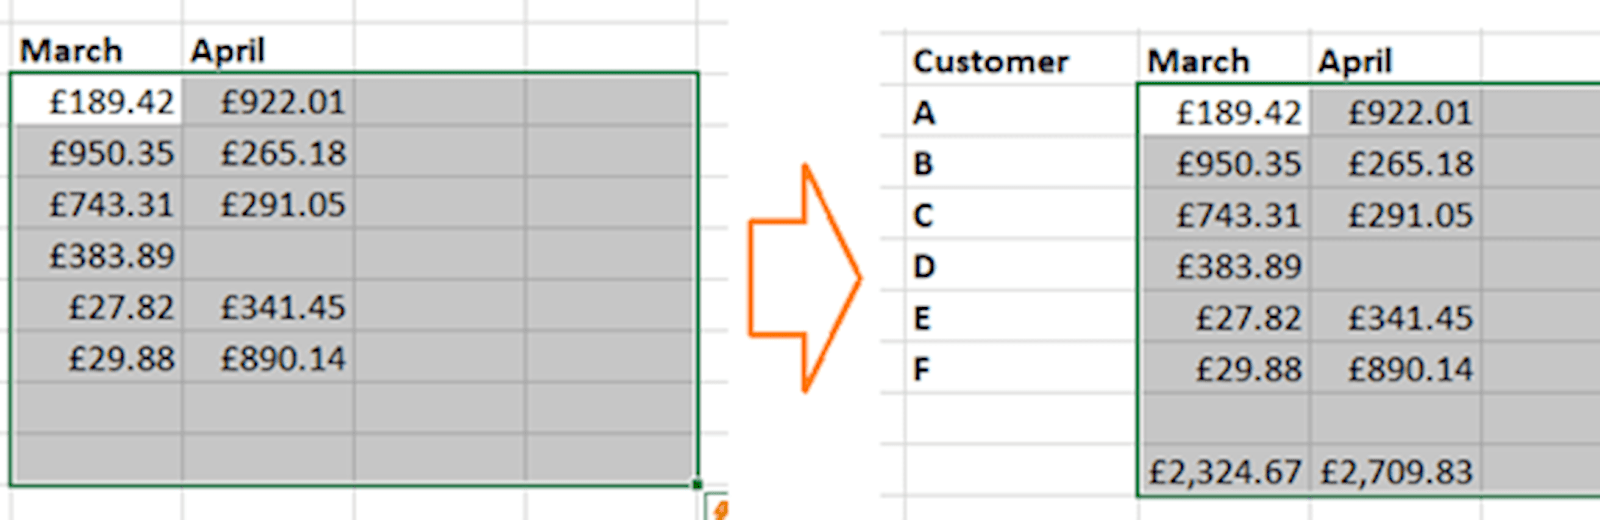
First, if you want your totals to be separated from the figures, just include some extra blank rows in your selection:
Secondly, you can get AutoSum to add row totals instead of column totals by selecting the appropriate range:
And in fact, you can do both at once, as well as a grand total:
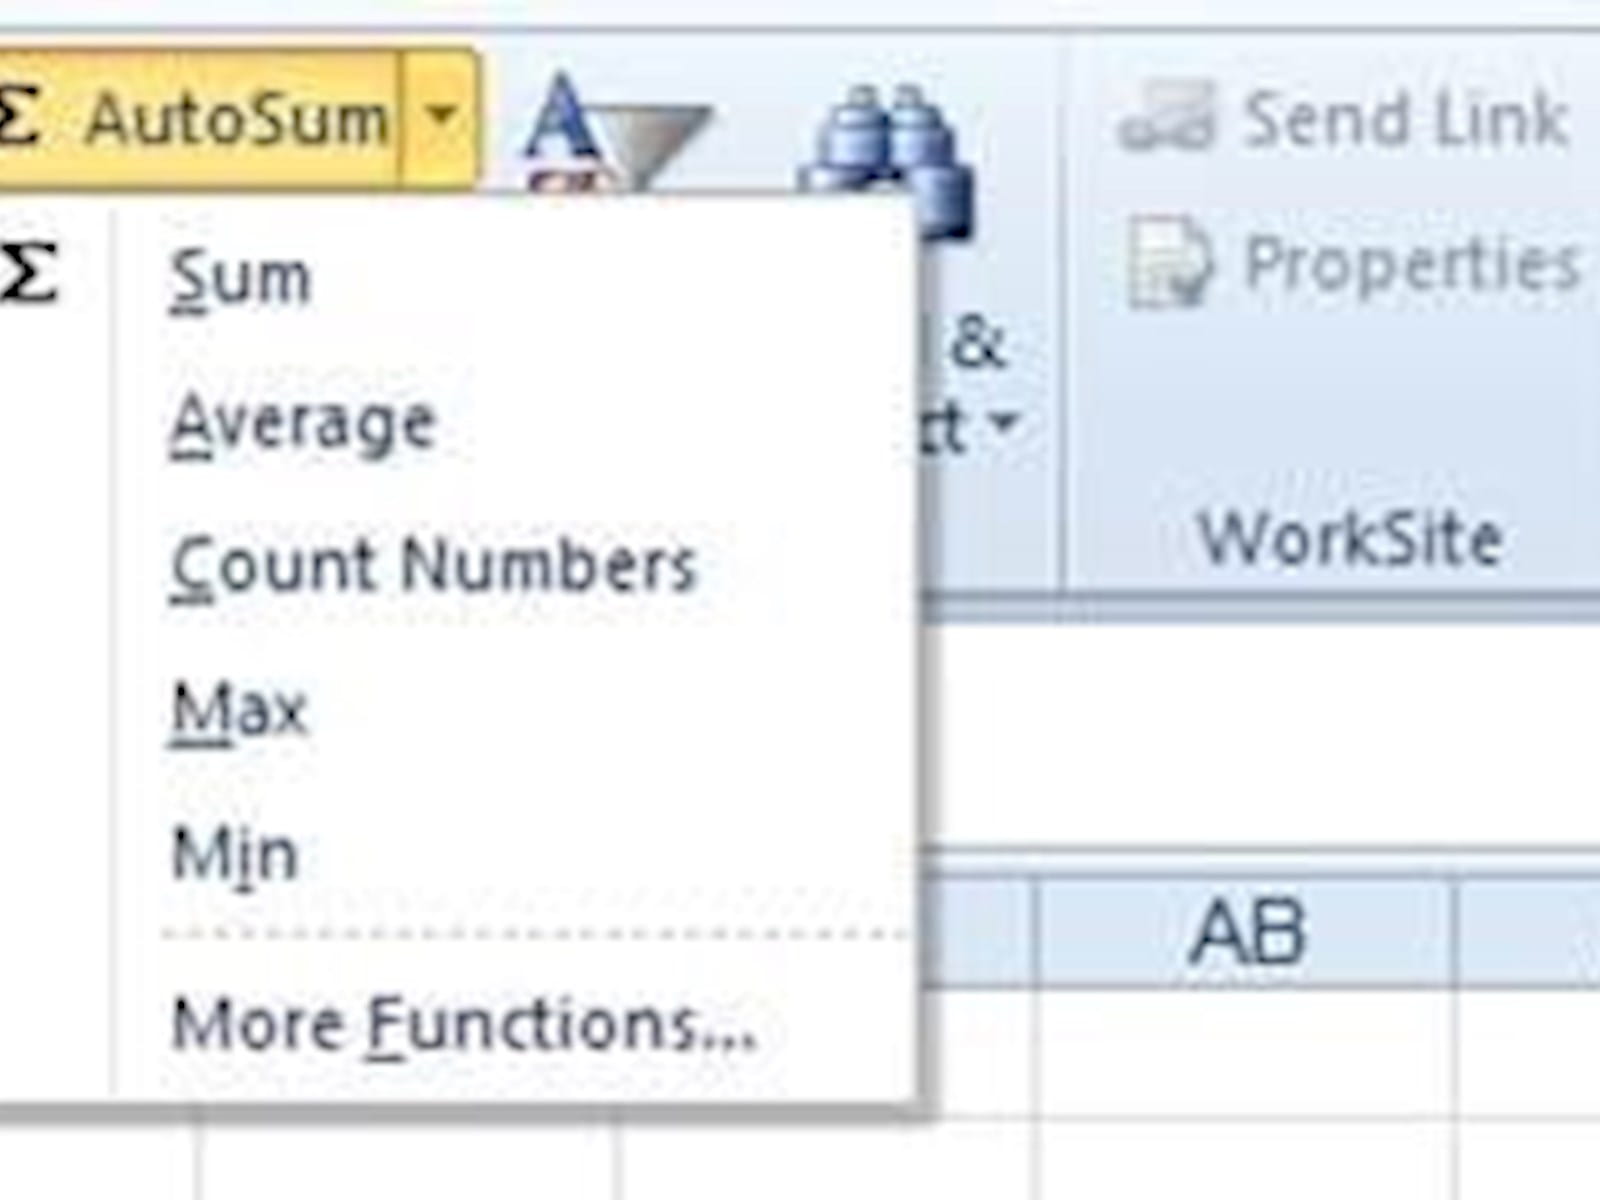
And finally – despite the name, AutoSum doesn’t have to be a SUM function! You can choose from a few other popular functions if you use the Formulas bar:
And that’s about everything there is to know about AutoSum! It’s a handly little feature, but always check carefully that your formula ranges are correct, ideally by selecting your data yourself first, rather than pressing the key in the cell where you want your total and hoping Excel figures it out correctly.
You may also like
Excel community
This article is brought to you by the Excel Community where you can find additional extended articles and webinar recordings on a variety of Excel related topics. In addition to live training events, Excel Community members have access to a full suite of online training modules from Excel with Business.

- Excel Tips and Tricks #506: Creating a single master list after merging data
- Excel Tips and Tricks #505 – 3 ways of converting US Dates into UK formats
- Excel Tips and Tricks #504 - Accessing accessibility checkers for good spreadsheet practice
- Excel Tips and Tricks #503 – Printing under pressure, super quick presentation tips
- Excel Tips and Tricks #502
Archive and Knowledge Base
This archive of Excel Community content from the ION platform will allow you to read the content of the articles but the functionality on the pages is limited. The ION search box, tags and navigation buttons on the archived pages will not work. Pages will load more slowly than a live website. You may be able to follow links to other articles but if this does not work, please return to the archive search. You can also search our Knowledge Base for access to all articles, new and archived, organised by topic.
