
Hello and welcome back to Excel Tips and Tricks! This week we have a Developer level post where we will demonstrate how to use Power Automate to run an Office Script against multiple Excel files simultaneously.
No prior knowledge of Power Automate is required to follow the steps in this article. An introduction to Office Scripts has been covered further in Tip #470.
Please note that to follow the steps in the example you will need a work email address linked to a Microsoft 365 subscription.
Creating the office script
Before diving into Power Automate, we need an Office Script to work with.
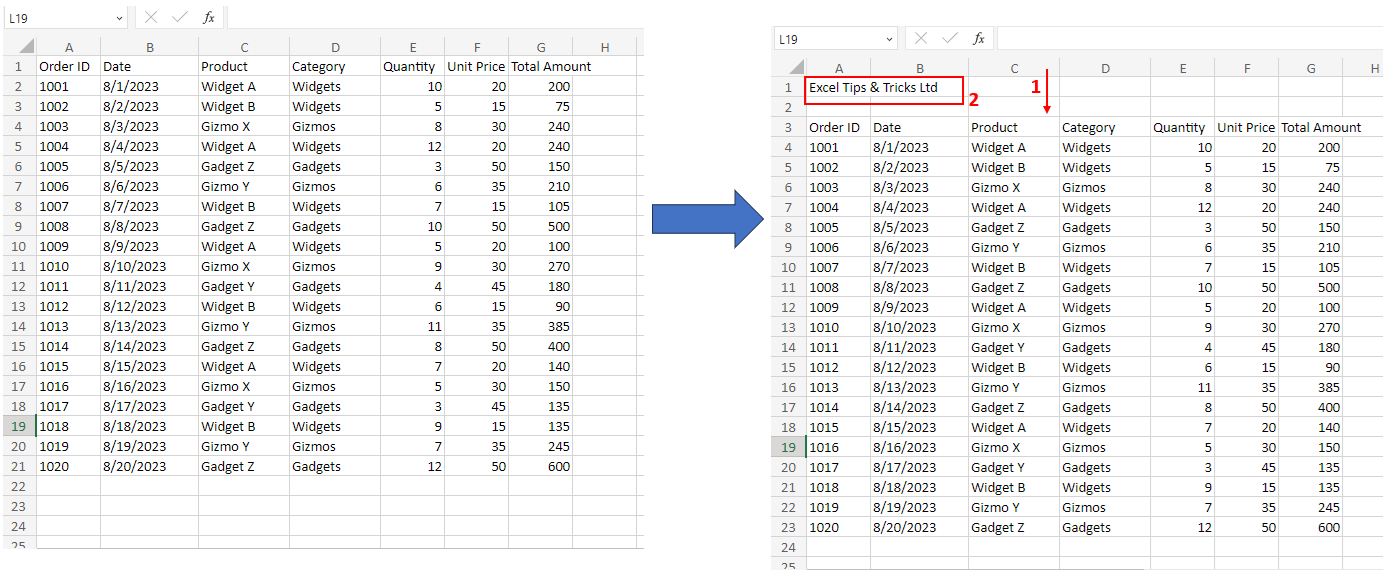
Here we have a very simple script that will perform two actions for a given Excel file:
- Insert two rows at the top of the active worksheet, and
- Add the title “Excel Tips & Tricks Ltd” in cell “A1”.

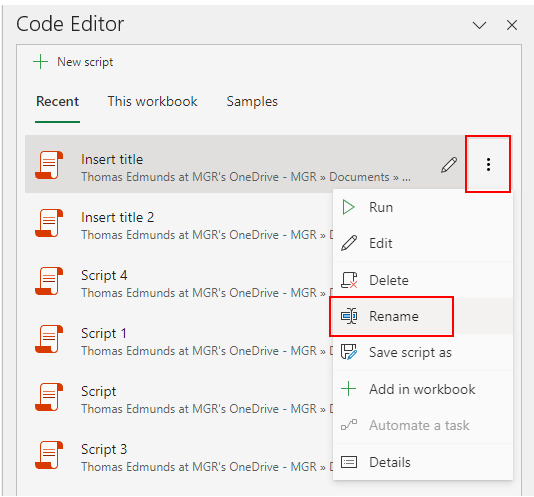
Excel will create a new script in your OneDrive folder with a default name e.g., “Script 1”.
In this example I have then changed the script name to “Insert title”.
Target files
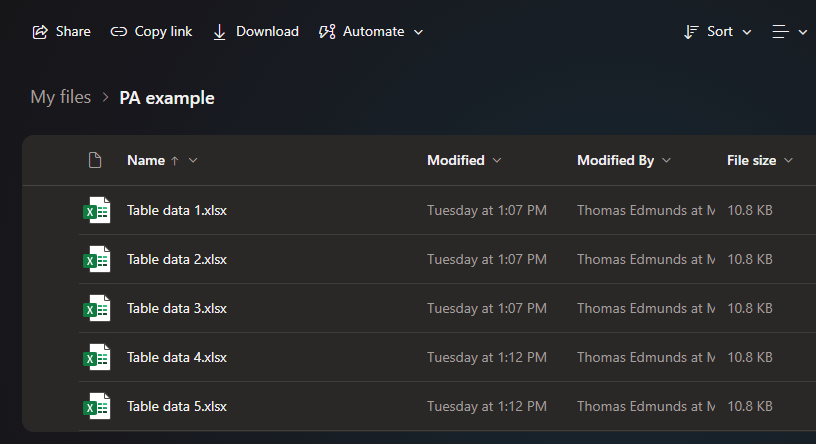
To follow the example, you can save any collection of Excel files in a folder in your OneDrive.For demonstration purposes I have five Excel files saved in a folder on my OneDrive that all contain data in a similar format as the example above.
Getting started with Power Automate
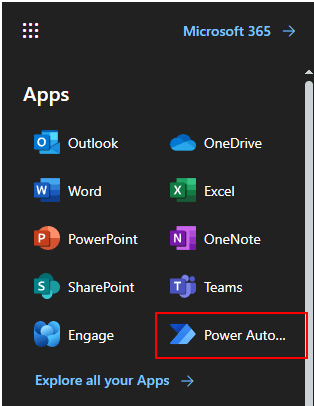
Now we have all the pieces in place ready to link them together with Power Automate!Power Automate can be found by navigating to powerautomate.com in your web browser and signing in with your Microsoft 365 account.
If you are already logged in to any of the Microsoft 365 apps in your web browser clicking the 9 dots in the top left corner will bring up the app switcher, and from there you can find Power Automate.
Setting up the flow
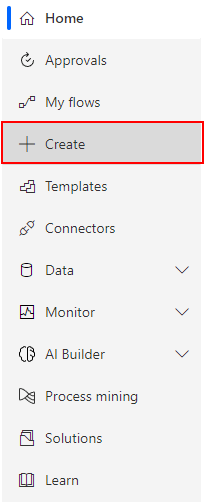
Flow is the term used to describe a sequence of actions that link together in a repeatable way that we specify.Once we are in Power Automate, we can choose “Create” to start building our flow.

Connecting to connectors!
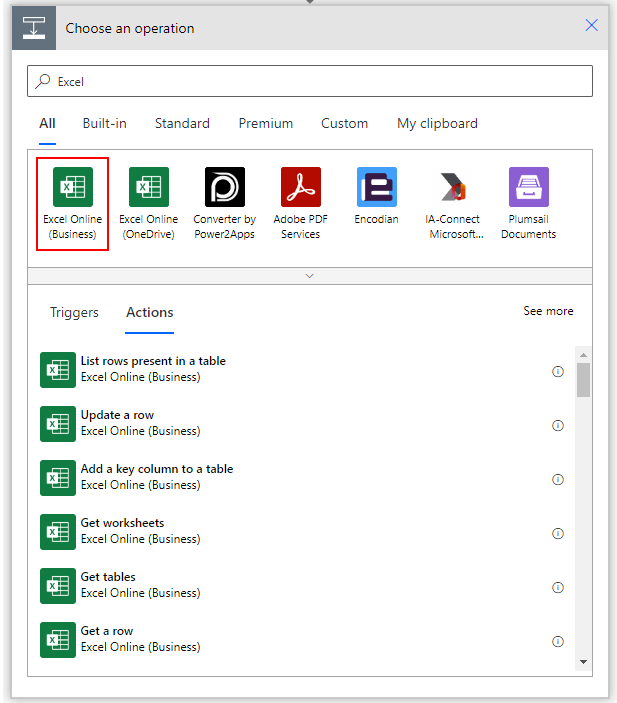
Connectors are the links between Power Automate and any app outside of Power Automate (e.g., Excel, OneDrive, Teams, Outlook etc.).Choose “+ New step” and we are presented with all the connectors available to us. Let’s search by name and type in “Excel”.
The option we want is “Excel Online (Business)”.
Light, Camera... Action!
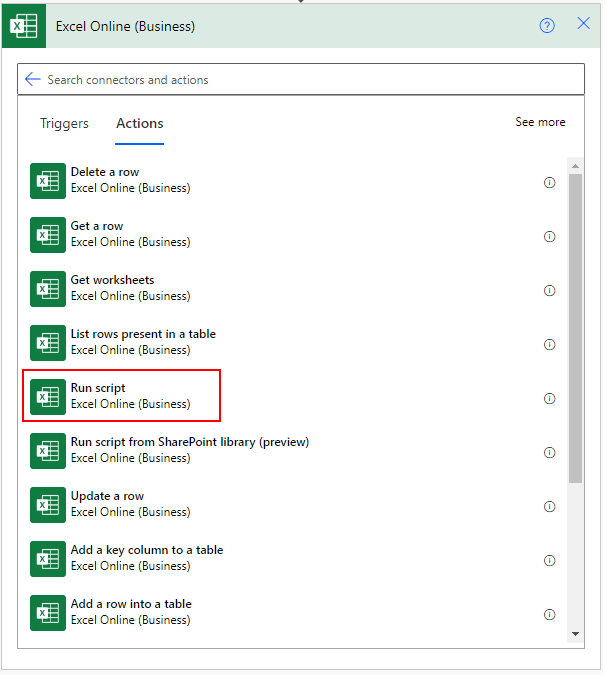
Actions are the things that you can do with connectors.Here we are presented with a list of actions relevant to the “Excel Online (Business)” connector. We want to choose “Run script”.
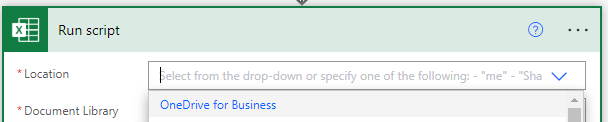
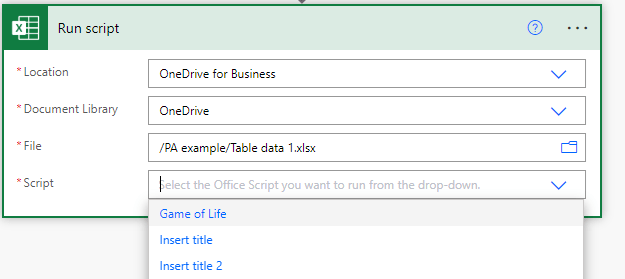
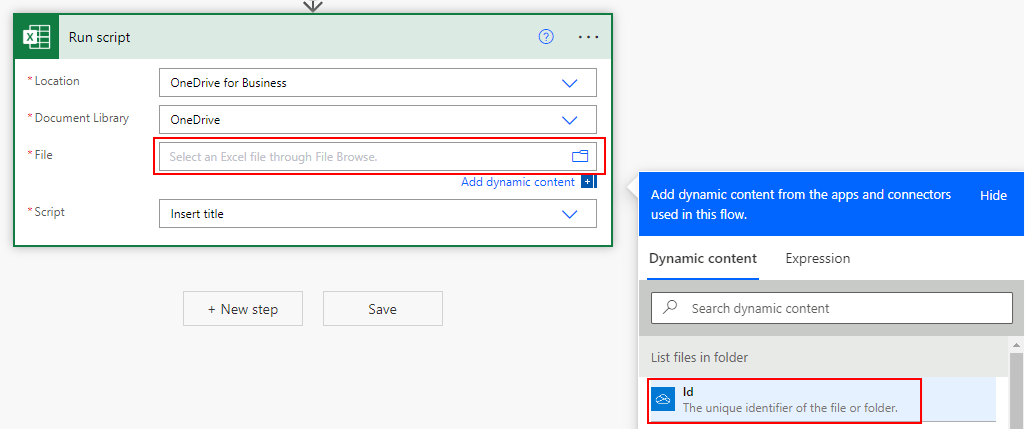
You are then presented with four boxes with drop downs.
- Location: click the drop-down and choose “OneDrive for Business”.
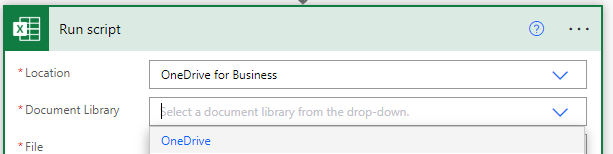
- Document Library. This will be “OneDrive”.
- File: Select the file against which we will run the script. Here we can use the browse icon on the right-hand side. Let’s choose the first Excel file in the folder.
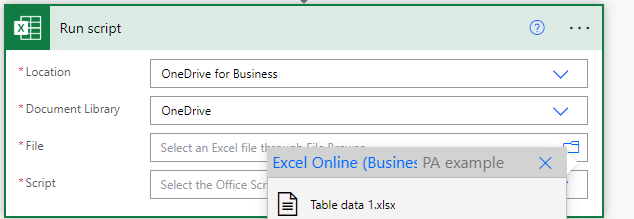
- Choose the script from the Office Scripts saved in our OneDrive.
Now let’s press Save and create the flow. A green banner should appear to confirm this.

Editing your Power Automate flow
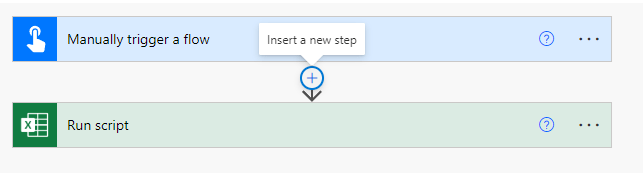
Remember that we want to run this script against all files in the folder, not just the one we selected.To change the behaviour of the script to update all Excel files in the folder we can create an intermediate step as follows.
Hover the mouse pointer over the arrow between the two steps and you will see a “+” icon appear.
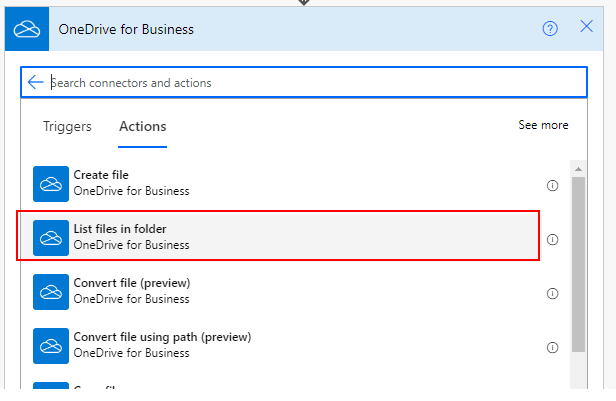
From here we can search for the “OneDrive for business” connector and the action to “List files in folder”.
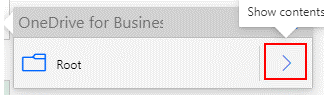
Note: you will be presented with the “Root” parent folder for your OneDrive. Click on the greater than symbol to drill down into your OneDrive folders.
In its place we need to reference the individual file IDs for each file in our OneDrive folder.
From the right-hand side, you have a separate menu to insert dynamic content.
(Dynamic content is the term used to refer to information gathered in previous steps.)
Click on “Id” to bring in a reference to all your files in the OneDrive folder.


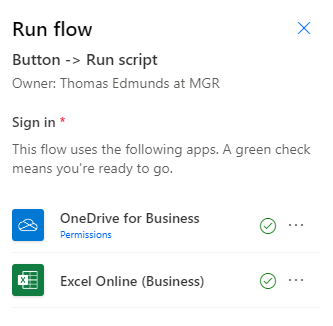
Power Automate will check that all your connections are live and ready to run the flow. If not, you will have the option to sign in.
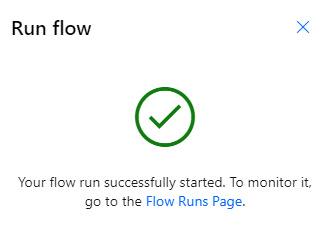
Now that it has started you can click into the “Flow Runs Page” to monitor the progress of it. And of course, you can open your Excel files on another tab in your browser to see the magic happening in the background!
Power Automate and Excel (and other apps…)
The techniques shown in this example can generate huge potential time savings when dealing with more complex scripts and a larger number of files.As well as the “Run script” action Power Automate can create flows that for example update a spreadsheet every time an email is received in Outlook.
I would highly recommend exploring the different connectors and actions within Power Automate and start experimenting with your own flows!
- Excel Tips and Tricks #506: Creating a single master list after merging data
- Excel Tips and Tricks #505 – 3 ways of converting US Dates into UK formats
- Excel Tips and Tricks #504 - Accessing accessibility checkers for good spreadsheet practice
- Excel Tips and Tricks #503 – Printing under pressure, super quick presentation tips
- Excel Tips and Tricks #502
Archive and Knowledge Base
This archive of Excel Community content from the ION platform will allow you to read the content of the articles but the functionality on the pages is limited. The ION search box, tags and navigation buttons on the archived pages will not work. Pages will load more slowly than a live website. You may be able to follow links to other articles but if this does not work, please return to the archive search. You can also search our Knowledge Base for access to all articles, new and archived, organised by topic.