
Hello all and welcome back to Excel Tips and Tricks! This week, we have a General User post in which we're revisiting the topic of cell styles to help support consistency of formatting.
This was last covered back in Tip #220 and Tip #251.
What are the advantages of cell styles?
Instead of formatting cells individually – where you have to pick the font, font size, fill colour, font colour, borders, number formats, and so on independently – cell styles let you quickly apply a whole batch of formatting changes to a range of cells at once. They're very handy for quickly setting up consistent, professional-looking appearances for your workbooks, or applying a 'house style' across an organisation.

What's more, cell styles allow for easy updating. If you edit a cell style, all the cells formatted with that style are automatically updated to use the updated format.
How do cell styles work?
There are some preset cell styles available on the Home ribbon.
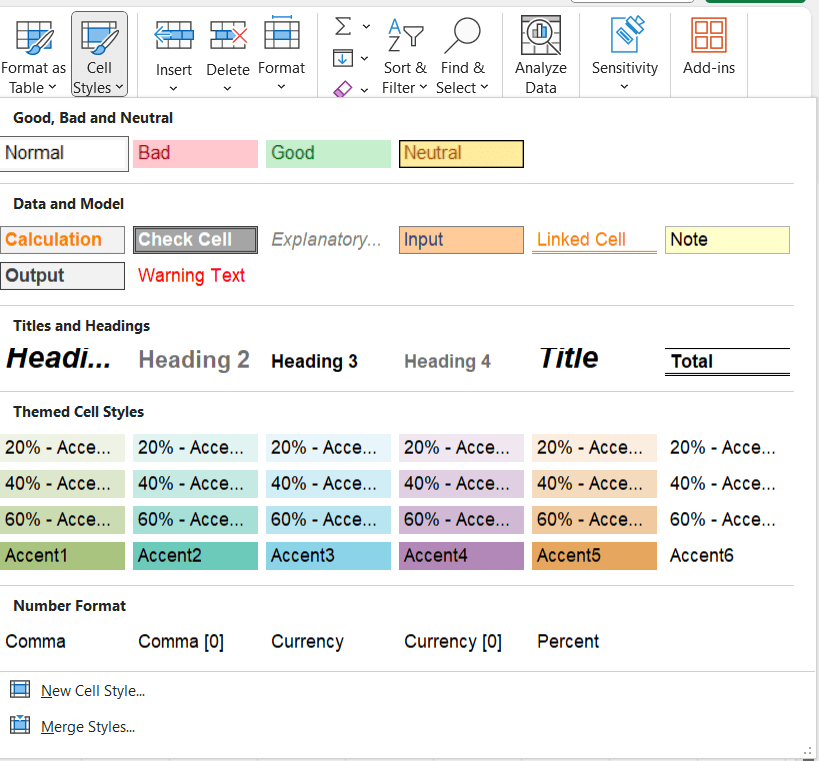
It may be that your organisation has set some additional default styles, or has modified some of the existing ones (at ICAEW our 'Titles and Headings' and colour themes look a little different to the default).
You can create a new style using the button at the bottom of this menu, or edit a pre-existing style by right-clicking on the style and selecting 'Modify'. The menu looks like this:
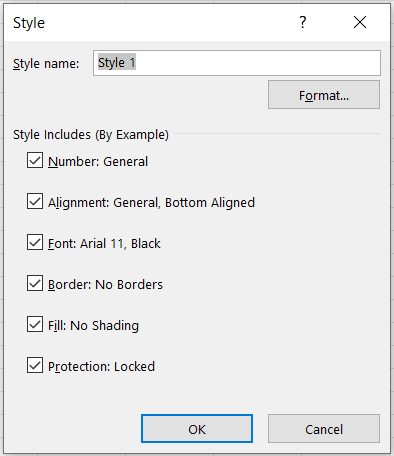
From this menu, you can use the 'Format' button to design your cell format, using the usual formatting menu, and dictate which elements of formatting are part of the style and which are left to the individual to amend. Note that if the box is ticked, when a cell style is applied to a cell or range, it will override any existing formatting in that category. For example, there is a difference between a style that includes no borders, and not including borders in the style.
If a style is modified, it will automatically update all cells formatted with that style – this can be a quick way to update the overall appearance of a file.
One note of caution – if you move or copy sheets from other workbooks, the styles in the workbooks are also combined. This can get out of hand, so be judicious in pruning any excess styles as you go.
Merging Cell Styles
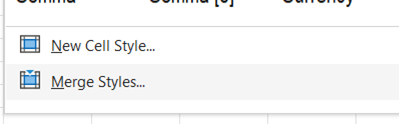
If you have two workbooks with different Styles in them, there's an option to merge the styles together, such that one workbook will have access to any Style used in either one.
To do this, select 'Merge Styles' from the same Cell Styles menu as before:
From here, you can then choose which other workbook to merge the styles from:
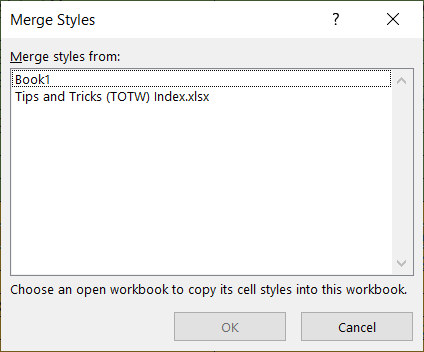
If your two workbooks both include Styles with the same name (for example, if you have amended one of the default styles), you will be prompted whether you want to overwrite those with the same name or not.
Making a style available in all your workbooks
To have all new workbooks you create use a particular custom Style, for example corporate brand colours, you will need to create an Excel Template. By saving over the standard new worksheet template on your local computer, you can create a custom template that will be used for all new workbooks.
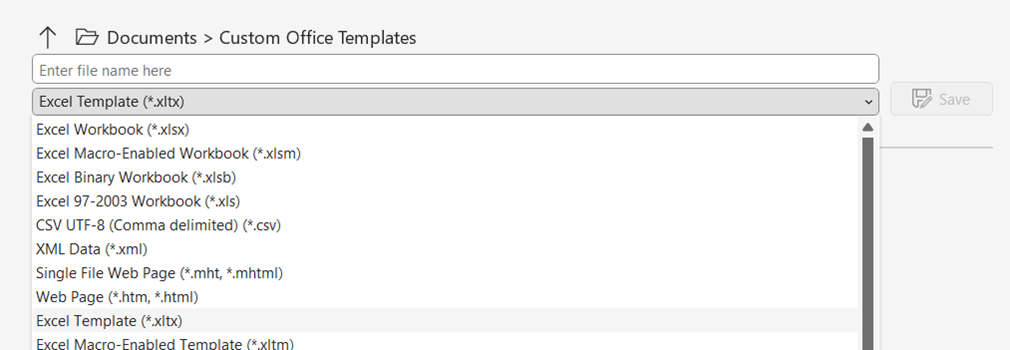
To do this, first get a blank workbook and merge in or create the styles you want to use for your template. Then Save As the file with the name Book, and with the file type Excel Template:
To use the template for all new worksheets, you'll need to save this file to Excel's startup location, which is where Excel looks to decide how a new workbook will look when one is made. The default location in Windows 10 is C:\Program Files\Microsoft Office\root\Office16\XLSTART but this may vary depending on your system.
Once this is done, you will need to exit and restart Excel for the change to take effect.
You can also use this process to include other elements in your default new workbooks, such as formatting, themes, headers, or a standard 'About' sheet.
- Excel Tips and Tricks #506: Creating a single master list after merging data
- Excel Tips and Tricks #505 – 3 ways of converting US Dates into UK formats
- Excel Tips and Tricks #504 - Accessing accessibility checkers for good spreadsheet practice
- Excel Tips and Tricks #503 – Printing under pressure, super quick presentation tips
- Excel Tips and Tricks #502
Archive and Knowledge Base
This archive of Excel Community content from the ION platform will allow you to read the content of the articles but the functionality on the pages is limited. The ION search box, tags and navigation buttons on the archived pages will not work. Pages will load more slowly than a live website. You may be able to follow links to other articles but if this does not work, please return to the archive search. You can also search our Knowledge Base for access to all articles, new and archived, organised by topic.