Hello all and welcome back to Excel Tips and Tricks! This week, we have a Creator level post in which we're covering some relatively new functionality that allows users to capture data into a spreadsheet from an image.
Last year Microsoft introduced some potentially nifty OCR (Optical Character Recognition) technology into Excel for the first time. Users can now import data into Excel from images, opening up a whole new world of spreadsheet data entry, especially from more hard-to-reach sources such as printed documents, PDFs and other pictures.
This functionality is available to anyone using Microsoft 365, including both desktop and web applications, Office for Mac, and even iOS and Android apps (more on those later). What’s more, it’s alarmingly easy to use.
Picture to Data in 3 clicks
At a basic level, it’s possible to get data into Excel from a screenshot in just 3 simple steps:
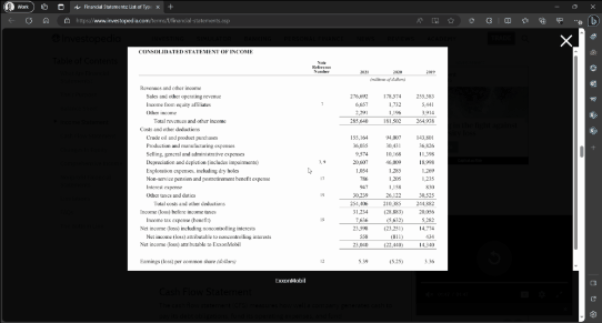
- Take the screenshot – per our exploration of screenshots in Tip #442, the best approach here is to use the Windows screen snipping tool to just select the portion of the screen showing the table
- Go to Data > From Picture > Picture from Clipboard
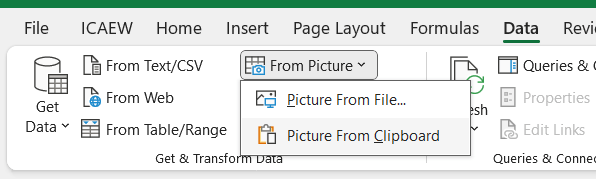
(note, if you want to use an existing image, ‘Picture From File’ works in exactly the same way and supports most image formats)
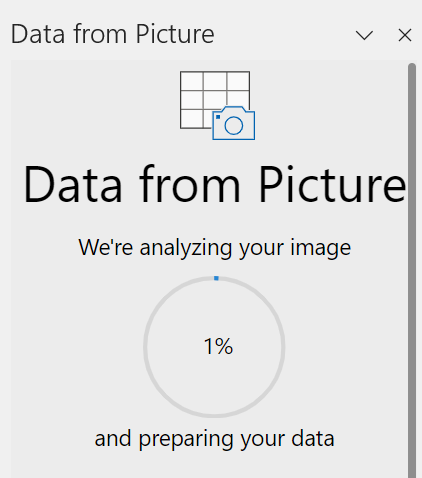
- The Data from Picture wizard will analyse the image:
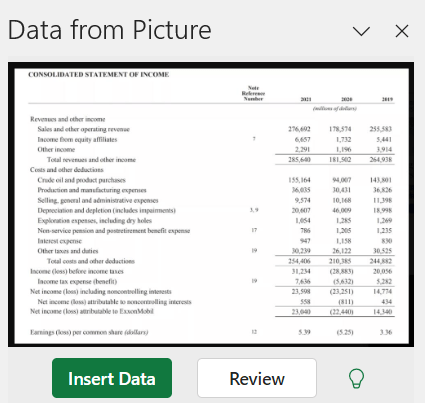
And from here, if you wished you could simply click ‘Insert Data’ to paste it into your workbook, with the selected cell being the top left corner of the paste area:
The feature in Excel on the Web works in much the same way, but unfortunately does not currently support images from clipboard, only from local picture files.
Reviewing for accuracy
Helpfully, it is possible to manually check and amend any of the imported values. Simply navigate the grid in the bottom half of the pane and it will zoom in on the relevant part of the image:
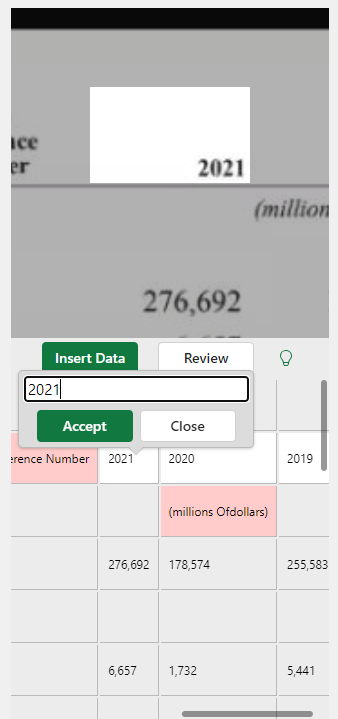
While this does add some steps to the process, it is well worth doing as it is much easier to check and edit within the wizard instead of flipping between your Excel sheet and the original image.
A feature that works better not on Windows?!
Say it quietly, but the ‘get data from picture’ feature is even better on Macs and with mobile devices, for one very simple reason – it opens up the ability to take pictures of tables from your phone, and bring the data straight into Excel.
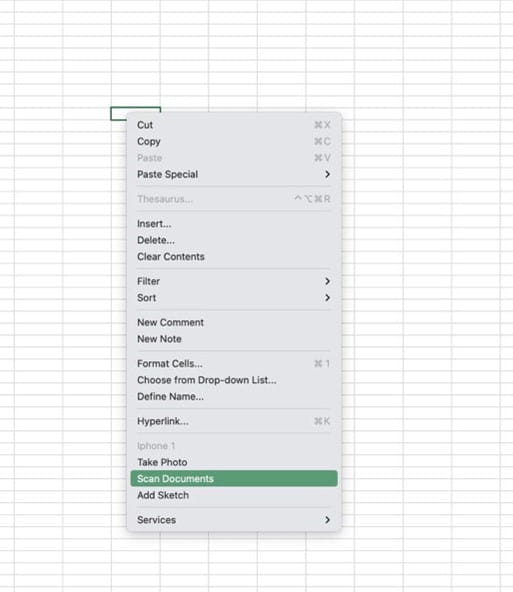
If you’re using Office for Mac, you can right-click in any cell and select ‘Scan Document’. This will open up the camera on a linked iOS device (running iOS 12 or later) to take a picture of a document that is then loaded into Excel following the same steps as shown above.

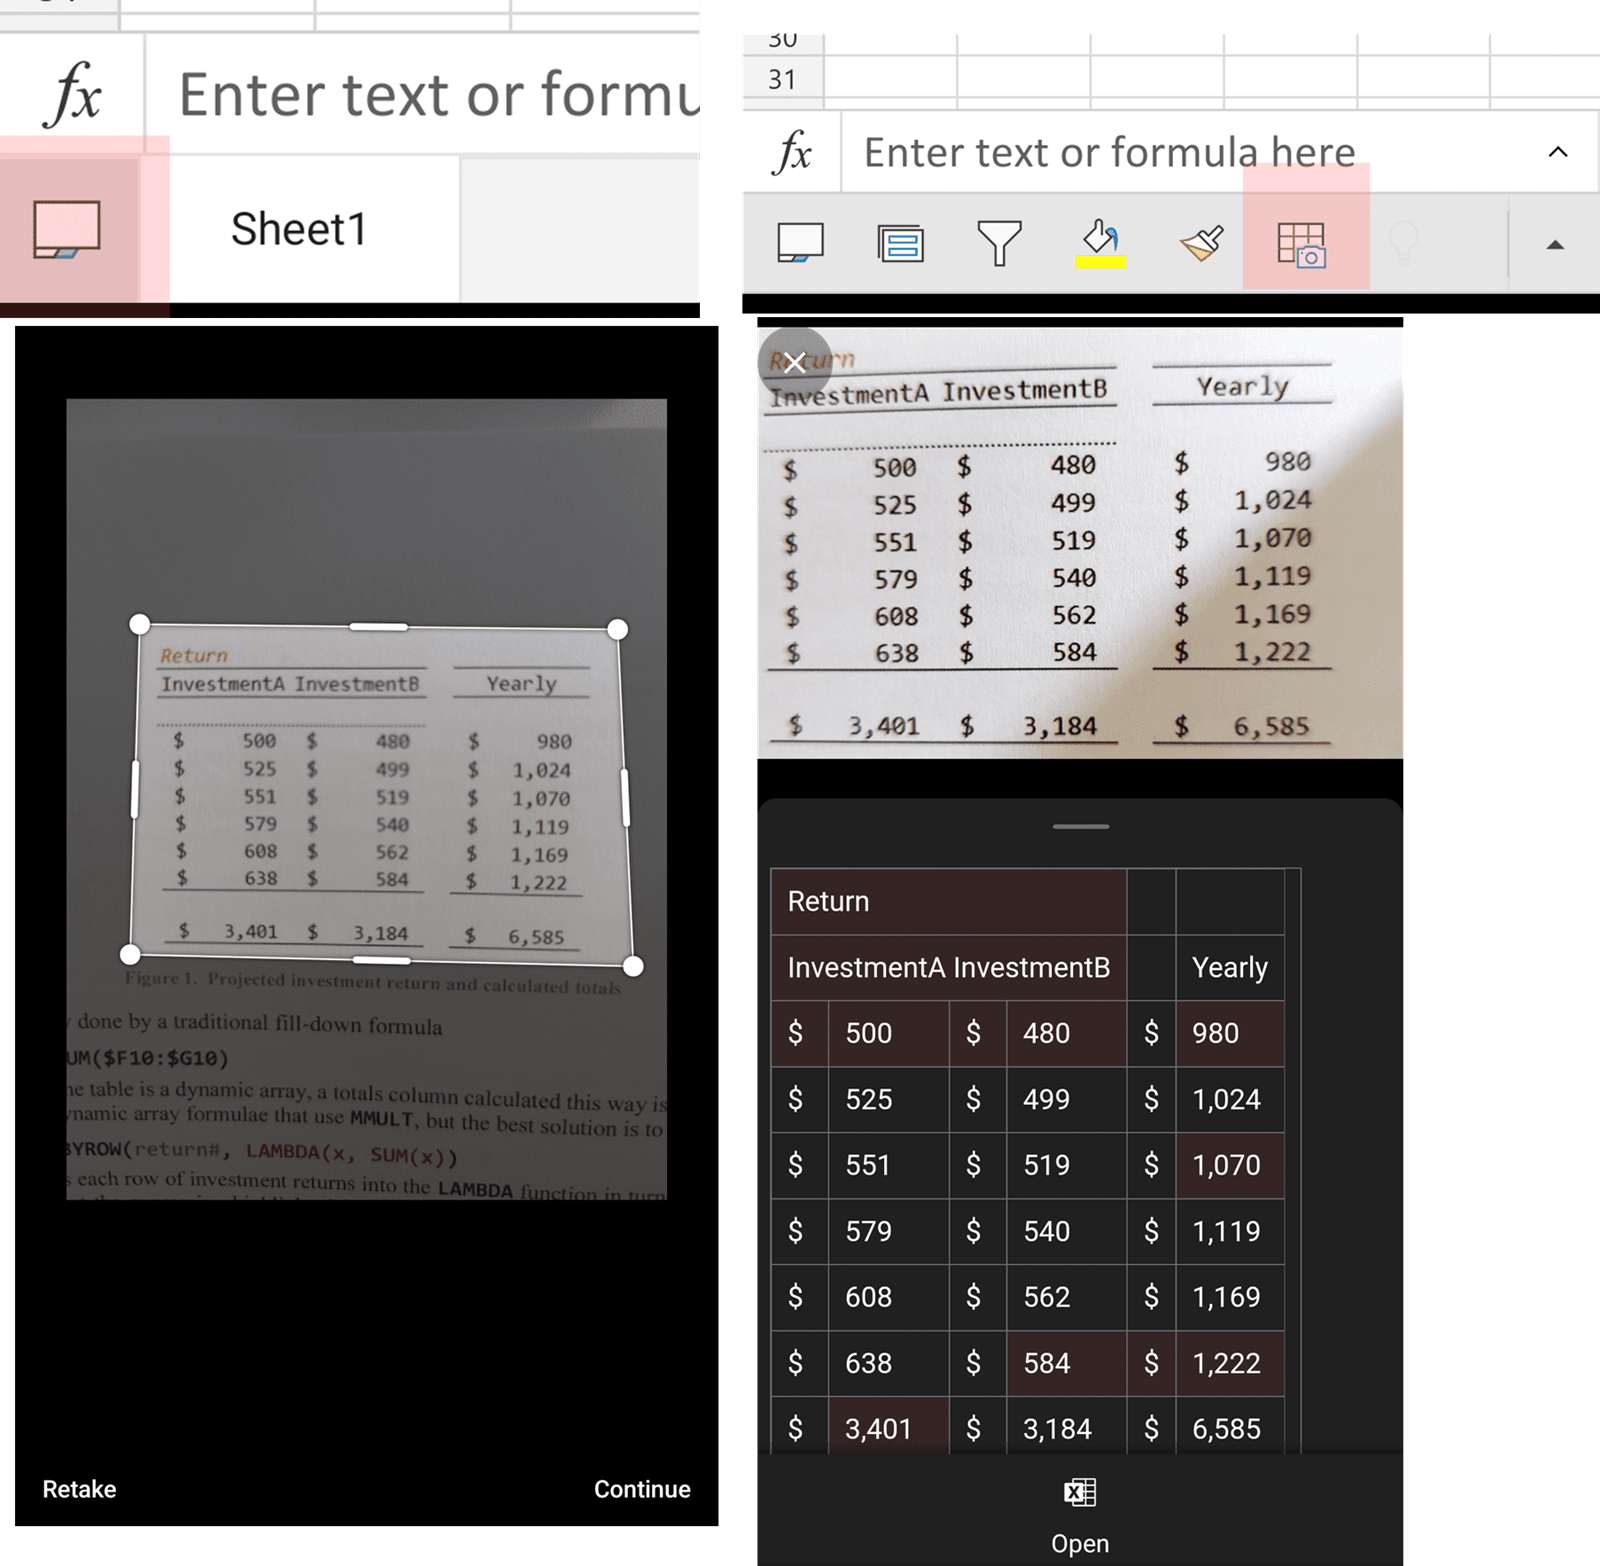
Even if you don’t have Excel on your mobile device, or the iOS capabilities, you can still take pictures with your mobile as usual, transfer them to your desktop device (via OneDrive or similar, perhaps) and import using the approach from above.
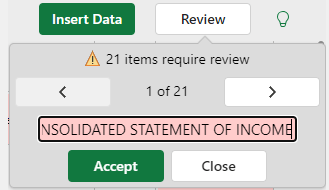
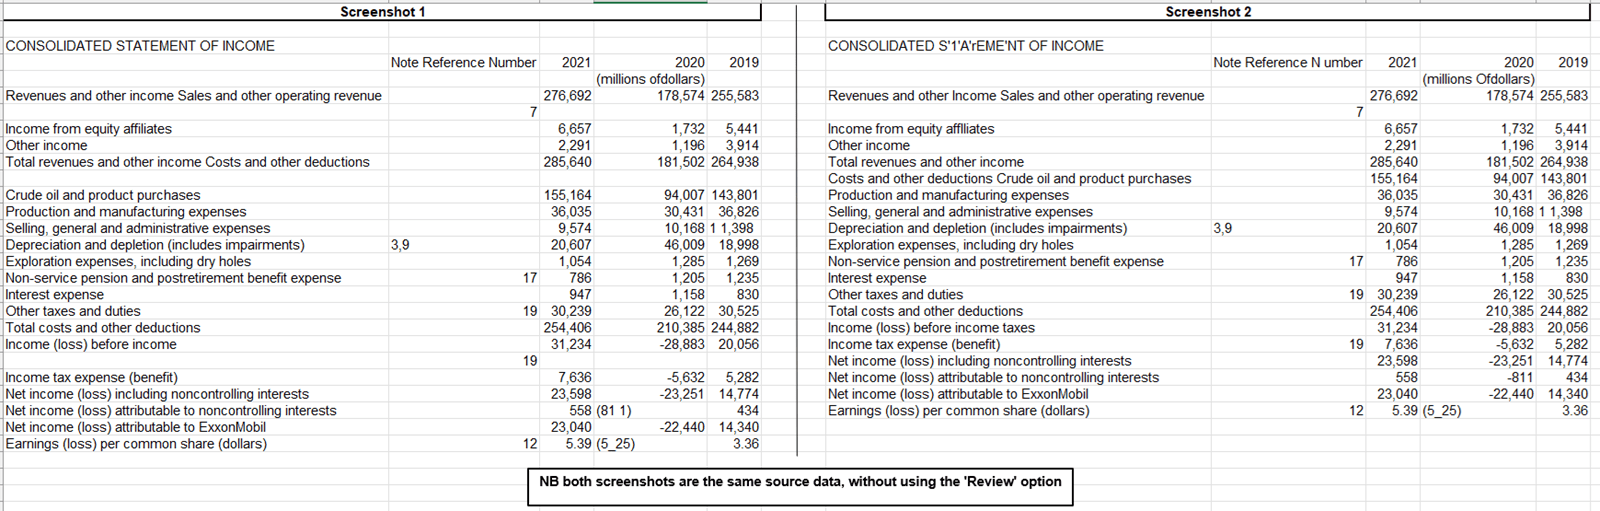
Formatting and OCR frailties
The above example highlights some of the challenges with the technology. One important point to note is that the OCR technology used here is never going to be 100% accurate. Even when reading screenshots from Excel tables, it can and will make mistakes. It can struggle a bit more where the image doesn’t have clear gridlines, will not generally capture formatting (although number formatting seems to be OK, for example it will read numbers in brackets as negative), and even different screenshots of the same data may generate slightly different outputs:
- Excel Tips and Tricks #506: Creating a single master list after merging data
- Excel Tips and Tricks #505 – 3 ways of converting US Dates into UK formats
- Excel Tips and Tricks #504 - Accessing accessibility checkers for good spreadsheet practice
- Excel Tips and Tricks #503 – Printing under pressure, super quick presentation tips
- Excel Tips and Tricks #502
Archive and Knowledge Base
This archive of Excel Community content from the ION platform will allow you to read the content of the articles but the functionality on the pages is limited. The ION search box, tags and navigation buttons on the archived pages will not work. Pages will load more slowly than a live website. You may be able to follow links to other articles but if this does not work, please return to the archive search. You can also search our Knowledge Base for access to all articles, new and archived, organised by topic.