
The question
I need to combine tables from multiple files into a single table, but they’re all scattered in different locations on my computer. How can I do this?
Answer
To prove that there’s always room to learn, this question came from a member of our own Advisory Group who was certain it should be possible without a macro but wasn’t quite sure how. Using formulas to reference cells or ranges in source files is also best avoided, so we won’t be going down that route either. Step in Power Query, once again the saviour when it comes to working with multiple source files.
We’re not going to go into detail about how to use Power Query – that’s been covered extensively including in our webinar earlier in the year, and also this series of articles. Here, we’ll take you through the steps to combine multiple source tables from different files into one table, building in complexity.
Before we start, one very important condition – the files need to be in the same format! This approach does support different worksheet or table names, but the contents of the target sheets or tables must have the same columns in the same order, otherwise you’ll have to import each file individually and do some initial transformation before combining them.
This article has been put together with the assistance of Microsoft MVP and ICAEW member Mark Proctor.
Part 1 – Getting all files in a folder
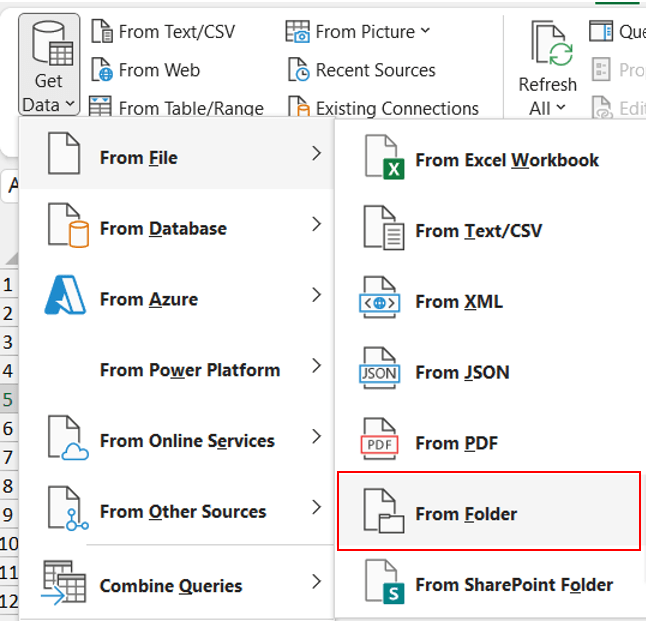
If all of the files you want to combine are in the same folder, you are most definitely in luck. Simply go to Data > Get Data > From File > From Folder:
Once the target folder is selected, this will give you a list of all the files in that folder, including subfolders. Assuming the folder only contains the files you need, and they’re all in the same format (same sheet or table names within the files), you can just go to ‘Combine > Combine & Load’, select the relevant sheet or table in one of the files, and click OK.
Part 2 – Transforming the file listing
If there are other files within the folder that you don’t want Power Query to pick up, you’ll need to ‘transform’ the file listing first – in other words, filter out the ones you don’t need. Instead of going to Combine, instead go to Transform to open the main Power Query window.
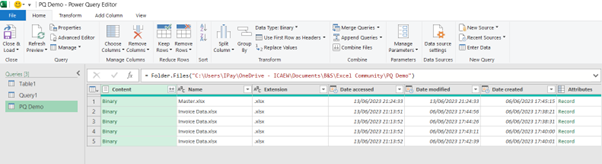
Here, you can now apply logic to the table to ensure that only the files you want to combine remain listed – this can be standard filter logic based on the file name, extension or folder path, much like how you would use filtering in Excel.
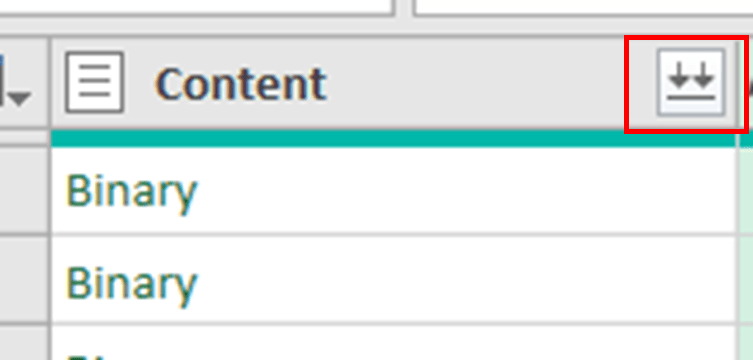
Once you’ve got the list you want, you just click on the double arrow in the Content column to combine the files, and you’ll see the same ‘Combine Files’ window as before.
While the formula bar in Power Query may be a little daunting, at this point it is worth introducing another relevant function – Folder.Contents. If, in the above screenshot, you were to replace ‘Folder.Files’ with ‘Folder.Contents’ (keeping all other things the same), instead of returning all files including those in subfolders, it returns everything in that folder only:
Now, files and the folders within that directory are returned, but not files in any subfolders. This potentially gives a bit more granular control in terms of selecting specific folders. Once the desired folders are selected, the Content column can be ‘expanded’ to show the files within those folders.
Part 3 – The SharePoint Challenge
As a slight aside – if the files are stored on SharePoint, well done as this is where they probably should be! But unfortunately from a Power Query perspective is a bit of a nightmare. It is however still solvable largely following similar principles to Part 2 above.
To start with, go to Data > Get Data > From File > From SharePoint Folder. Here, you need to put the root URL of the SharePoint site – yep, effectively the ‘home’ for the entire SharePoint, typically something like https://[domain].sharepoint.com/sites/[sitename]/. This will then return the entire contents of the SharePoint site, which clearly is far from ideal!

(Depending on the size of the site, it may take a while to run, so this can be a good time to make a cup of tea)
Once you have the listing – having clicked on Transform Data – you can then filter the file listing similar to Part 2 above, or you can change the function to ‘SharePoint.Contents’ (also similar to above), which then allows you to navigate your way to the relevant folder(s) just by clicking on ‘Table’ on the relevant row. Once you’ve reached the folder level you require, expand the Content column to see all of the files.

Part 4 – The wizardry approach
So, your files really are all over the place – or maybe your sheets all have different names – what then? This still is possible. First you need to build a table which lists the full file path of the files you want to combine, plus the sheet or table names in those files.

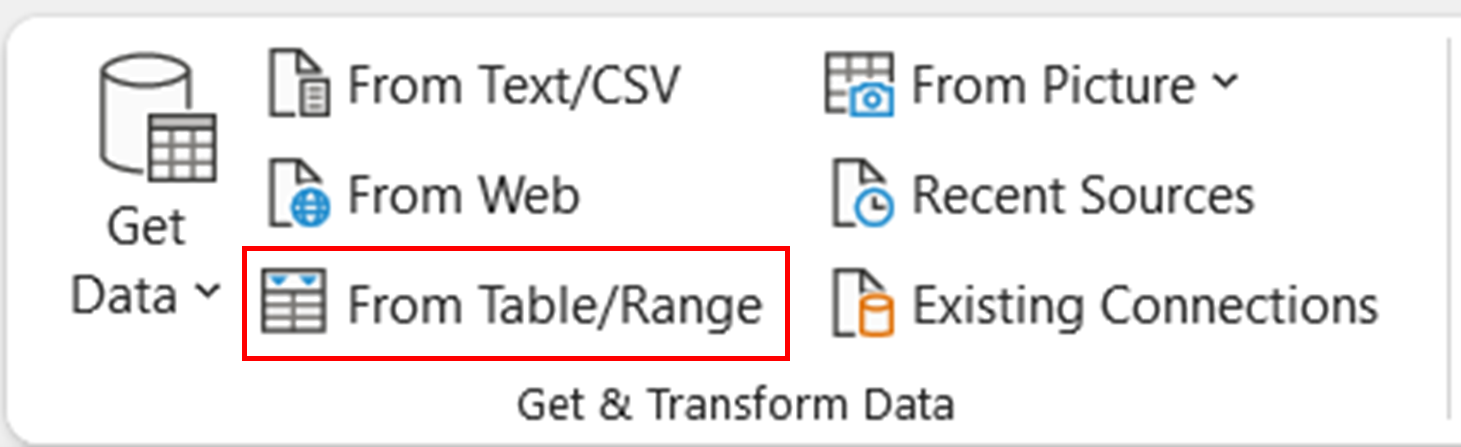
This can then be imported into Power Query by using ‘From Table/Range’:
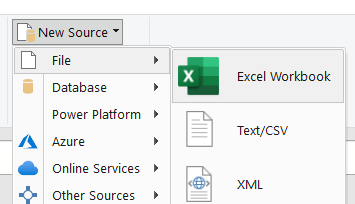
Now, while in Power Query, go to New Query on the Home tab > New Source > File > Excel Workbook, and locate one of the files you want to import.
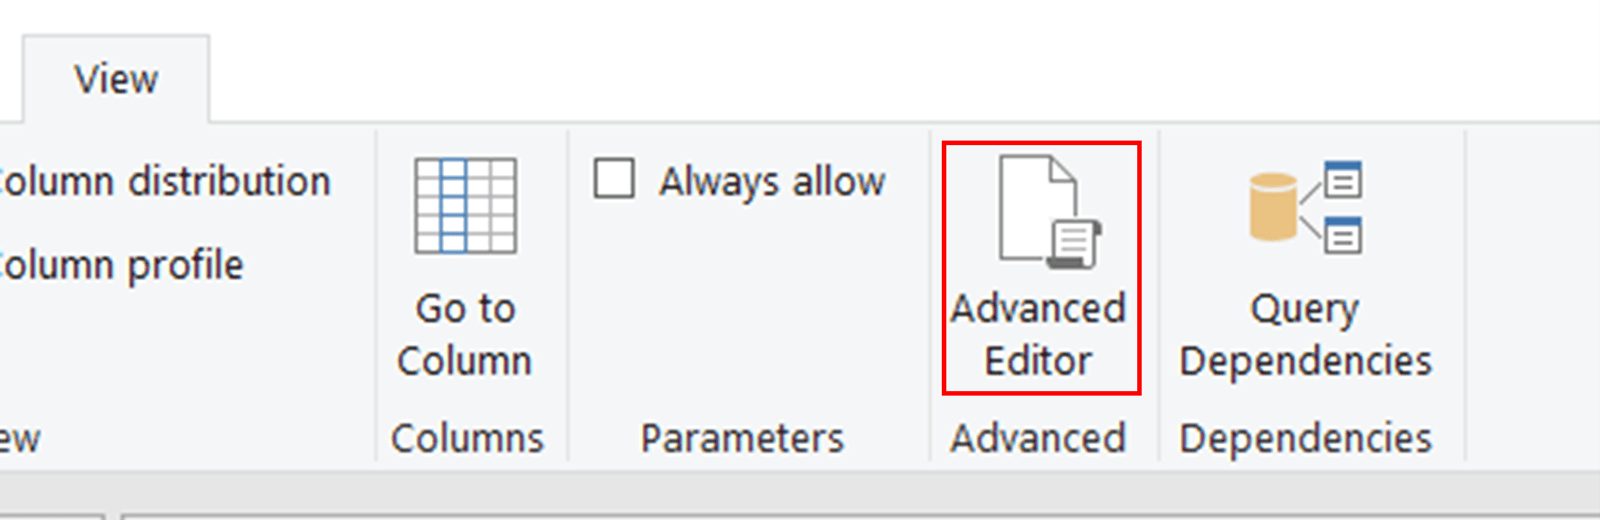
Once this is imported into Power Query (with any required transformations), you can now reuse the transformation steps by going to View > Advanced Editor.
All of the code in the box should be copied (Ctrl+A, Ctrl+C), and then click Done. We’re now going to use this code to create a custom column in our query that contains the list of files. Give the column a name like ‘Data’ and then paste in the code we just copied but do not click OK just yet:

We now have to make two small changes to the code to replace the static file path and sheet name values, with dynamic values from our table. So this:

Becomes this:
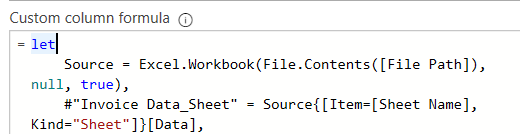
NB note that we now have square brackets around the column names being used, not double quotes)
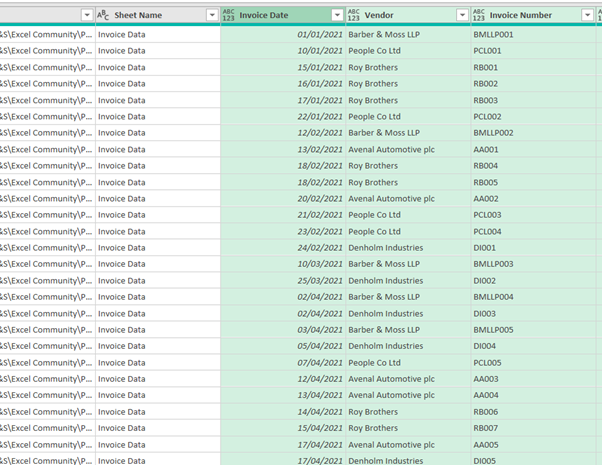
If we click OK, we should now see something like this:

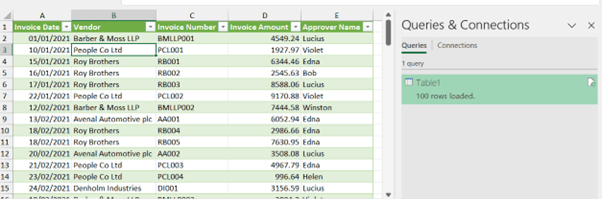
You can now expand the ‘Data’ column by clicking on the double arrow – ensuring the ‘Use original column name as prefix’ is unchecked – and as if by magic our query now returns the data from each of the source files.
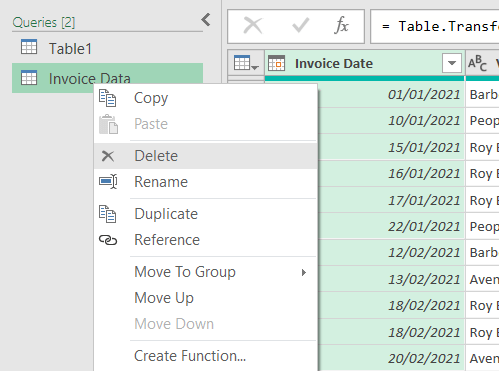
All that’s left for us to do is to tidy up our queries – you’ll probably want to remove the ‘File Path’ and ‘Sheet Name’ columns, and you can also remove the query that we used to import the single file, as this is no longer required:
A final ‘Close & Load’ and we’re done!
If you want a video version of this, Mark has helpfully produced one which you can watch below:
- Your Questions Answered #13 - Mastering Copilot in Excel
- Your Questions Answered #12 – Getting started with Office Scripts
- Your Questions Answered #11 – Tips and Tricks Live extended
- Your Questions Answered #10 – Tips and Tricks Live extended
- Your Questions Answered #9 – What is the purpose of # when using dynamic arrays?
Archive and Knowledge Base
This archive of Excel Community content from the ION platform will allow you to read the content of the articles but the functionality on the pages is limited. The ION search box, tags and navigation buttons on the archived pages will not work. Pages will load more slowly than a live website. You may be able to follow links to other articles but if this does not work, please return to the archive search. You can also search our Knowledge Base for access to all articles, new and archived, organised by topic.