
Why are excess spaces an issue?
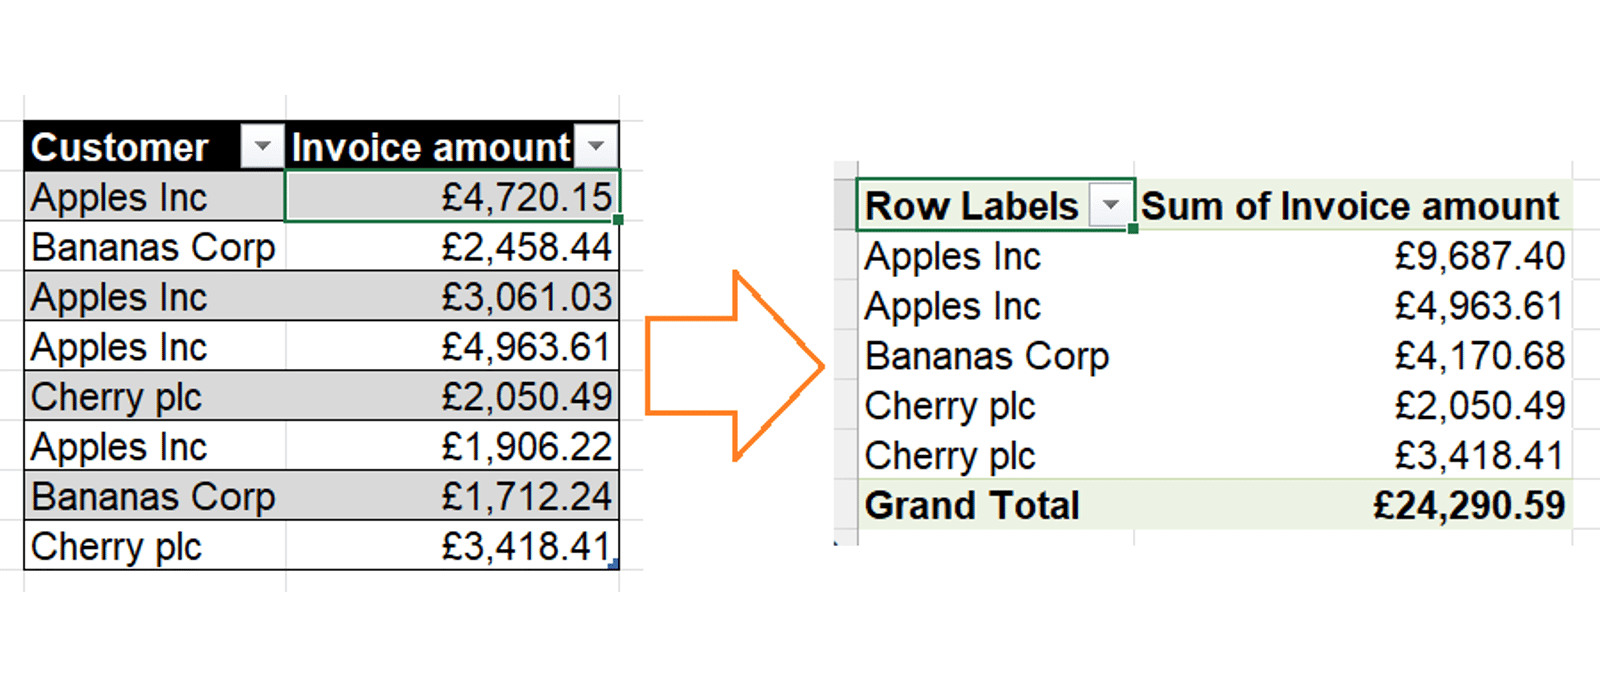
Unnecessary spaces are often added by human users when typing – either by accident or by habit of typing a space after a full stop or other character. However, these characters can mess with all kinds of things. For example they will cause Excel to categorise two apparently identical cells as being different – a real pain for future analysis. See here where we’ve tried to create a pivot summary of invoices by customer:
So removing these spaces is a common step in data cleaning. Luckily, there are several easy methods for it.
The TRIM function
Excel’s TRIM function automatically removes all excess spaces from a cell. “Excess” means:
- Any spaces before the first non-space character
- Any spaces after the last non-space character
- Any interior spaces in excess of one
So for example “ spaced out text ” would be changed to “spaced out text”. The syntax is simply:
=TRIM(cell)
This only accepts one cell as an input, unless you are on Excel 365 in which case a range input will create a spilled range output.
Normally you would use TRIM to create a trimmed version of your text, and then paste the resulting trimmed text as values over the originals.
Further trimming considerations
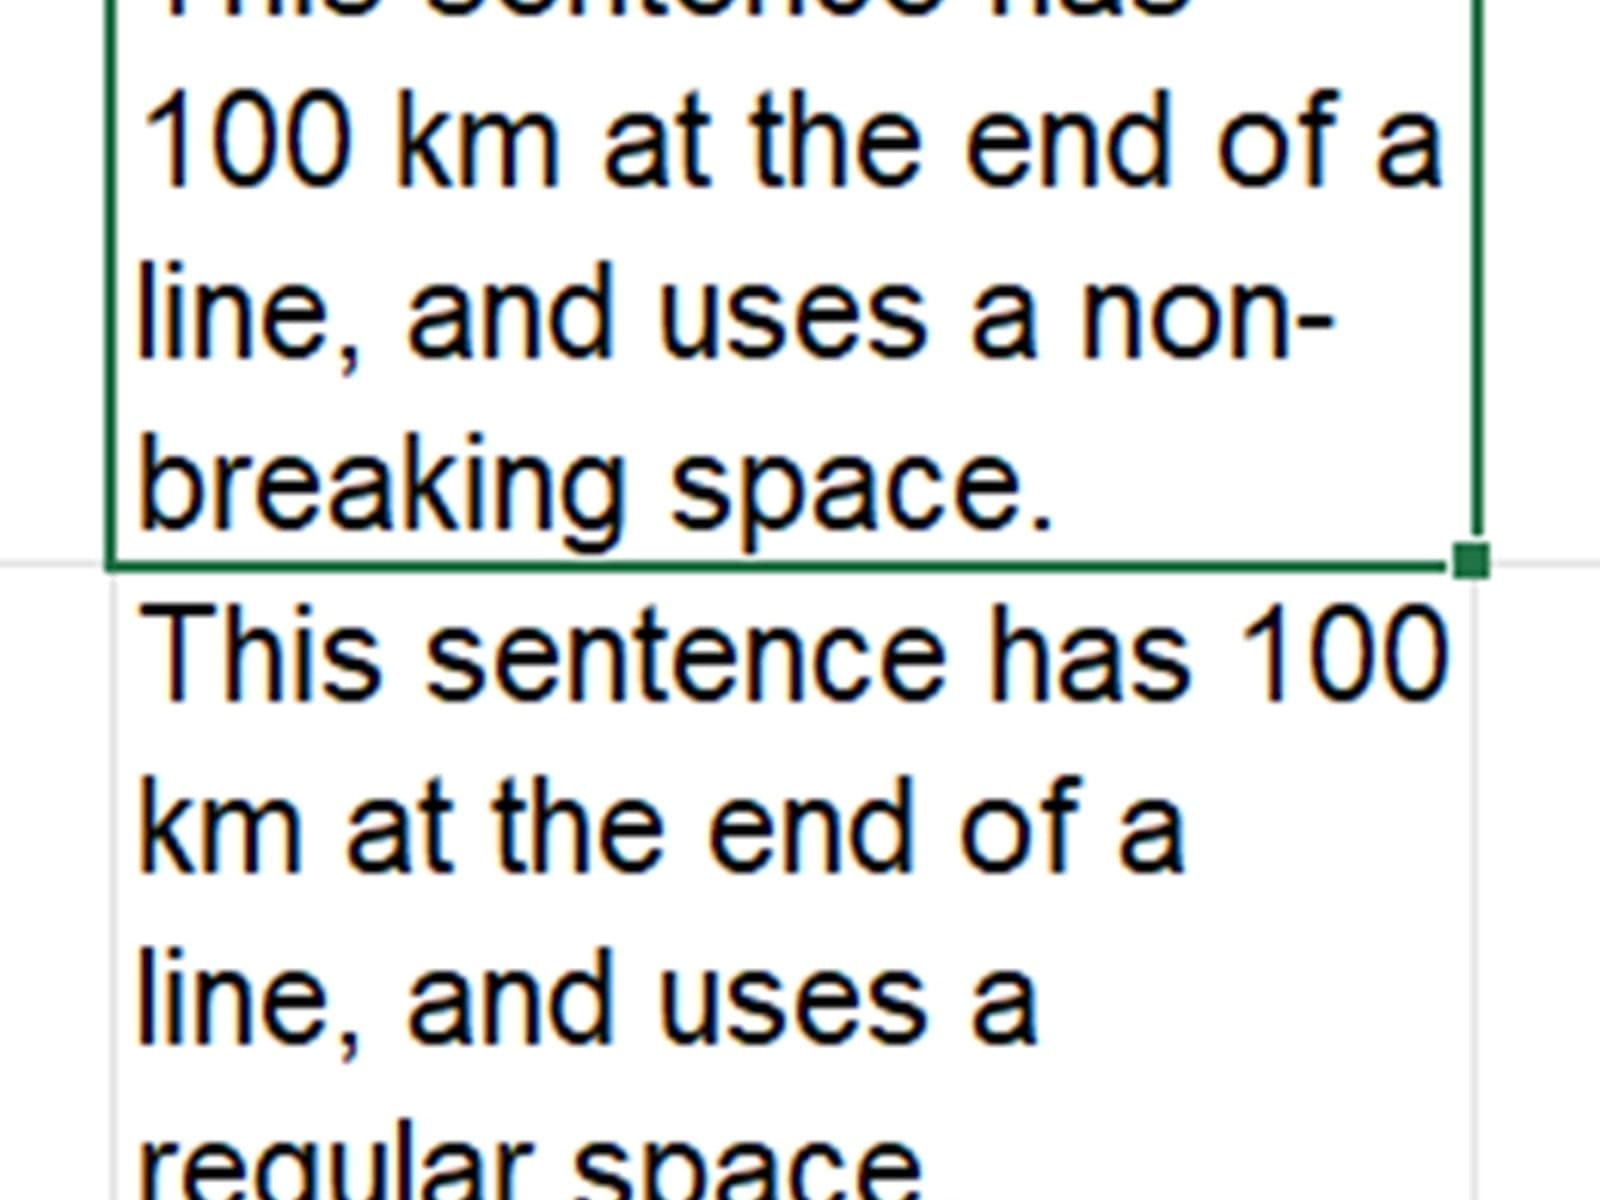
Webpages often include a character called a “non-breaking space”; this appears identical to a regular space to a human user, but computers use these to prevent unintuitive presentation of text. For example the clause “100 km” might use a non-breaking space so that it is never split over a line indent:
But the existence of these characters can cause TRIM to fail on text copied or imported from web sources.
To fix this, you need to change those non-breaking spaces back into regular spaces before trimming, with a formula such as:
=TRIM(SUBSTITUTE(text, CHAR(160), " "))
CHAR(160) is the Excel identification for the non-breaking space; a regular space would be CHAR(32).
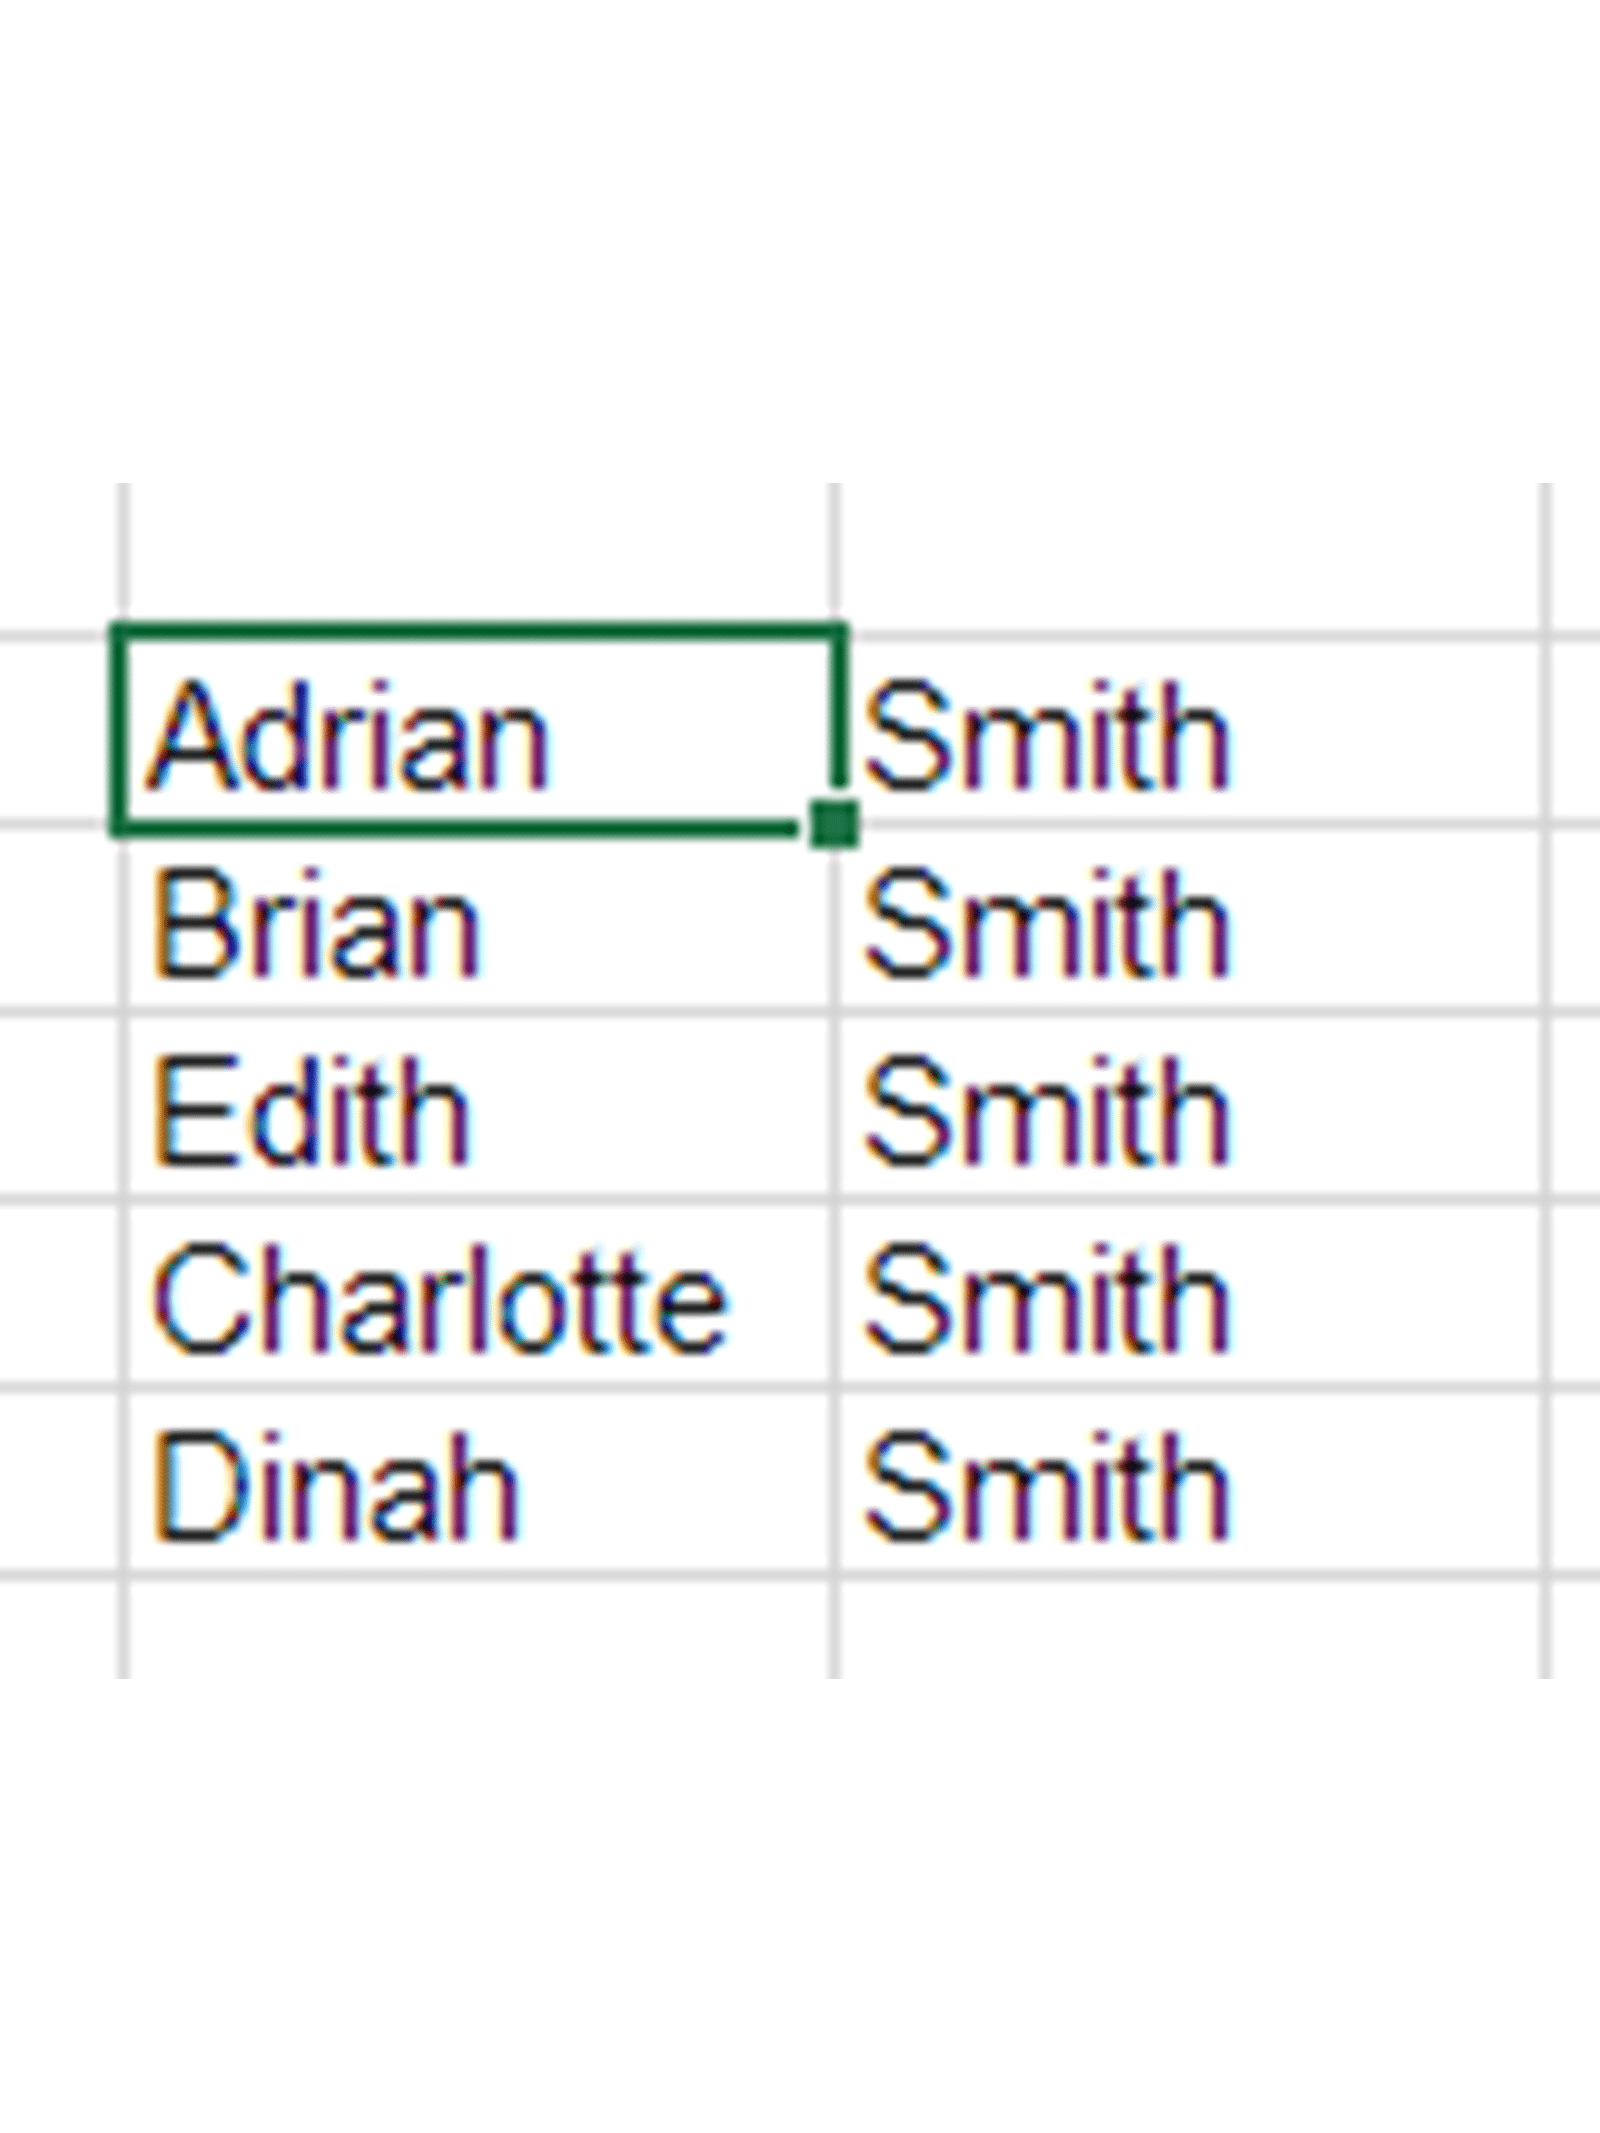
You can also use Power Query to perform this task. If you have a column of data with extra spaces in it, then Transform => Format => Trim will remove any leading and trailing spaces. Annoyingly, unlike the Excel TRIM function, interior spaces are not sorted out this way. If you want to do that, you instead will need to perform a series of column operations. Here’s some sample input data:

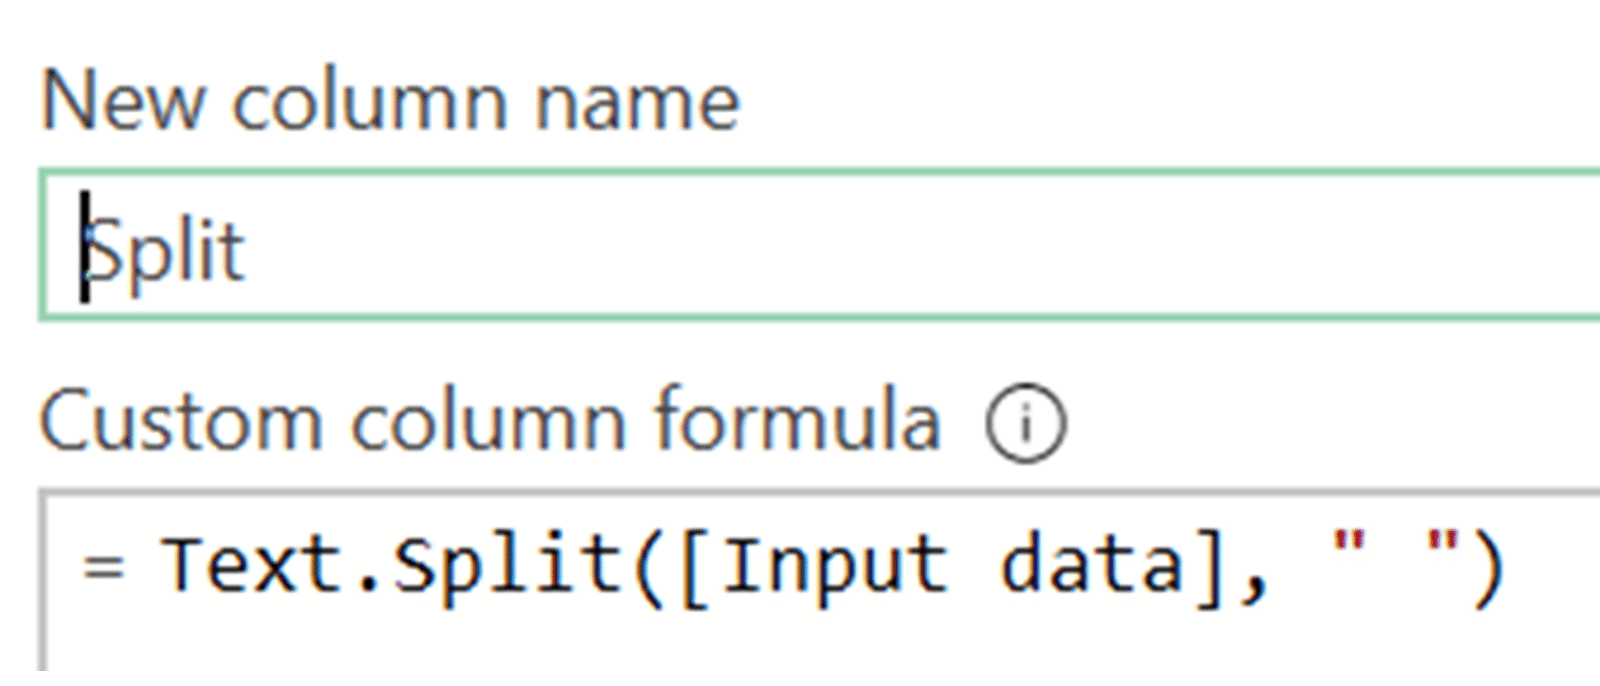
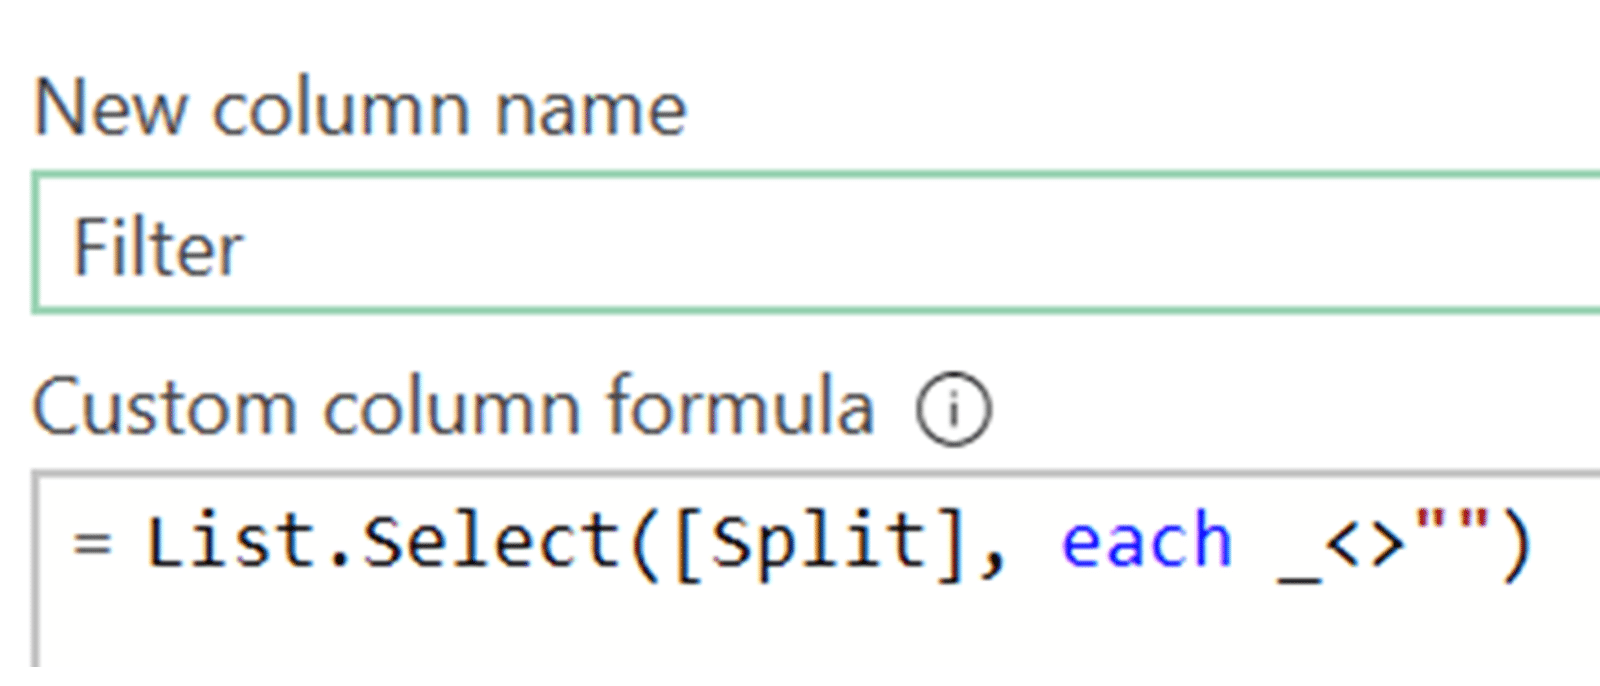
First we will use this custom function to split the text at each space:
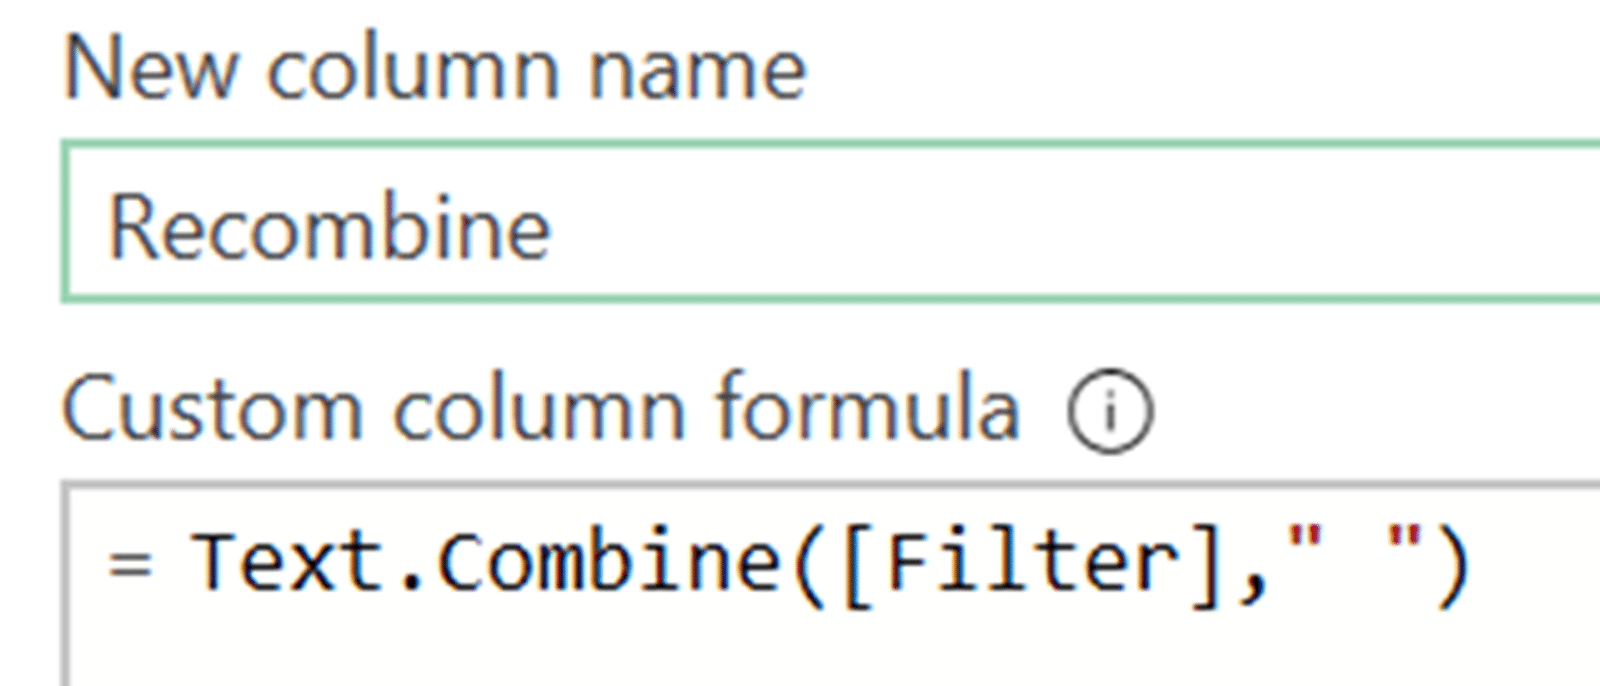
Finally, we can use Text.Combine to recombine the data, with a single space reinserted between each remaining entry:
We’ll look at these functions in more detail in a couple of weeks, when we’ll be discussing how to write Power Query custom functions in a little more detail.
- Excel Tips and Tricks #506: Creating a single master list after merging data
- Excel Tips and Tricks #505 – 3 ways of converting US Dates into UK formats
- Excel Tips and Tricks #504 - Accessing accessibility checkers for good spreadsheet practice
- Excel Tips and Tricks #503 – Printing under pressure, super quick presentation tips
- Excel Tips and Tricks #502
Archive and Knowledge Base
This archive of Excel Community content from the ION platform will allow you to read the content of the articles but the functionality on the pages is limited. The ION search box, tags and navigation buttons on the archived pages will not work. Pages will load more slowly than a live website. You may be able to follow links to other articles but if this does not work, please return to the archive search. You can also search our Knowledge Base for access to all articles, new and archived, organised by topic.
