
Hello and welcome back to Excel Tips and Tricks! This week, we have a Basic User level post exploring the basics of setting up, customising and using slicers in Excel to filter and sort through data.
Slicers are tools in Excel for filtering data in Tables, PivotTables and PivotCharts. They are a great way to add visual impact and interactivity to your workbook.
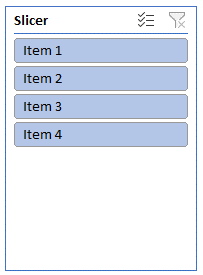
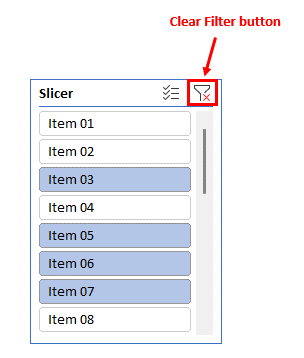
Slicers are easily recognisable as a list of clickable buttons that allow you to choose which items you want to show in your data.
In this article we will cover the process of setting up and using slicers. We will also look at some of the options available to customise them.
Adding a slicer to a table
Here we have some sales data stored in an Excel table.
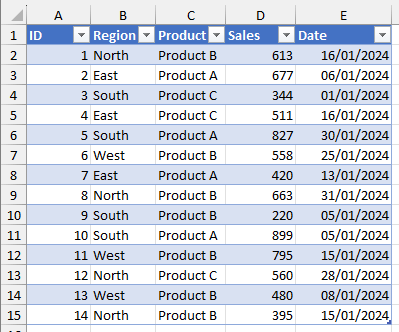
(Note: if you are working with data that is not stored in a table then you will need to convert it to a table by pressing CTRL + T before inserting a slicer.)
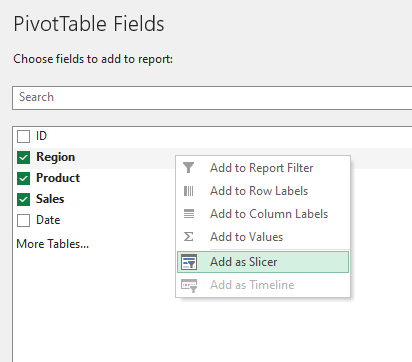
Now, making sure that the currently active cell is anywhere in our table, we can insert a slicer by choosing “Slicer” from the Insert tab on the ribbon.

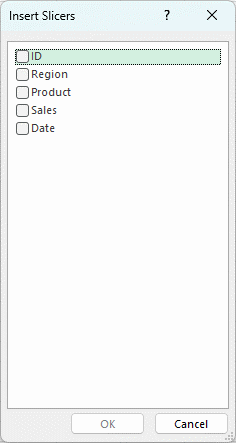
You can choose one or multiple checkboxes – each one selected will create a separate slicer. After making your selection choose “OK” and the slicers will appear in your worksheet.
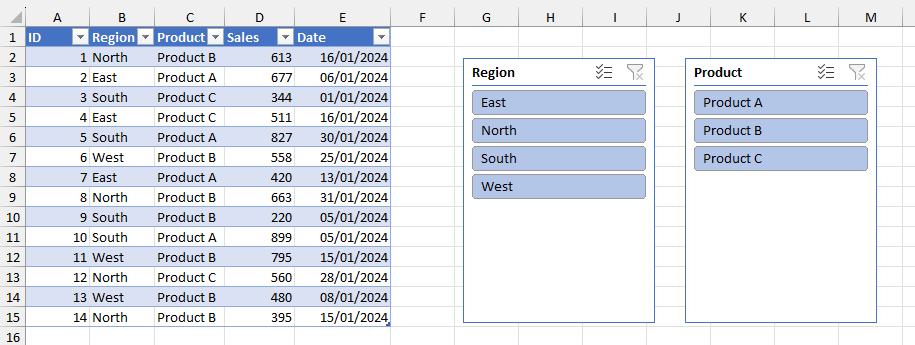
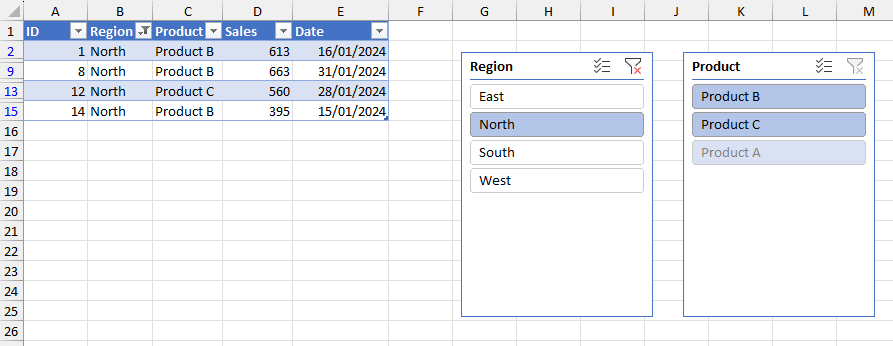
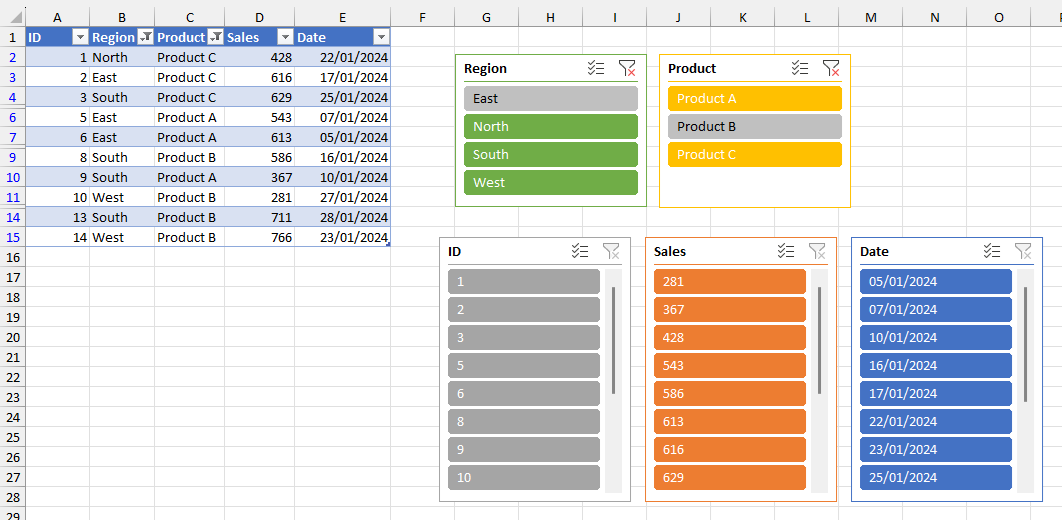
Here we have chosen slicers for Region and Product.

If you choose multiple slicers, they appear on top of one another – not very useful!
But as regular objects in Excel that float above the grid they can be moved about as desired by clicking and dragging in the normal way.
Each slicer shows one button for each unique item in the respective table column, sorted in alphabetical order (or numerical order, where the underlying data is numerical rather than text based).
Notice how by clicking “North” all the other items in the Region slicer have been unselected. This corresponds to the filter state in the Table – rows where the region is “East”, “South” or “West” are no longer appearing.
Note also how “Product A” is automatically shown as faded in the Product slicer even though we haven’t applied a filter to the Product column. This is because there are no instances where “Product A” was sold in the “North” region – as can be seen from the table.
Slicer functionality
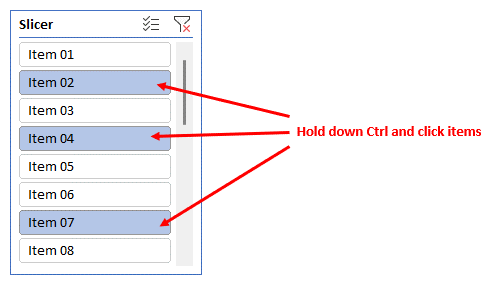
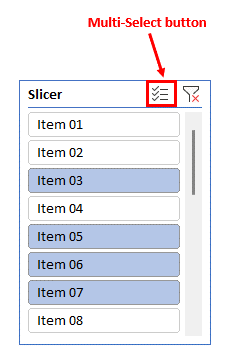
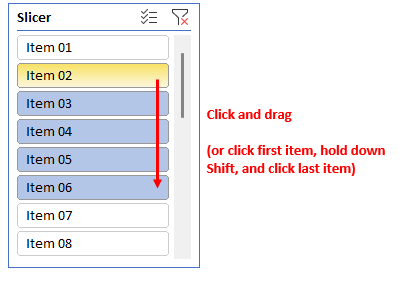
Selecting multiple items in a slicer works in the same way that you might select multiple cells in a range. Try holding down Ctrl and clicking on multiple buttons in a slicer.
Using the slicer
Clicking any of these buttons will apply the relevant filter in the table. Here we have selected “North” from the “Region” slicer.
Visual display tips
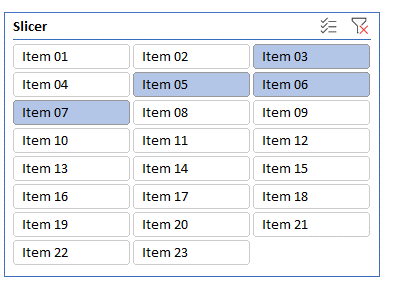
Where the slicer contains a long list of items it can be helpful to show these items in multiple columns. The option to change the number of columns can be found in the Buttons group on the Slicer tab of the ribbon.


What about PivotTables and PivotCharts?
No difference! Slicers work in exactly the same way with PivotTables and PivotCharts as they do with Tables.
Creating PivotTables and PivotCharts is outside the scope of this article, but you can learn more about PivotTables in Tip #190 and PivotCharts in Tip #367.
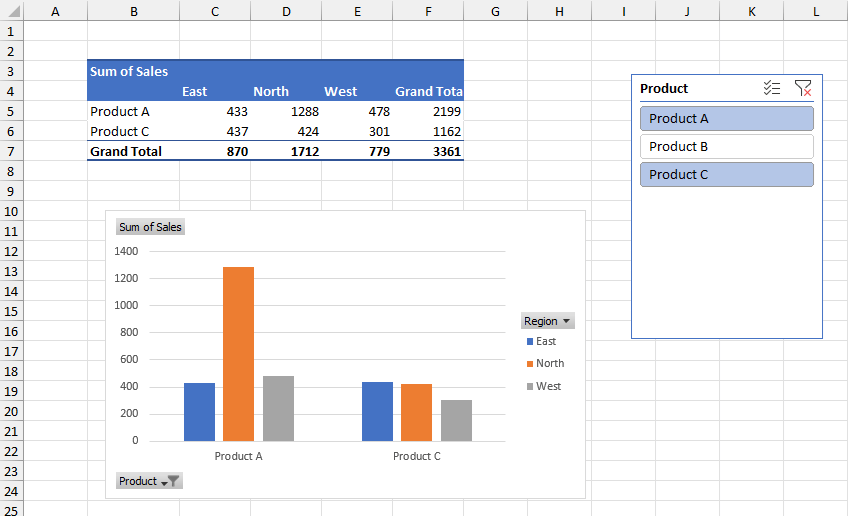
Let’s assume we already have a PivotTable and PivotChart linked to our data as shown below.
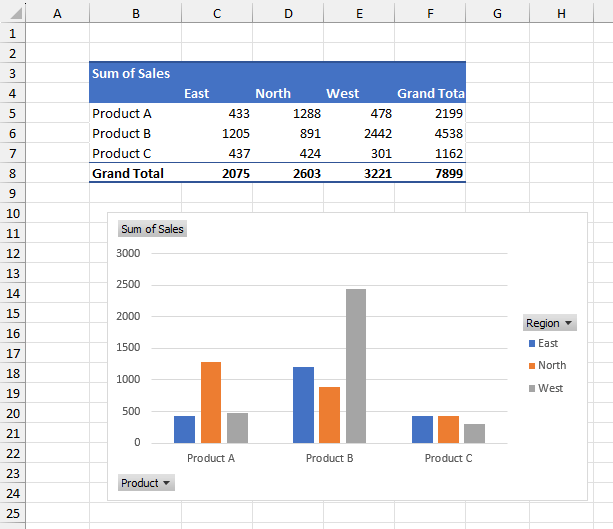
Here we have inserted a slicer linked to the Product field.
Any selection we make within the slicer will be automatically updated in the PivotTable and associated PivotChart.
In this case we have filtered for Products A and C, and excluded Product B.
Conclusion
Slicers are a great way to provide a visually inviting and user-friendly way to interact with your data.
Next time you are working with data in a Table, or a PivotTable or PivotChart consider using slicers to increase visual impact and user engagement with the data.
- Excel Tips and Tricks #506: Creating a single master list after merging data
- Excel Tips and Tricks #505 – 3 ways of converting US Dates into UK formats
- Excel Tips and Tricks #504 - Accessing accessibility checkers for good spreadsheet practice
- Excel Tips and Tricks #503 – Printing under pressure, super quick presentation tips
- Excel Tips and Tricks #502
Archive and Knowledge Base
This archive of Excel Community content from the ION platform will allow you to read the content of the articles but the functionality on the pages is limited. The ION search box, tags and navigation buttons on the archived pages will not work. Pages will load more slowly than a live website. You may be able to follow links to other articles but if this does not work, please return to the archive search. You can also search our Knowledge Base for access to all articles, new and archived, organised by topic.
